Let users sign in to your app with their Facebook accounts. They’ll share their email, name, and profile picture. You’ll need to set up a few things in Facebook first, then add those settings to Anything.Documentation Index
Fetch the complete documentation index at: https://www.anything.com/docs/llms.txt
Use this file to discover all available pages before exploring further.
Before you start
Make sure you have:An Anything project with User Accounts turned on
Your app running on a custom domain through Anything’s domain setup
Overview
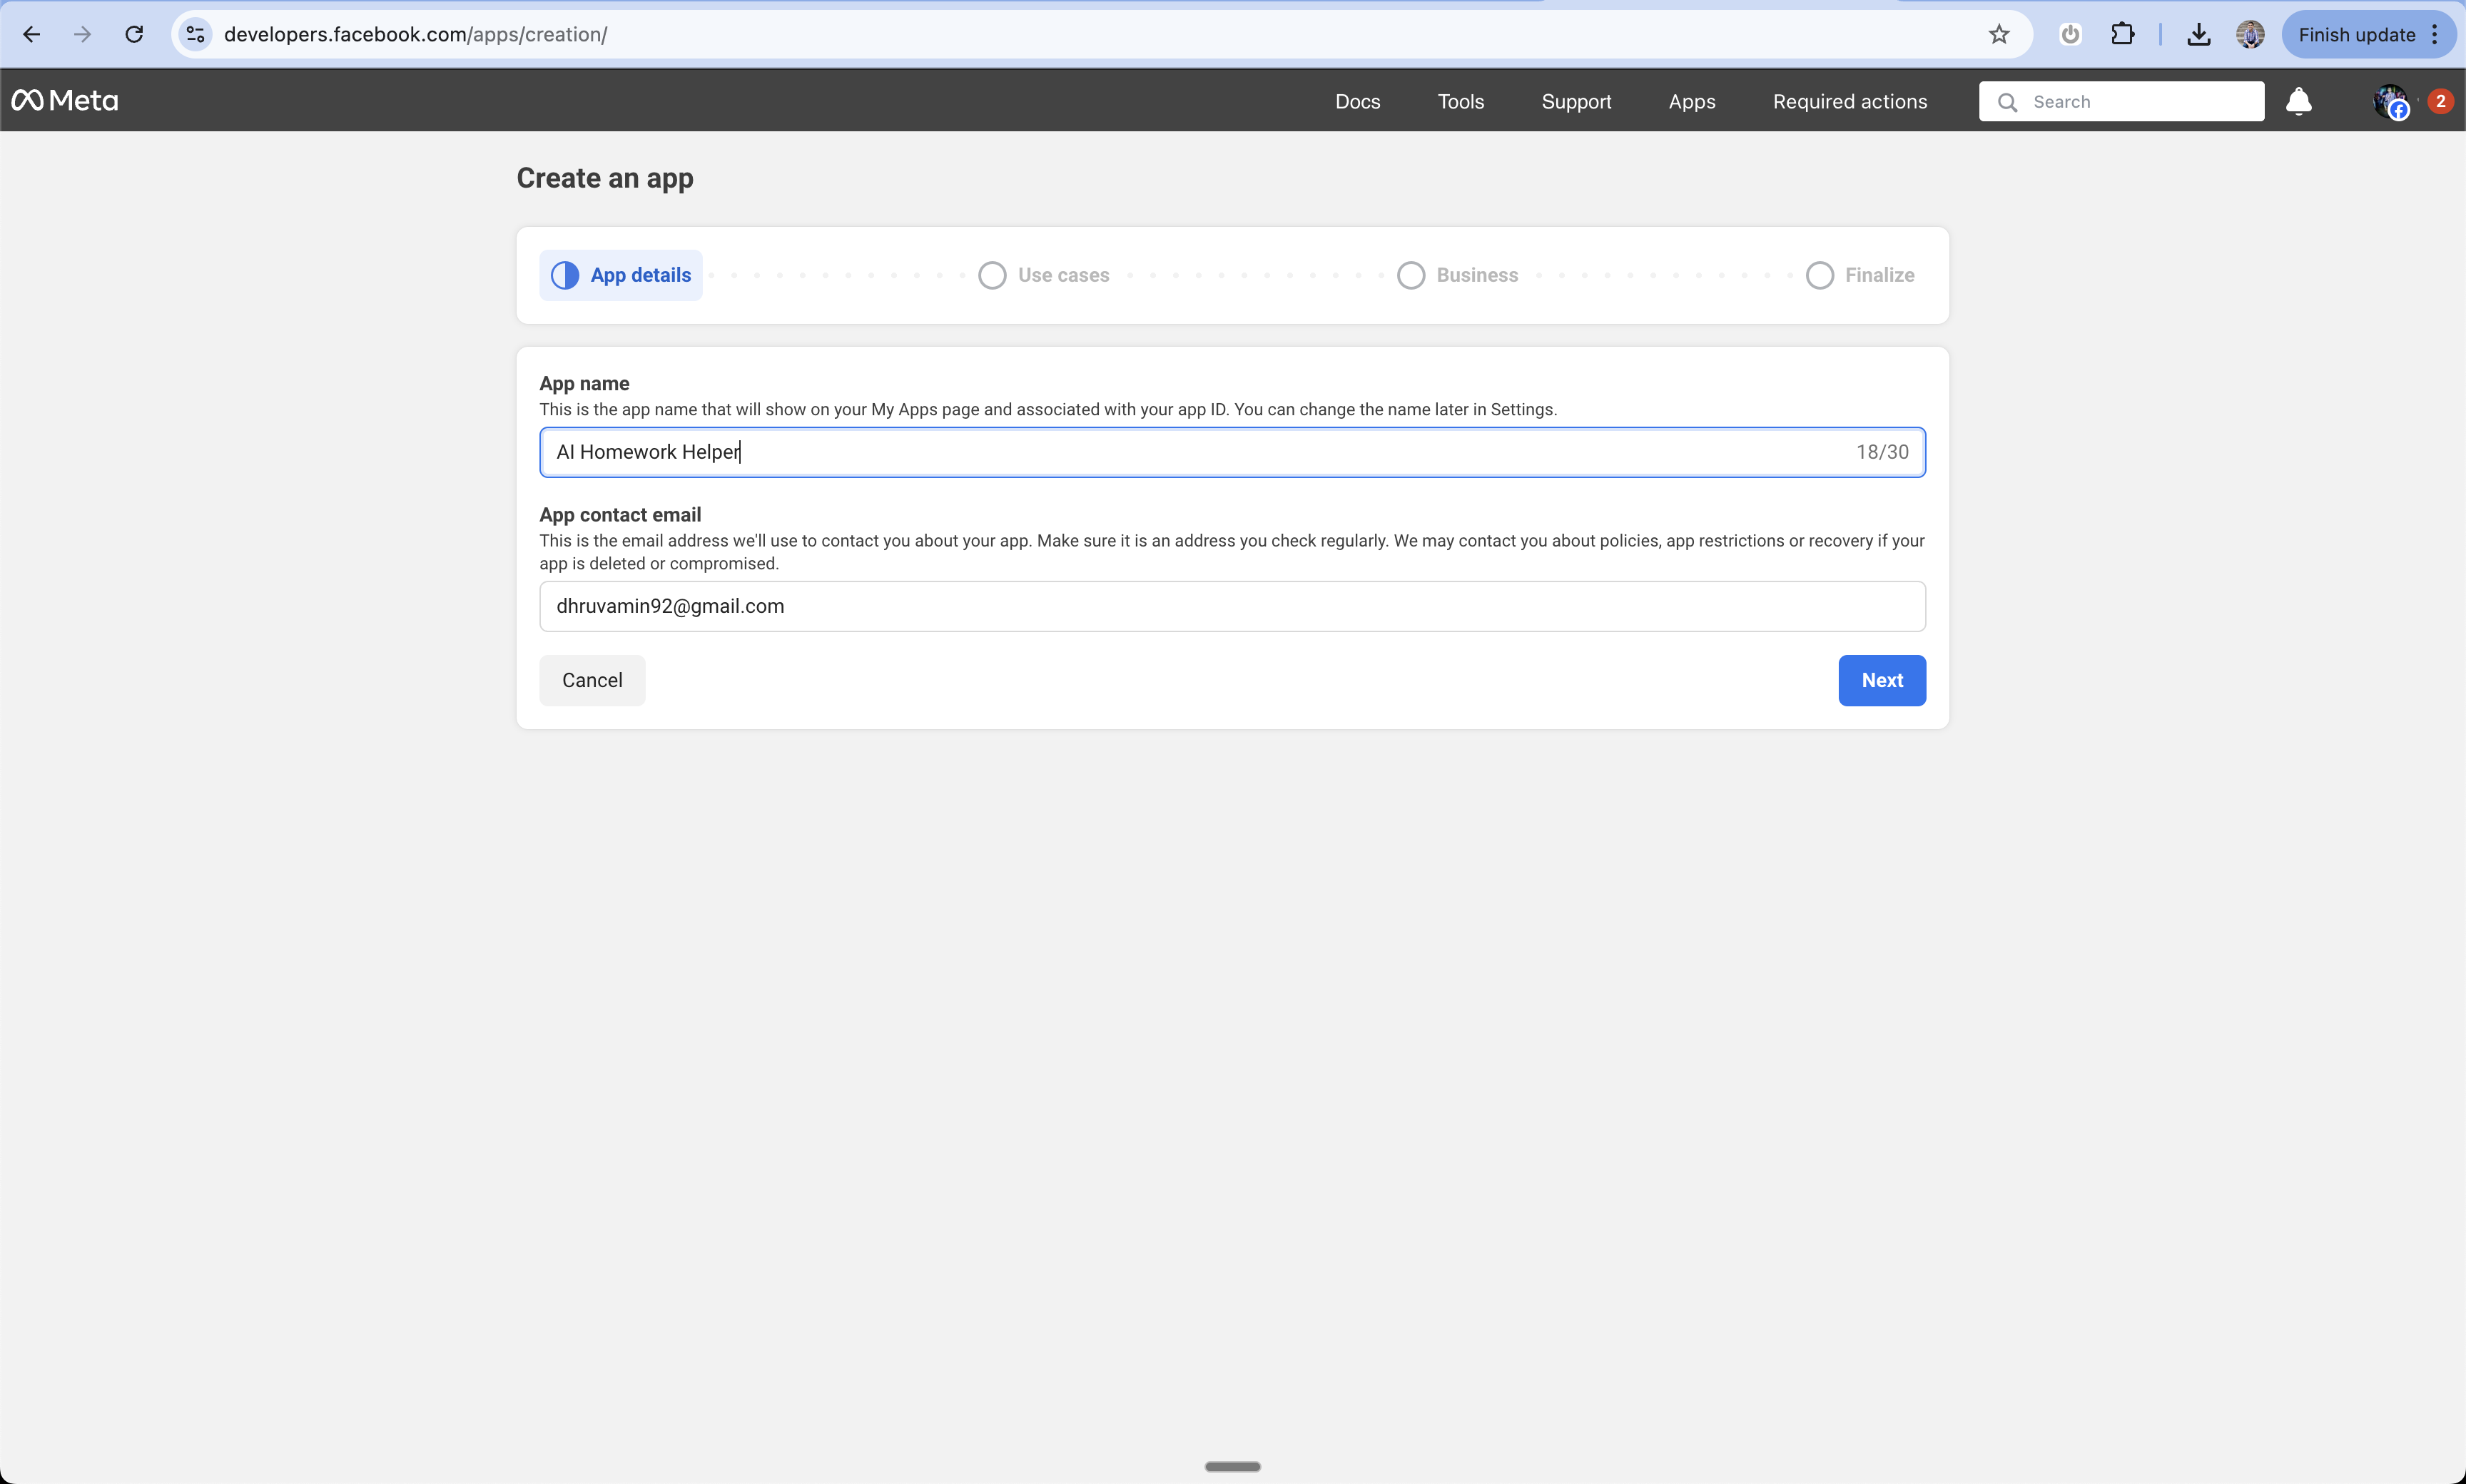
Set Up Facebook App
Set up Facebook OAuth
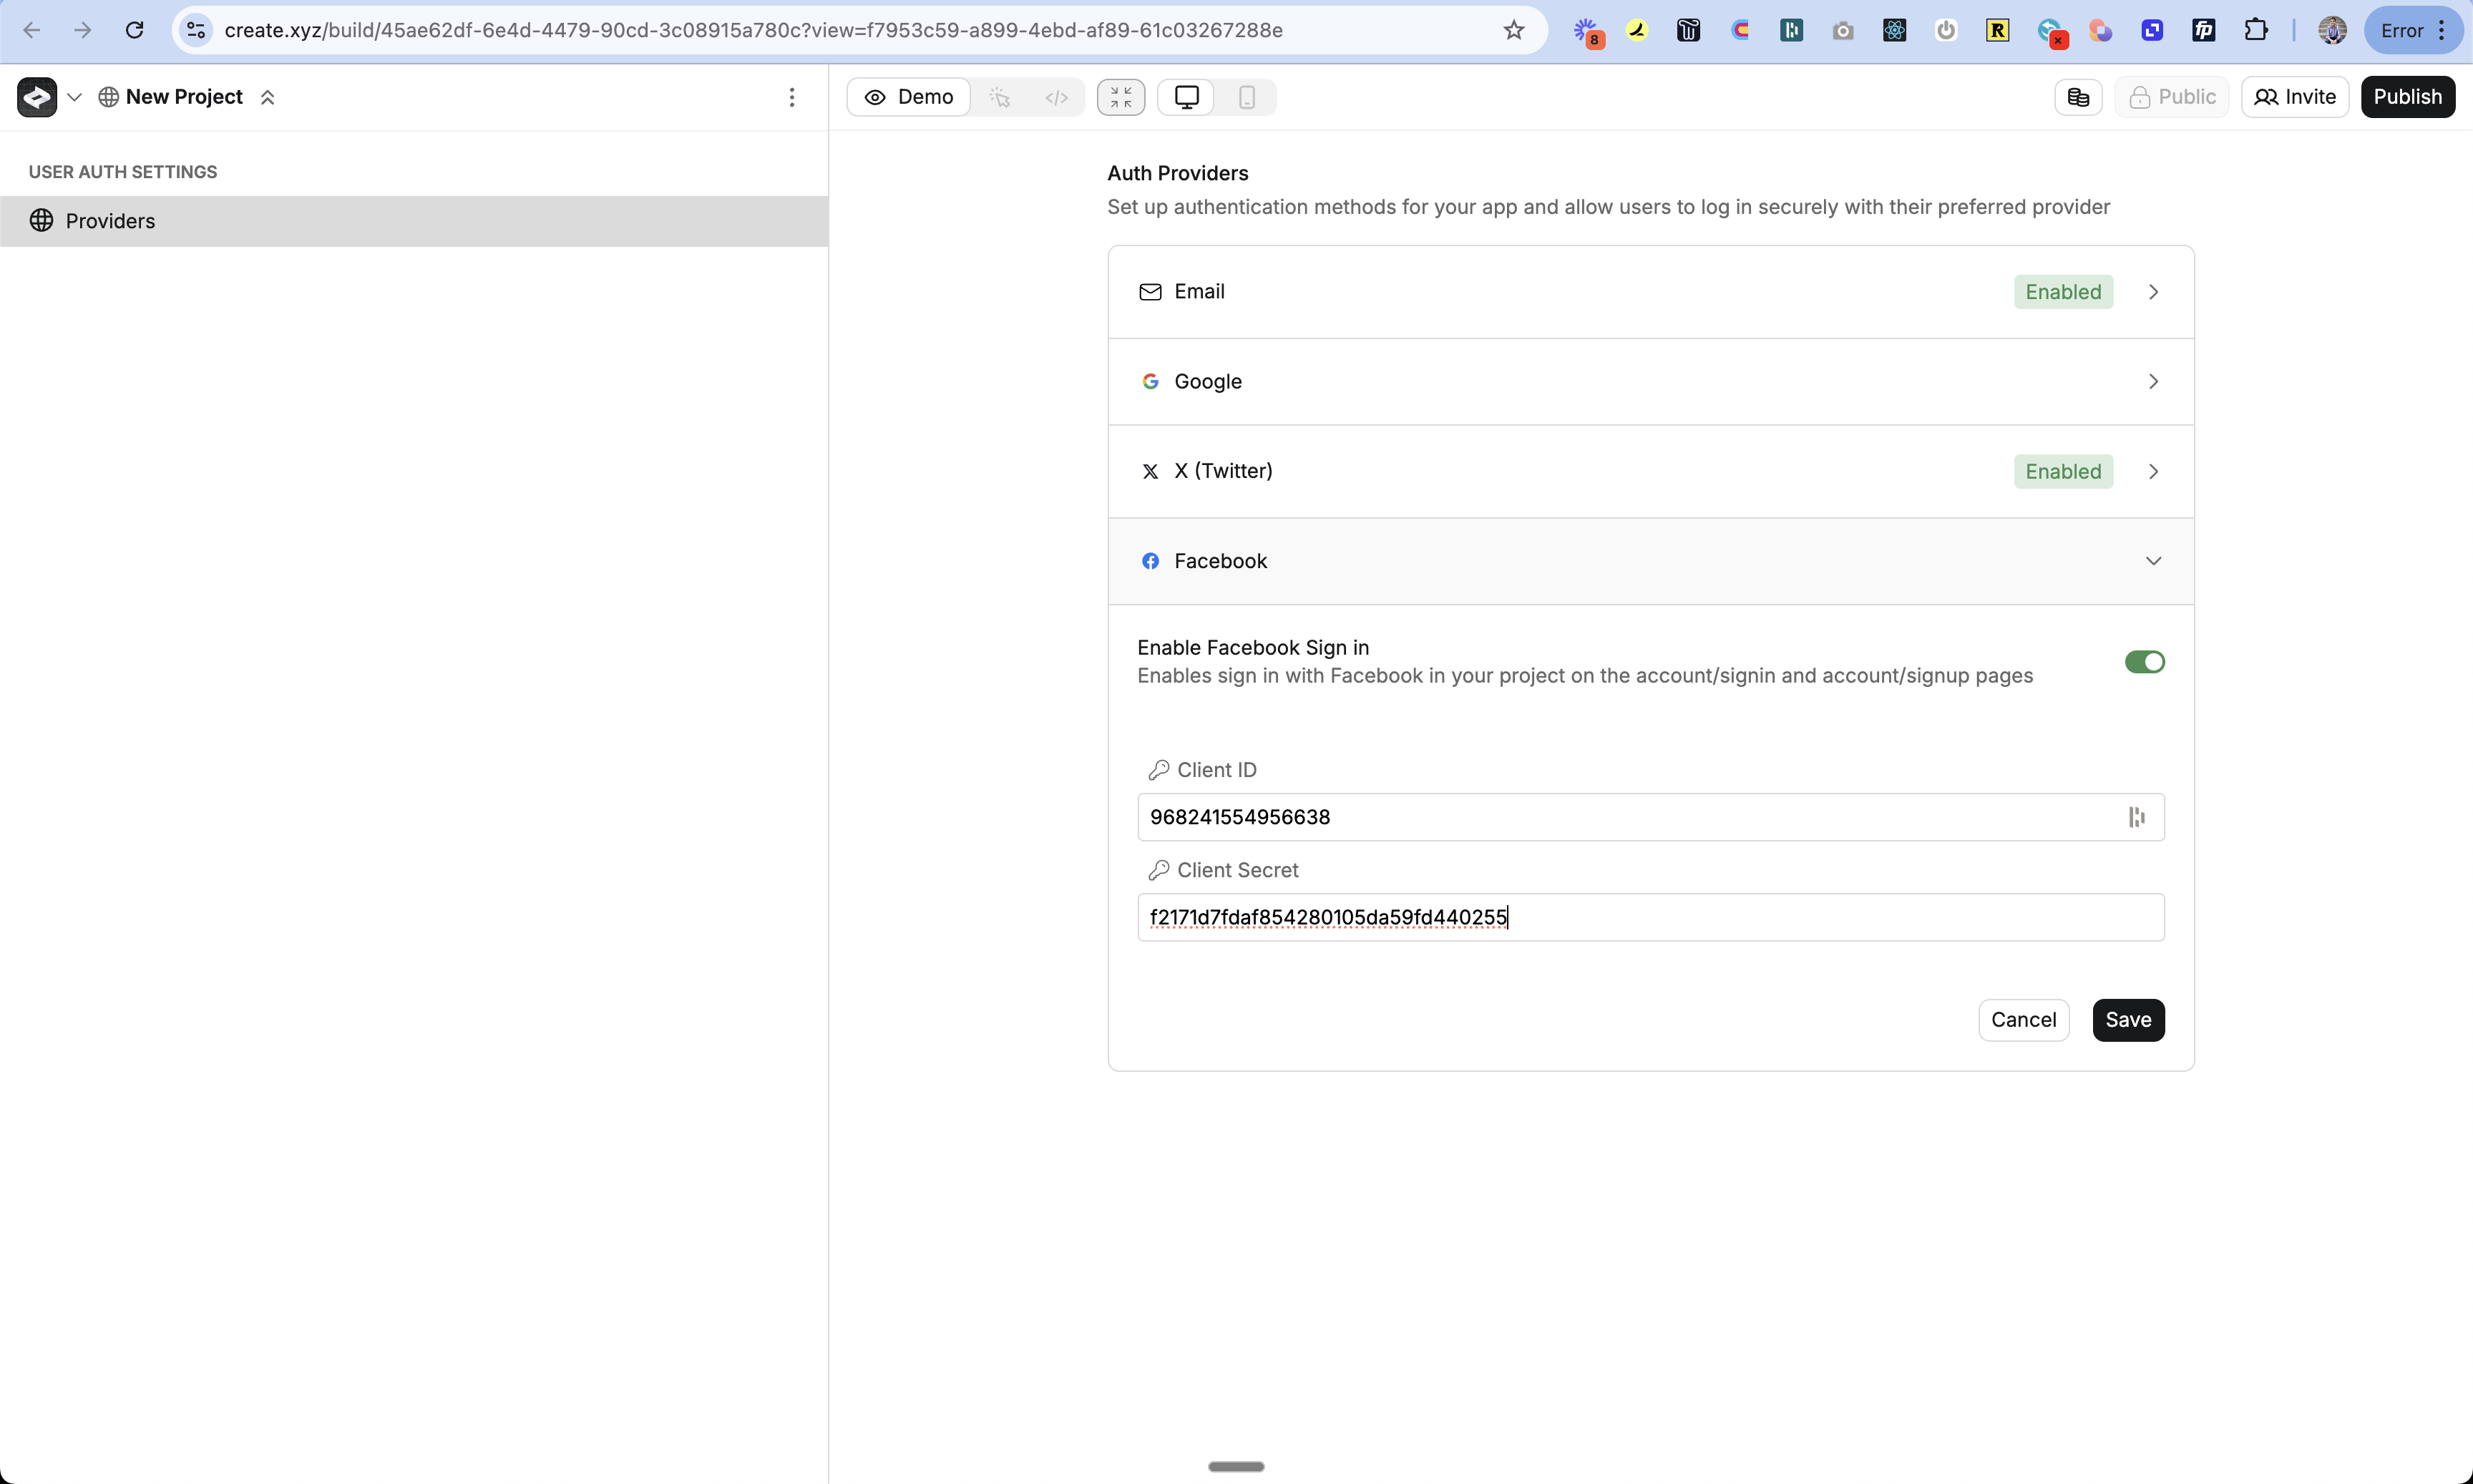
Add keys to Anything
Add credentials to Anything
Add sign-in UI
Customize the login button
Test flow
Make sure login works
Facebook Setup
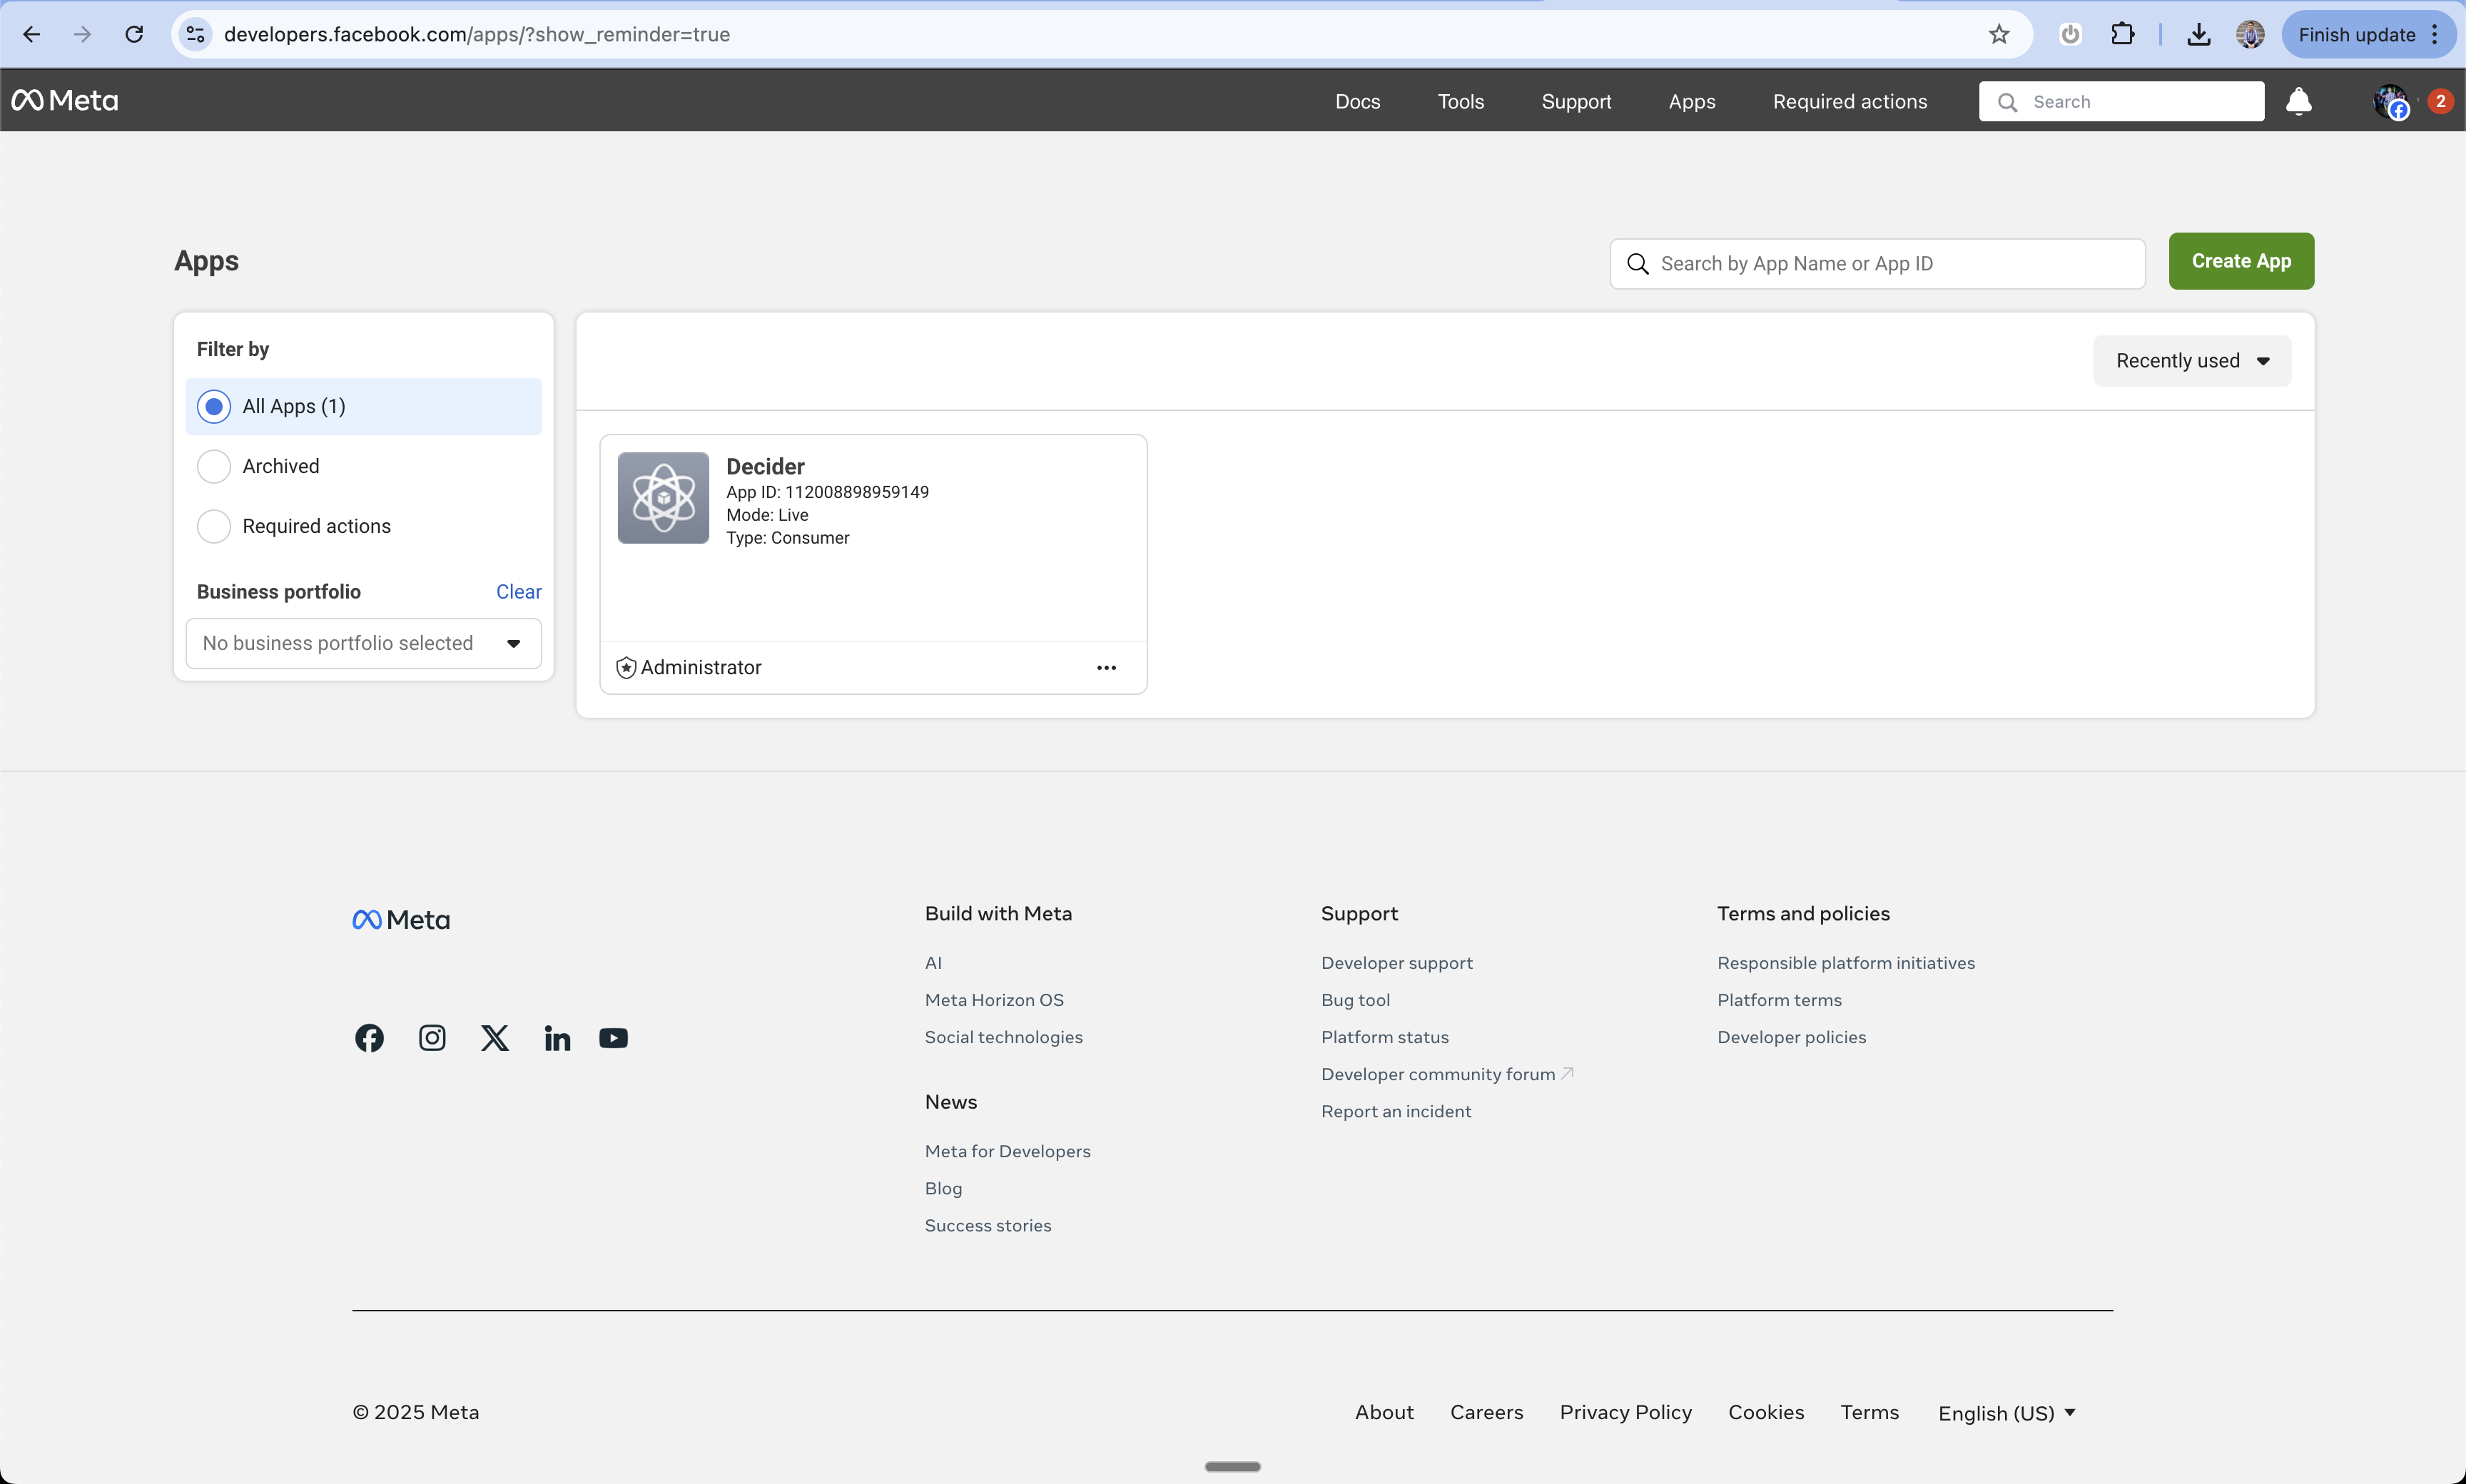
Access Facebook Developers
- Go to Facebook for Developers
- Sign in with your Facebook account
- Click “My Apps” in the top right

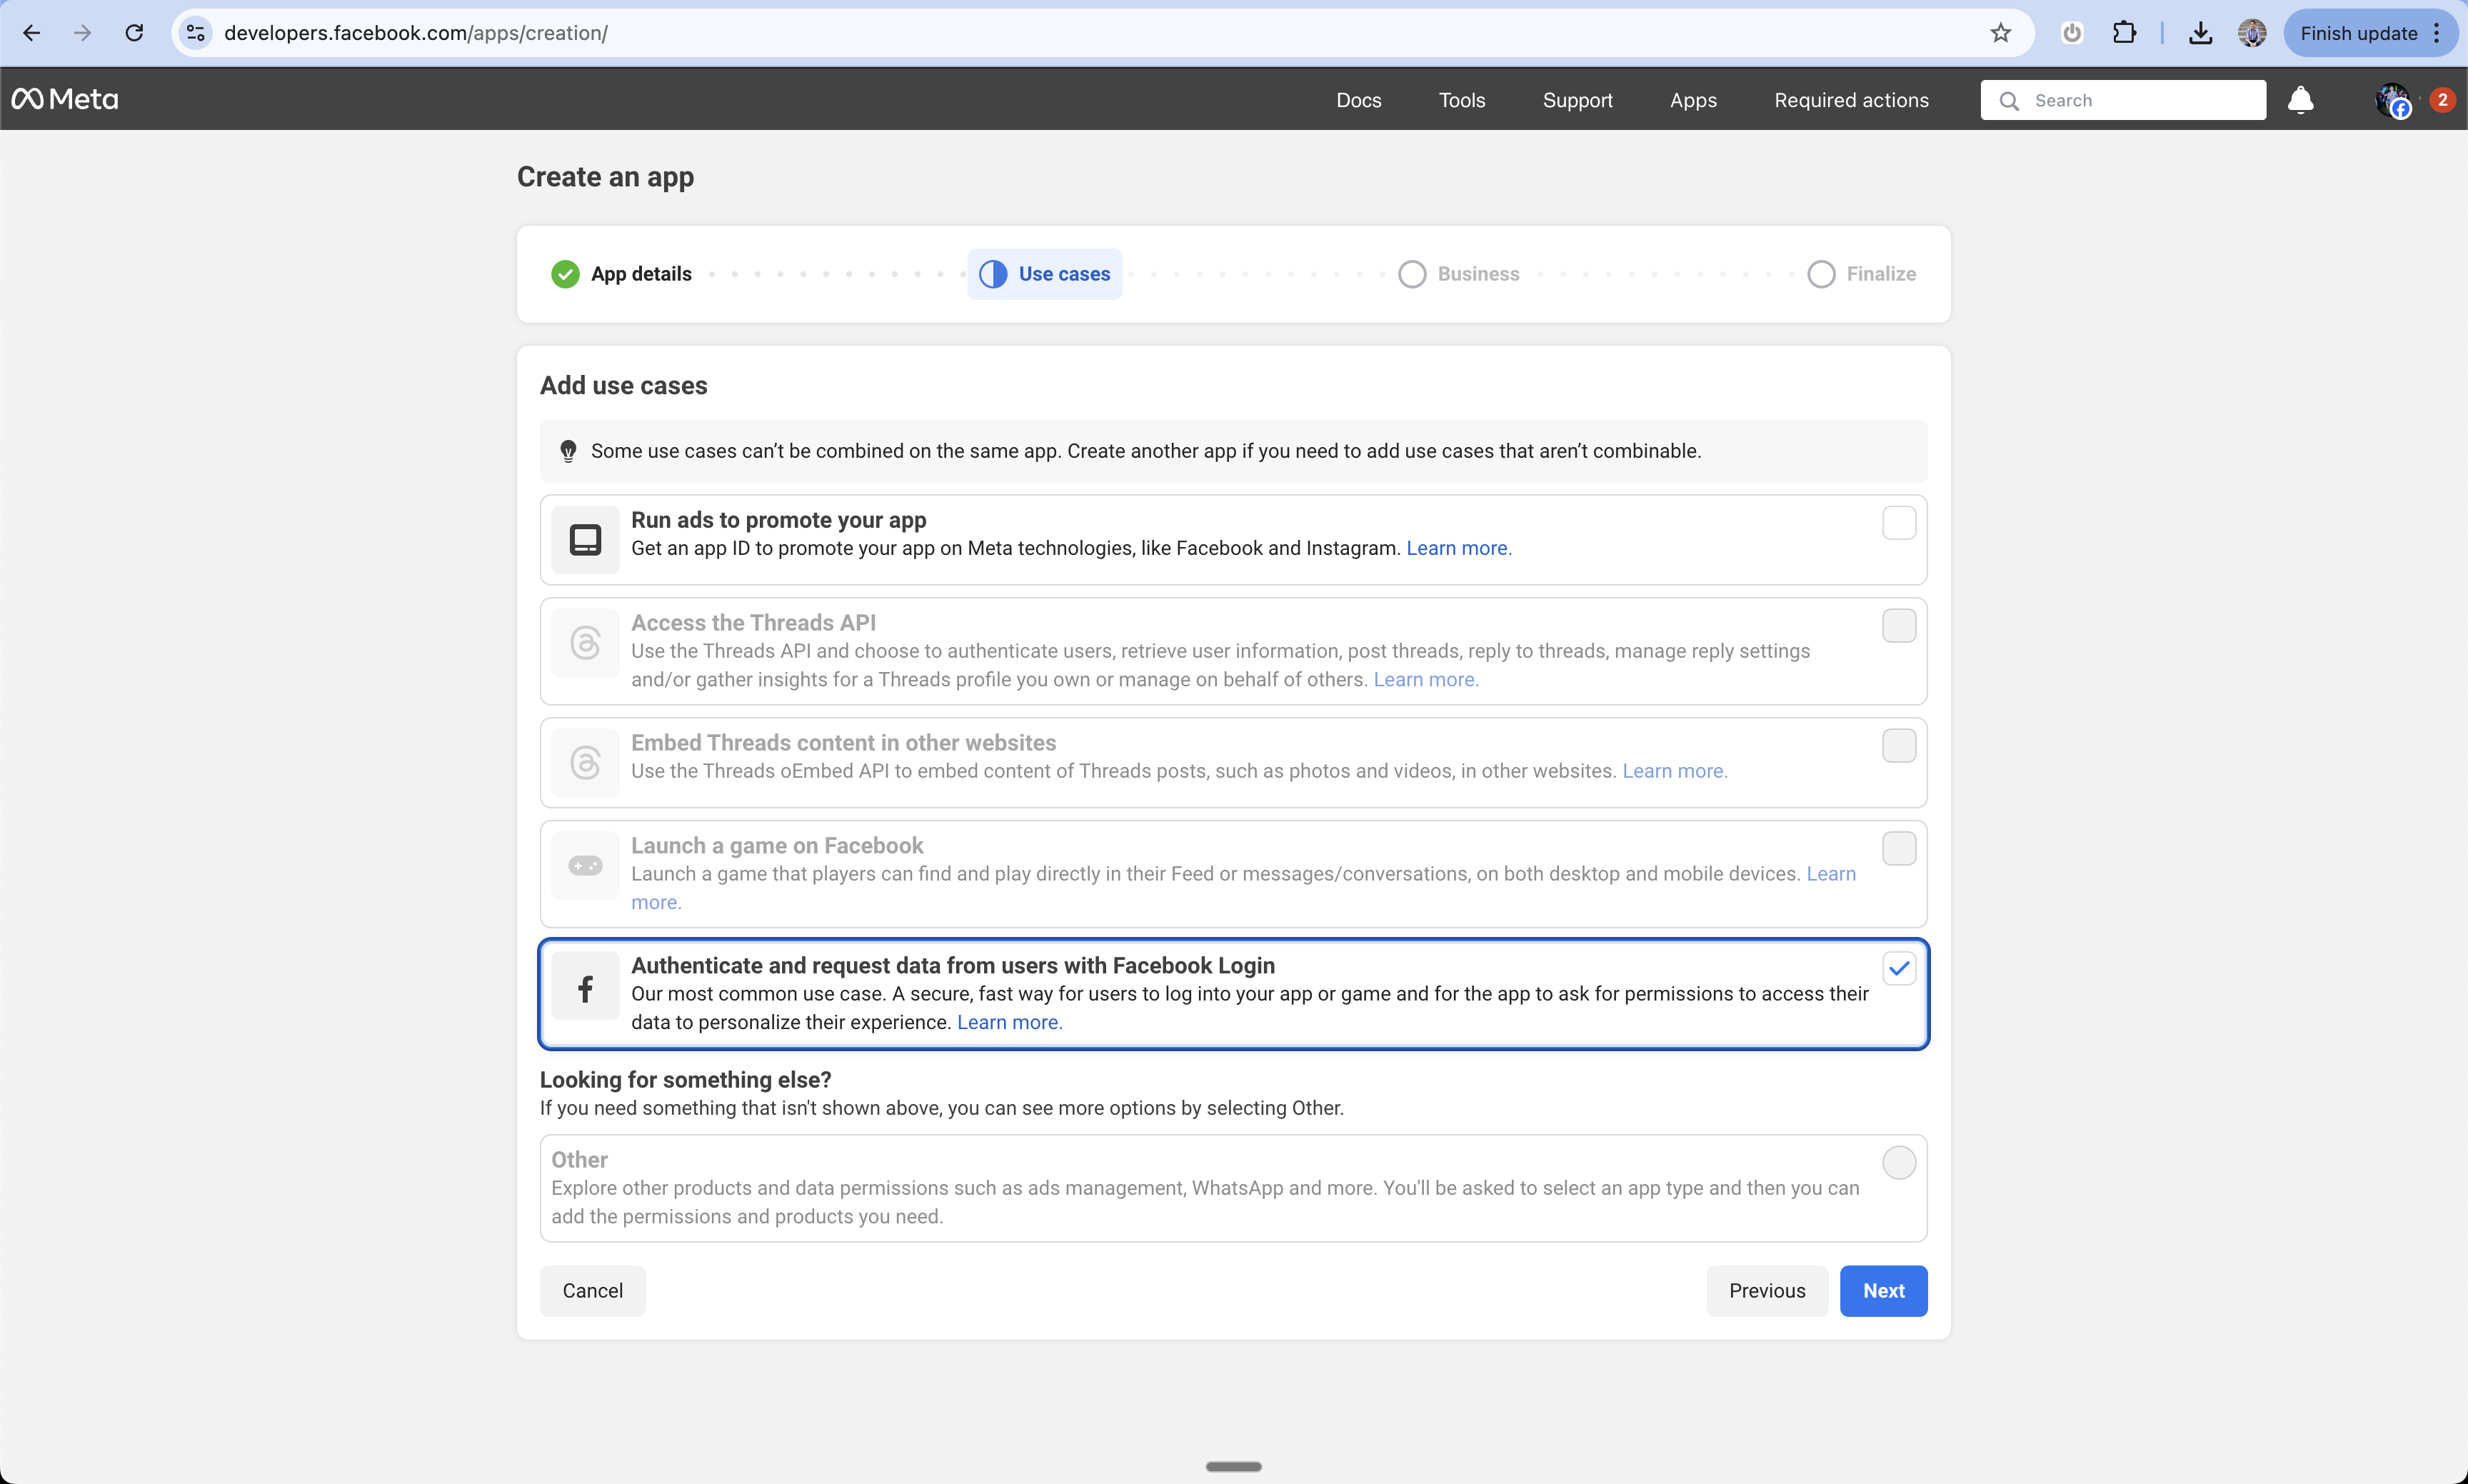
Add Facebook Login
- On the product selection screen
- Find and select “Facebook Login”
- This will add the login capability to your app
Business Portfolio Setup
- Choose whether to add your app to a business portfolio
- You can skip this step for now during development
- You’ll need to complete this before launching

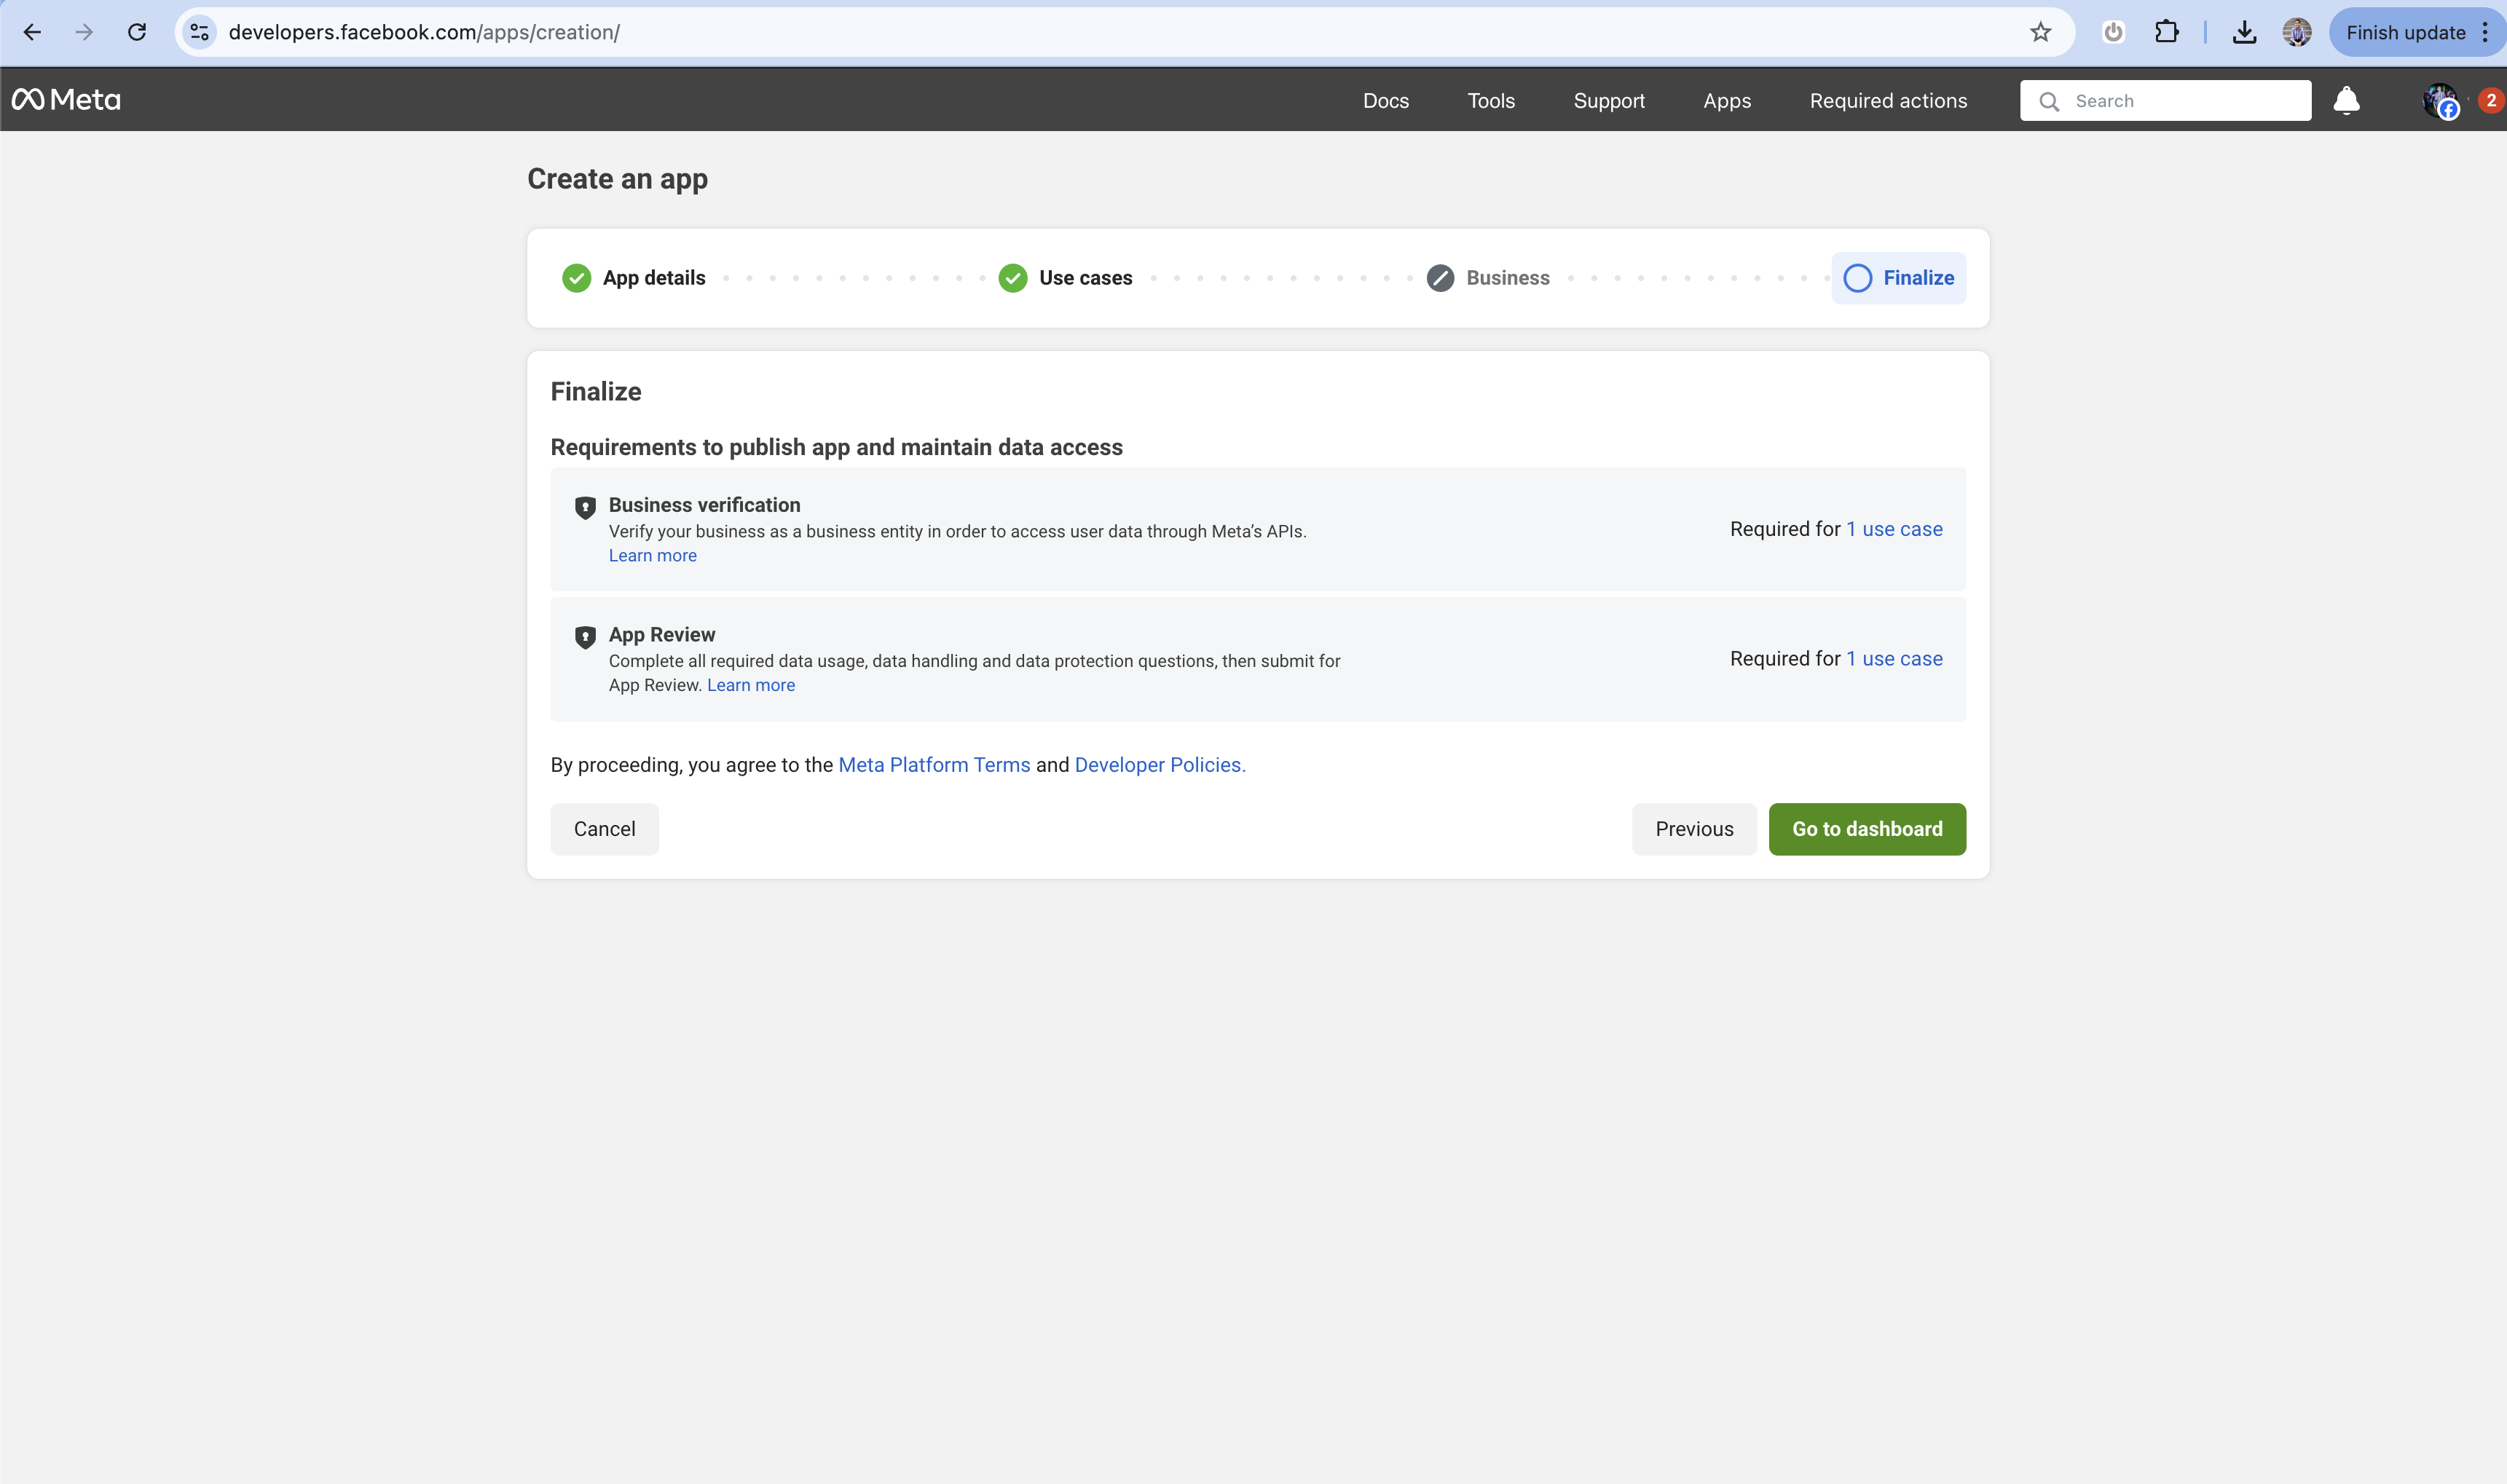
Complete Initial Setup
- Click “Go to Dashboard” to finalize the initial setup
- This will take you to your app’s main dashboard
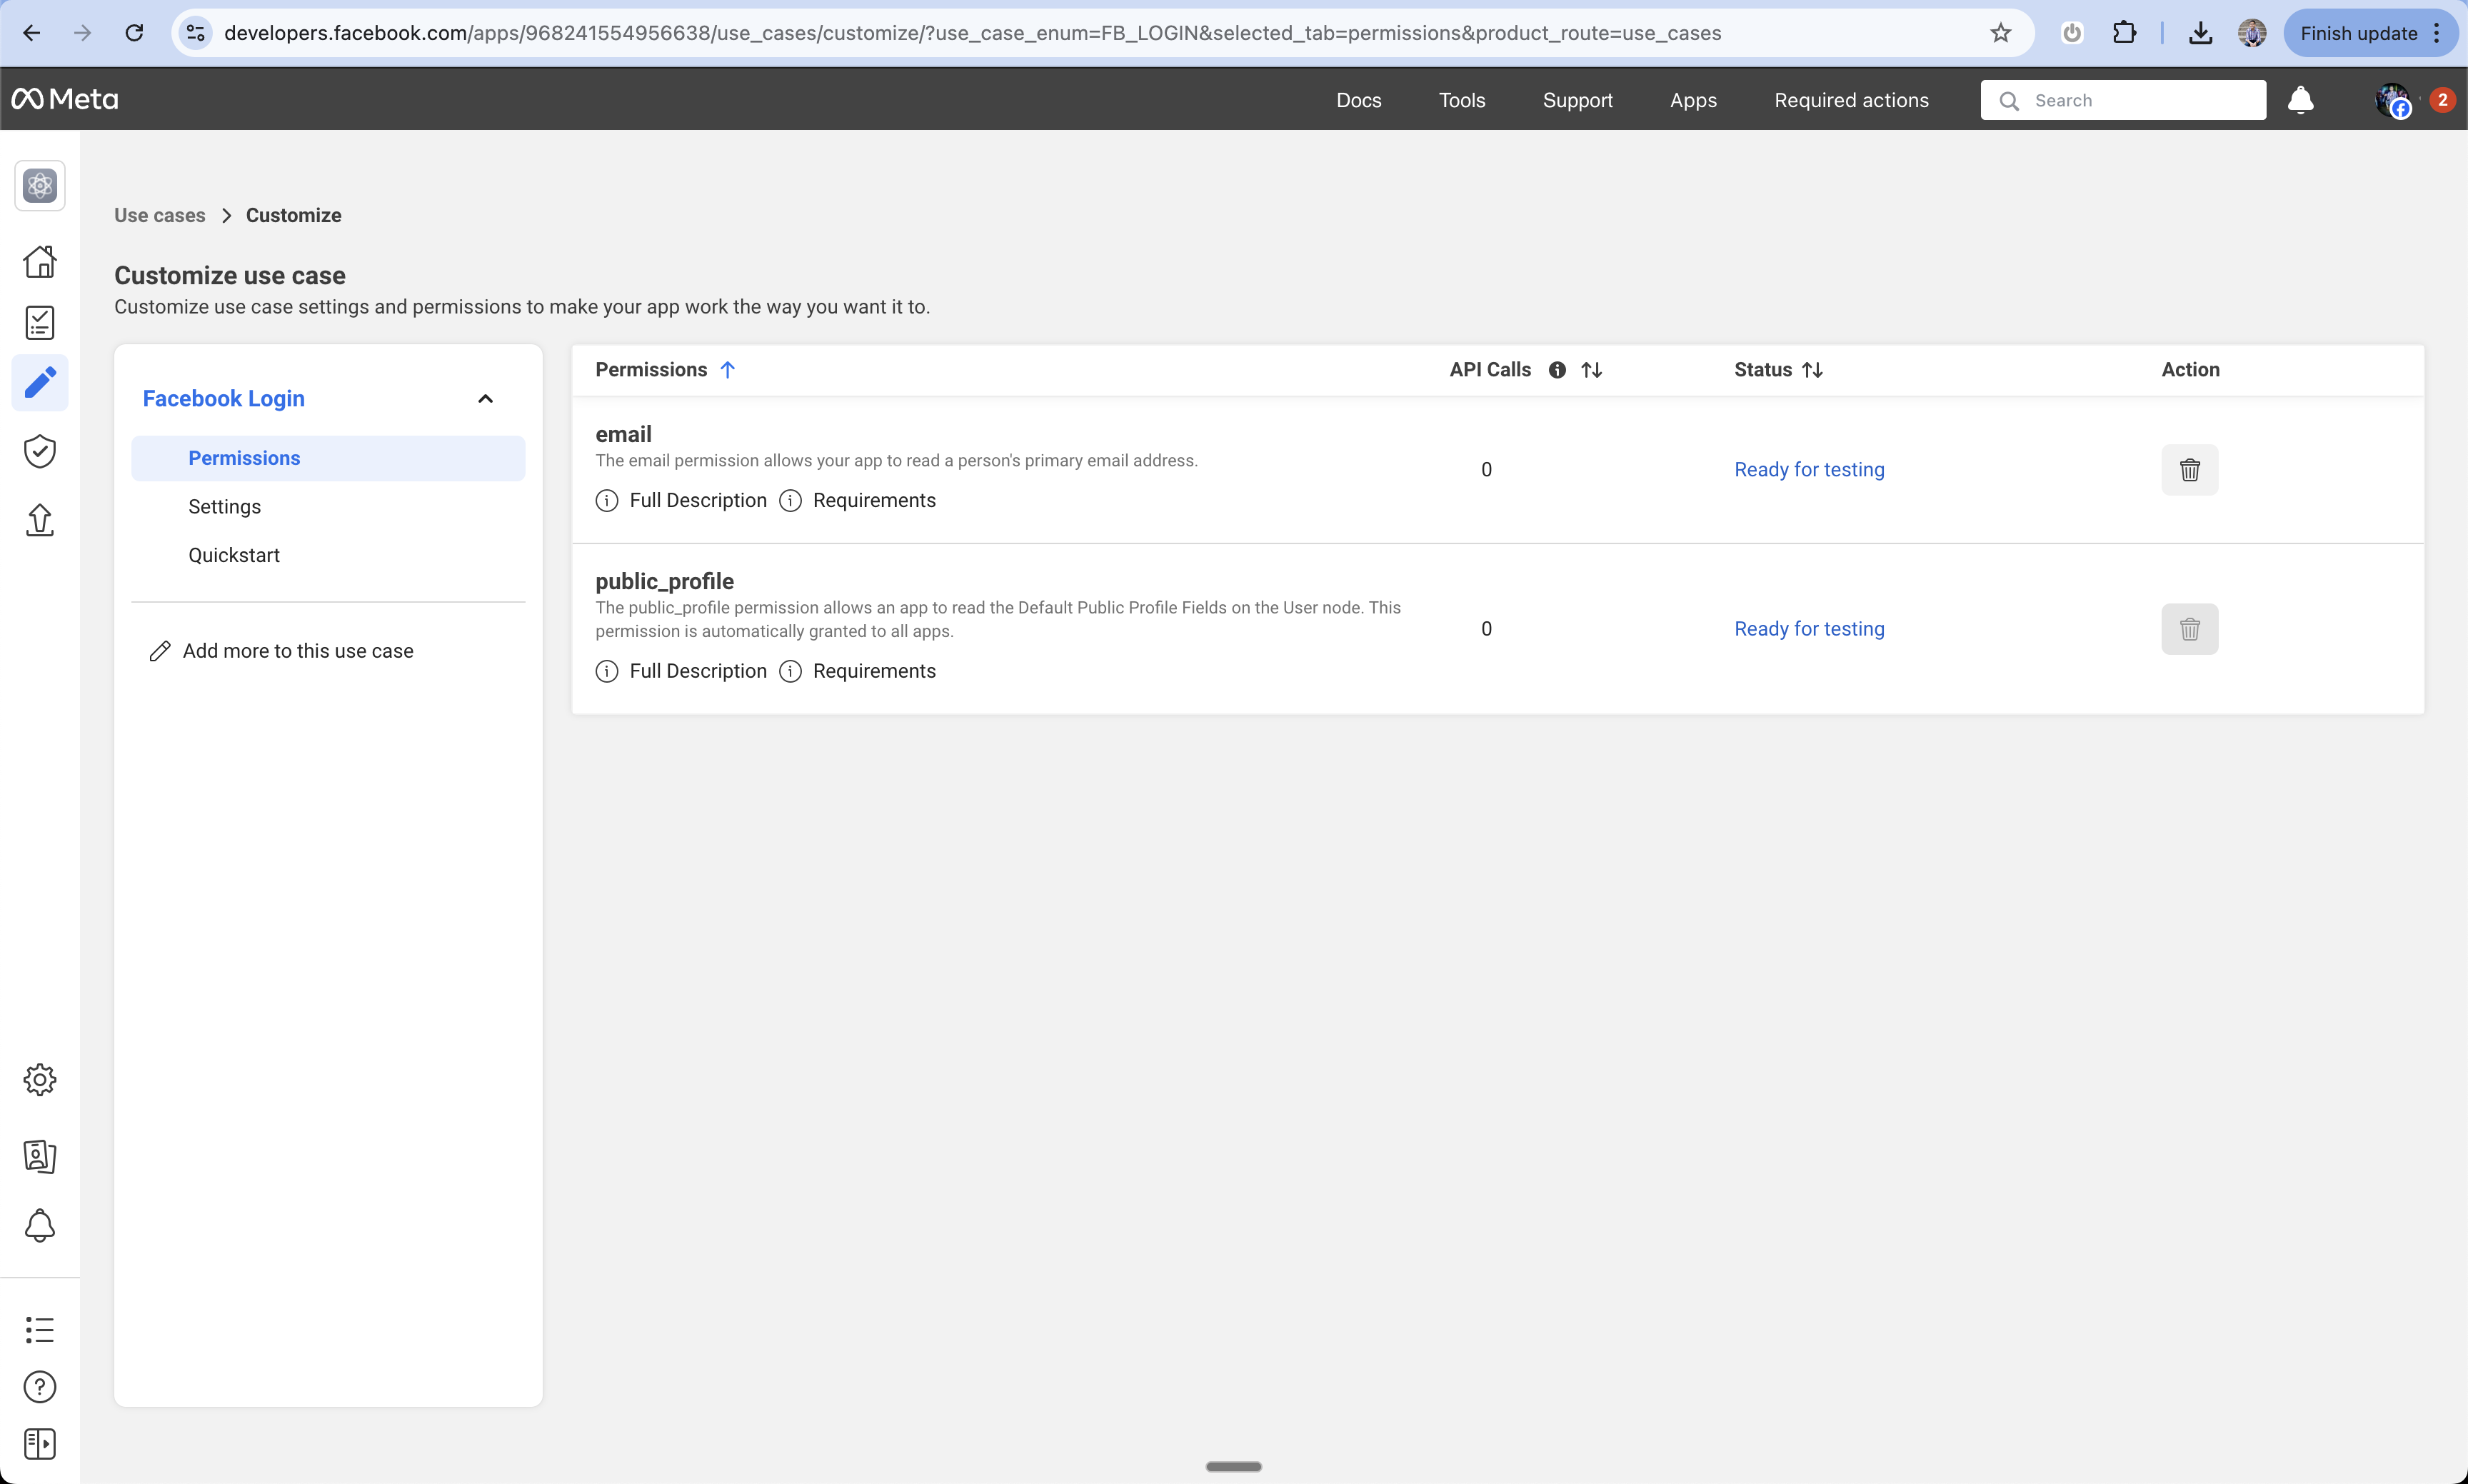
Configure Email Permission (Optional)
- Navigate to App Settings > Permissions
- Add the email permission if you want to receive user email addresses
- This is optional but recommended if your app needs to email users
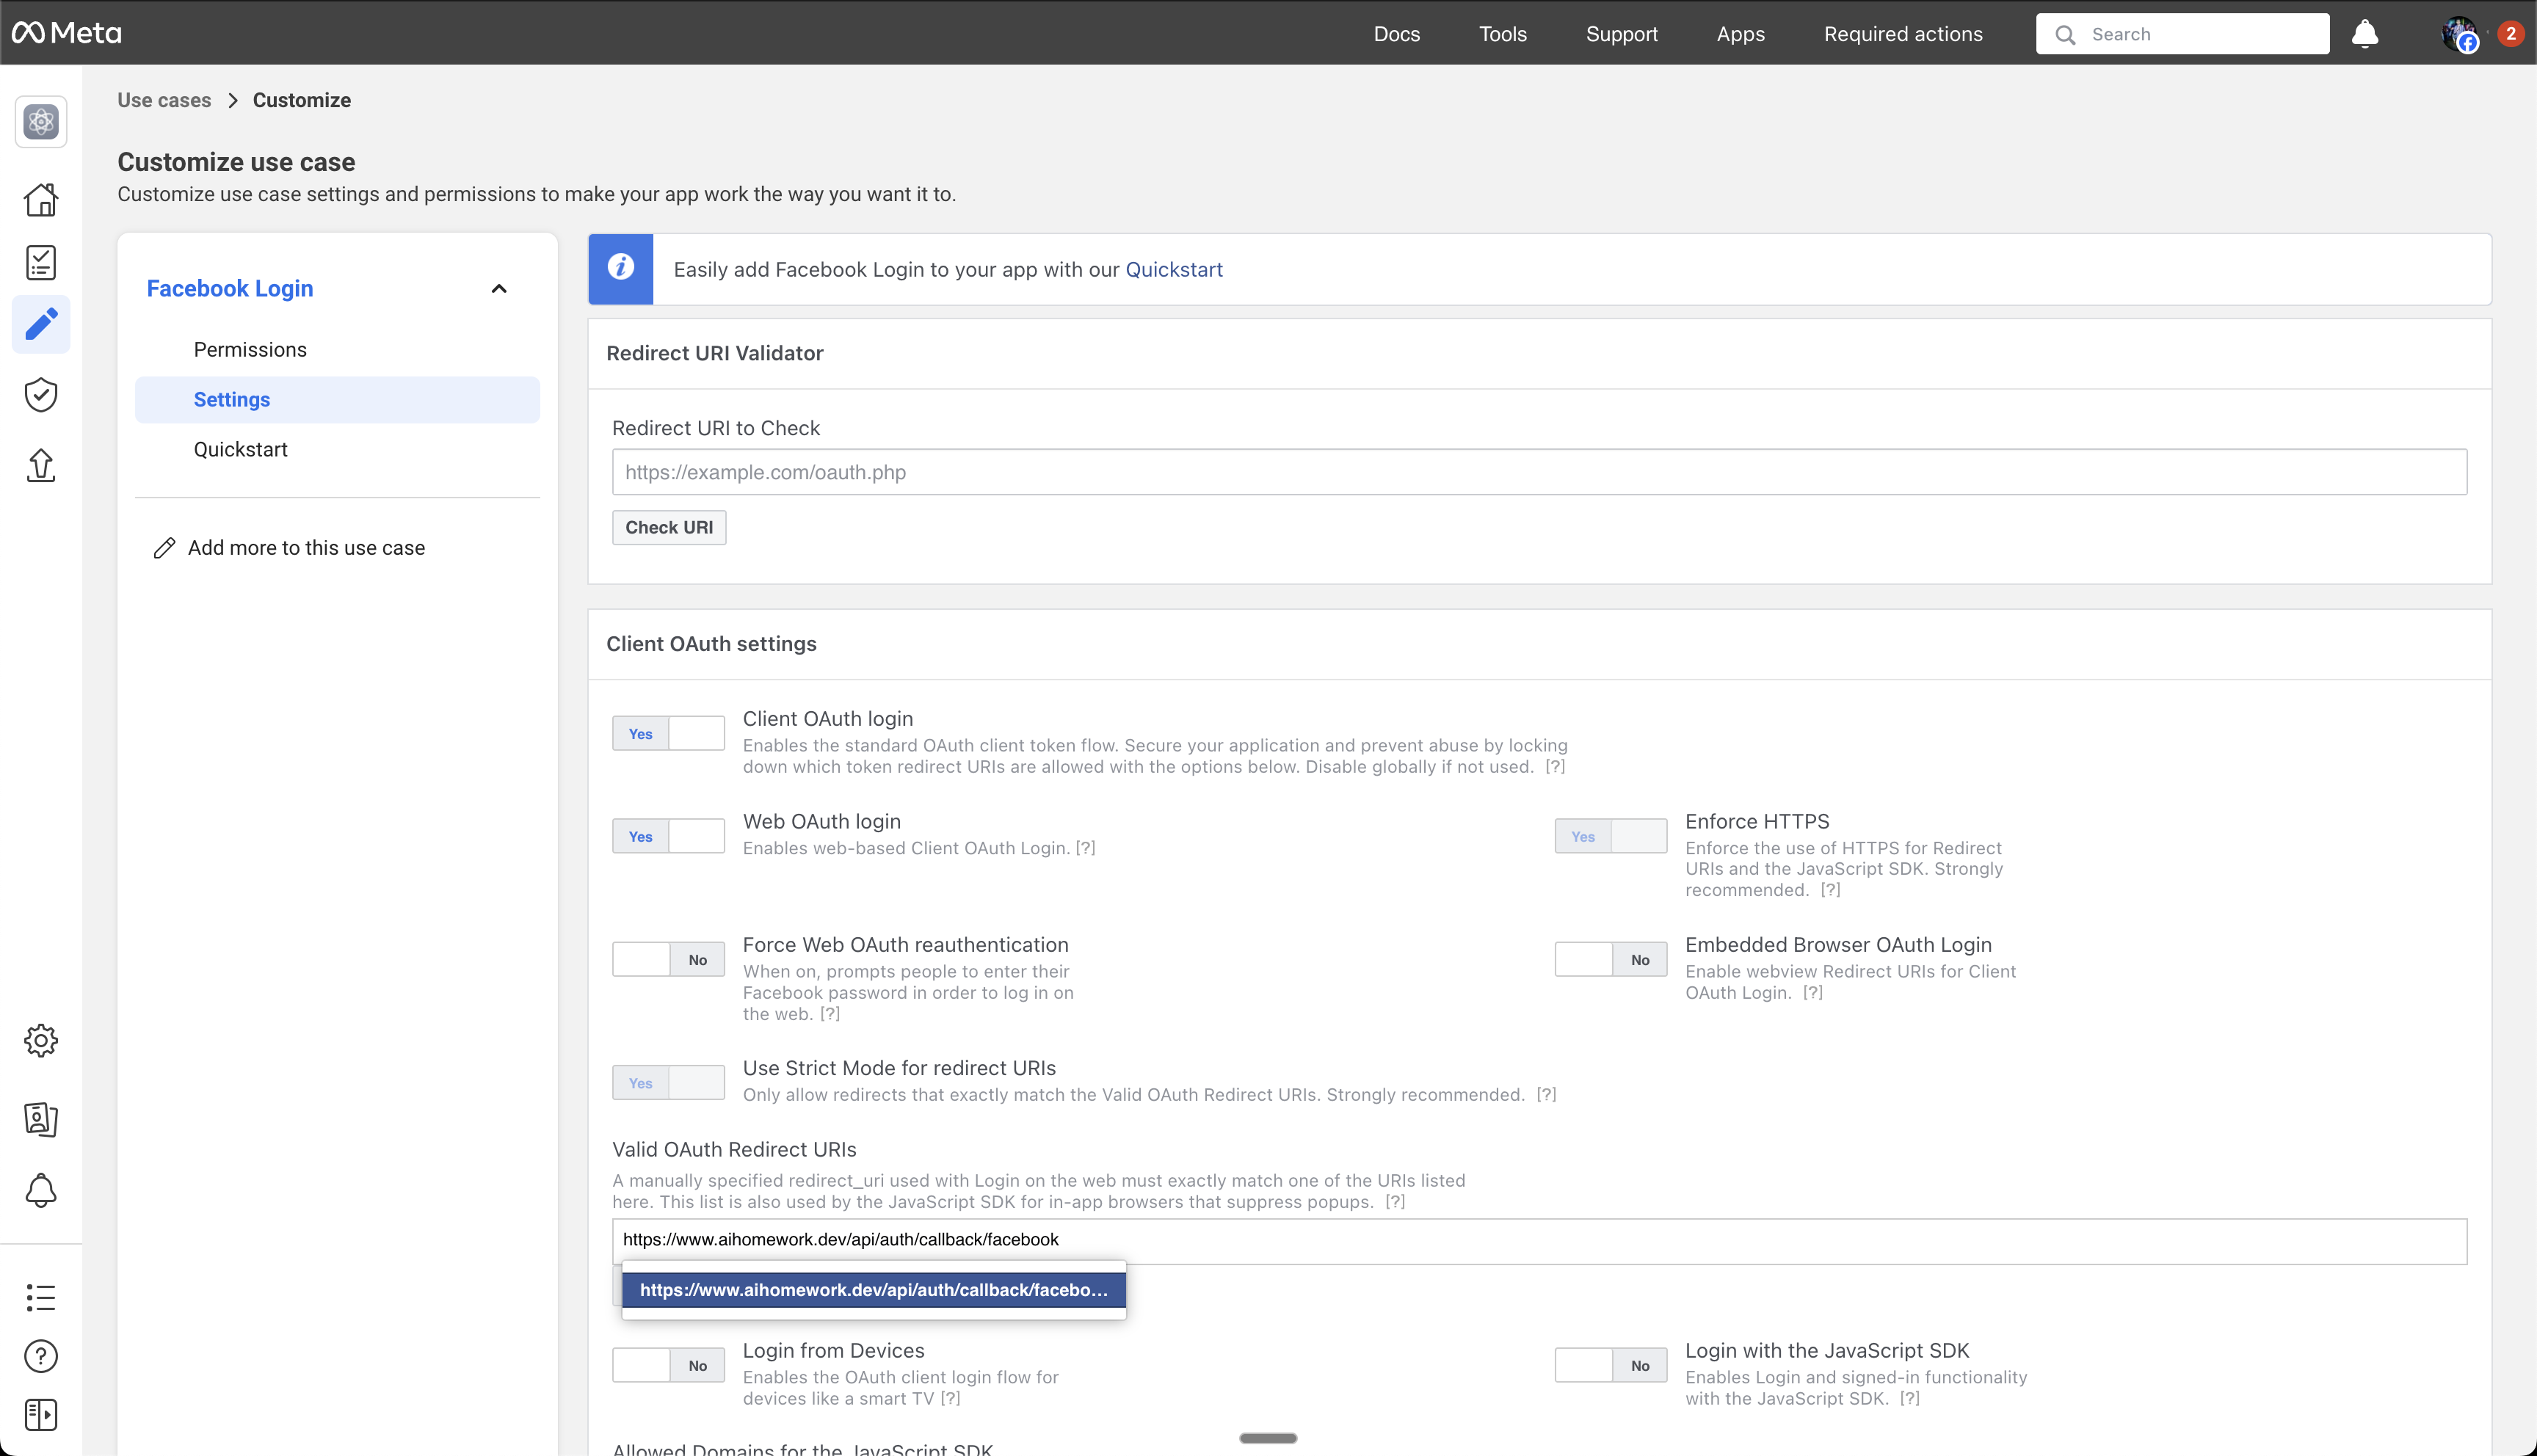
Access Settings
- In the left sidebar, click “Facebook Login > Settings”
- This is where you’ll configure the OAuth settings

Configure OAuth Redirect URI
- Under “Valid OAuth Redirect URIs”
- Add:
https://www.your-domain.com/api/auth/callback/facebook - Replace “your-domain.com” with your actual domain
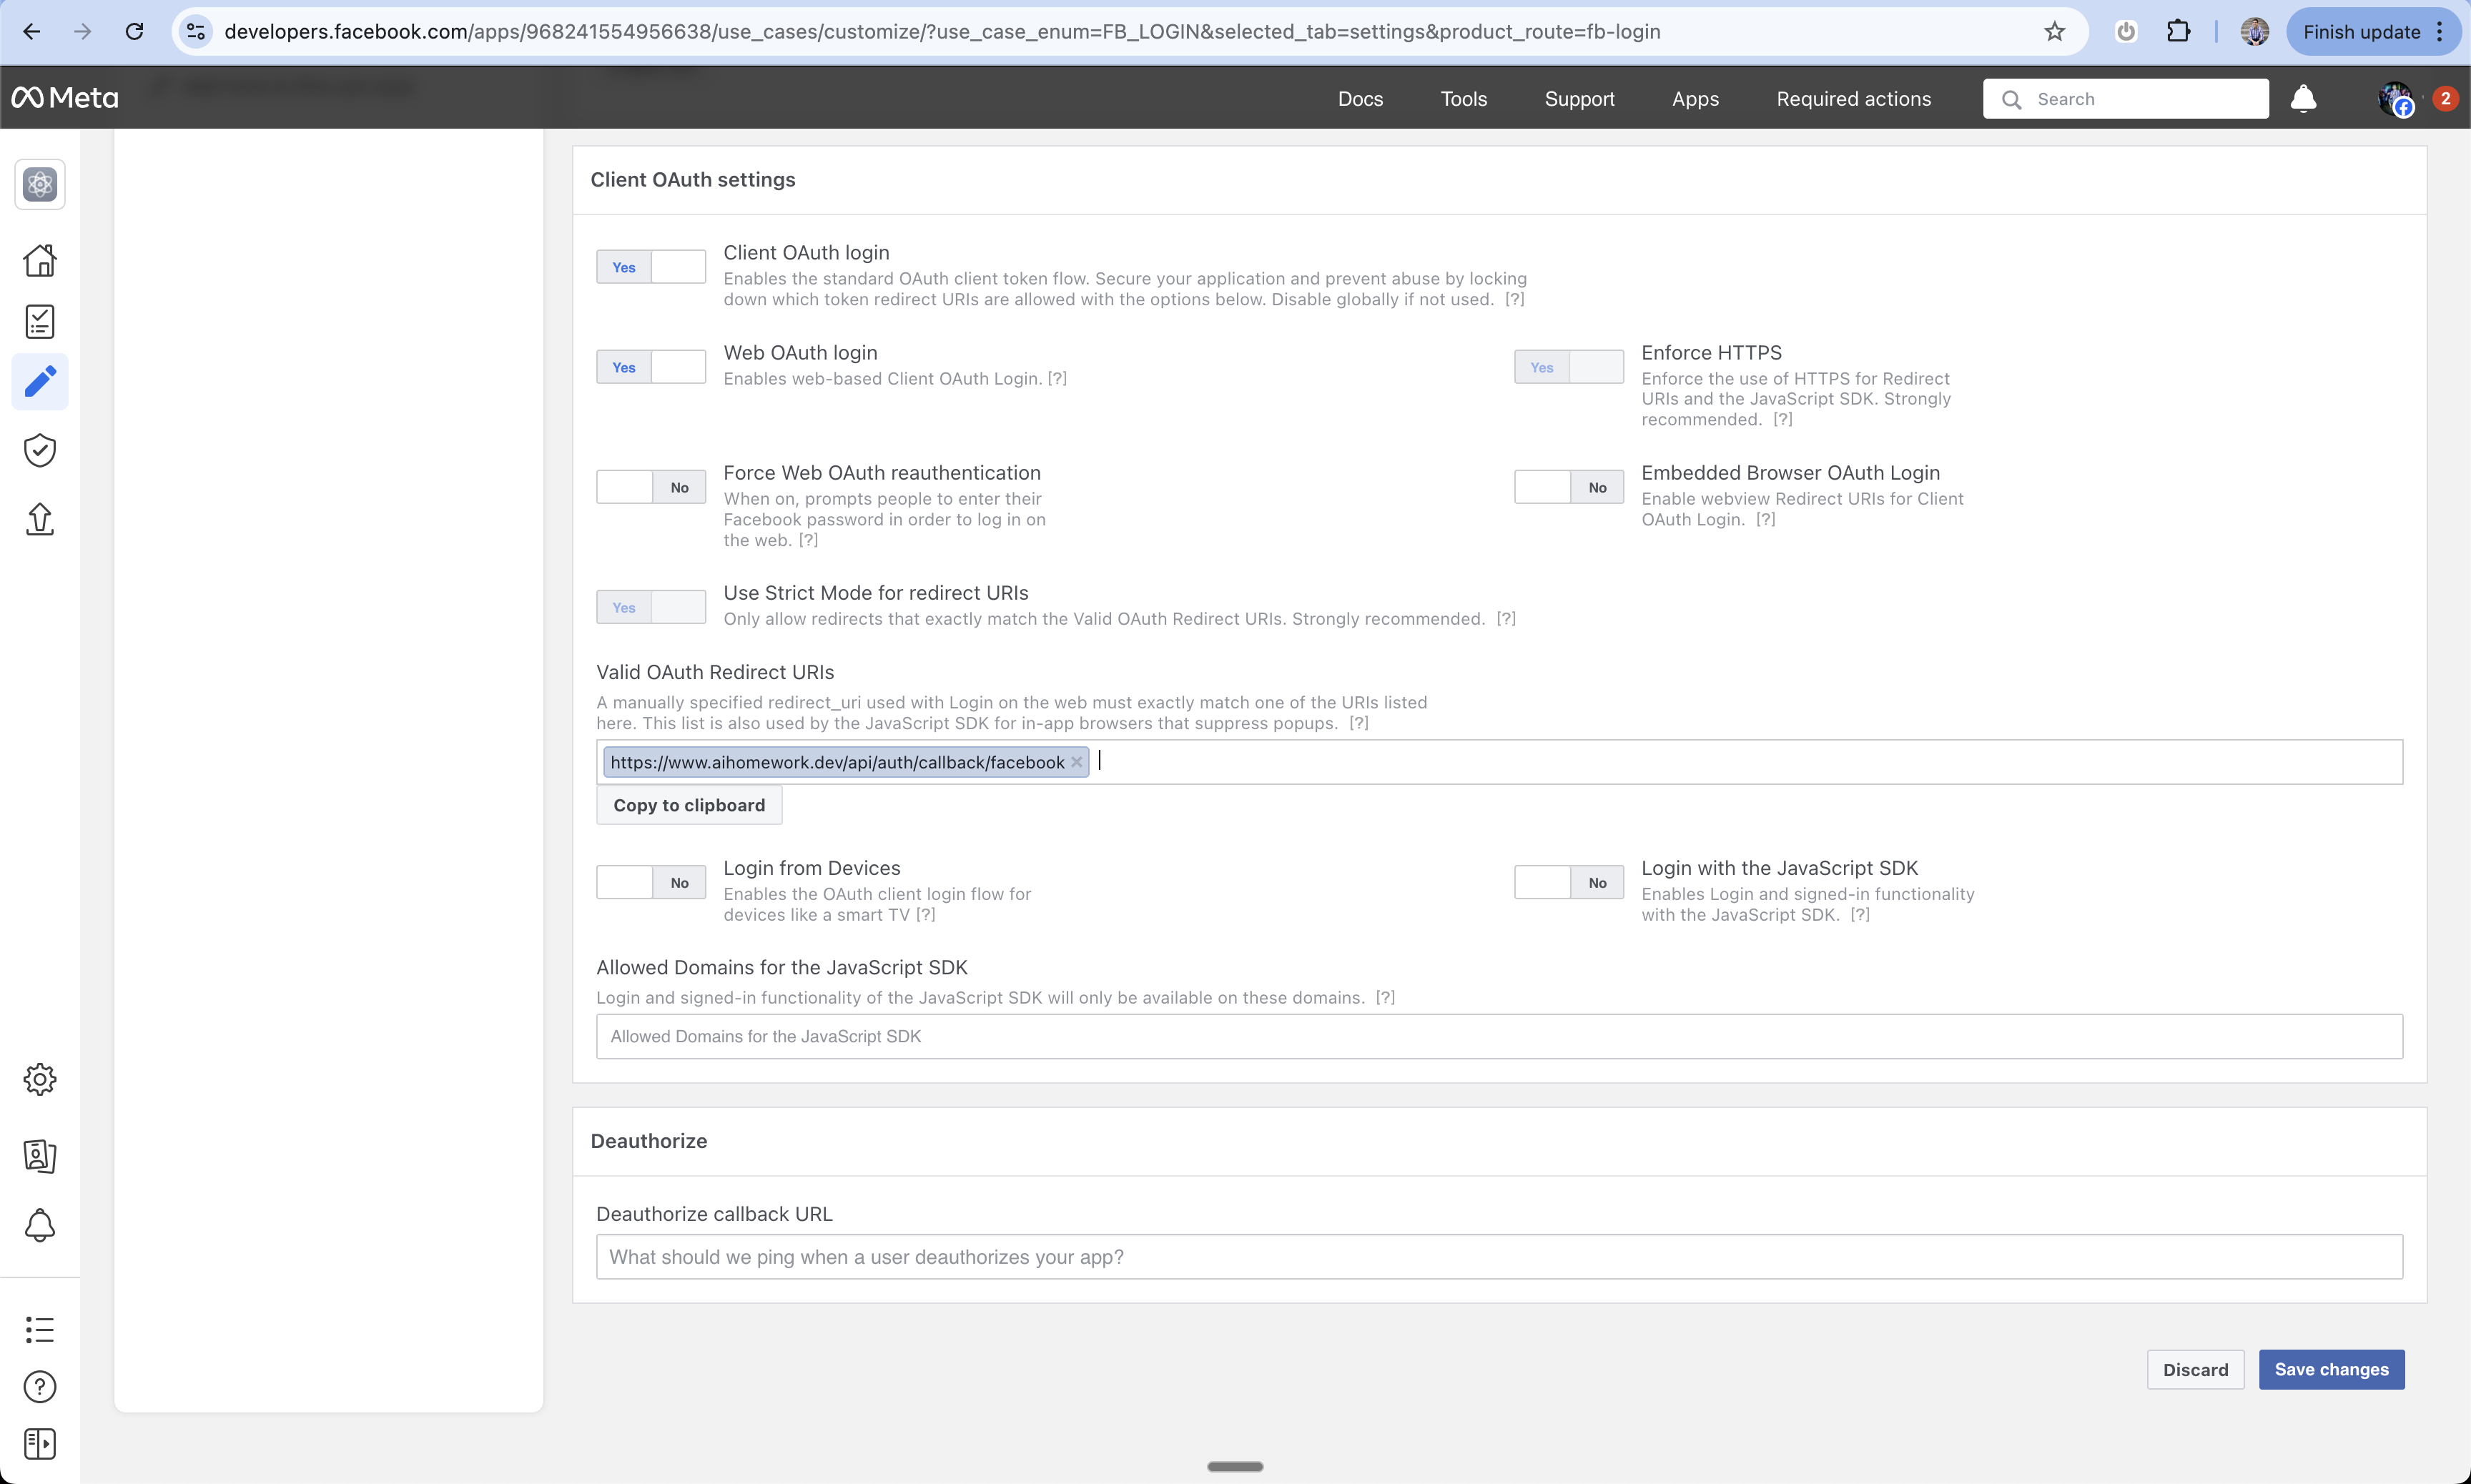
Save OAuth Settings
- Scroll to the bottom of the settings page
- Click “Save Changes” to store your OAuth configuration
Go to Basic Settings
- Navigate to Settings > Basic in the left sidebar
- This section contains your app credentials and core settings
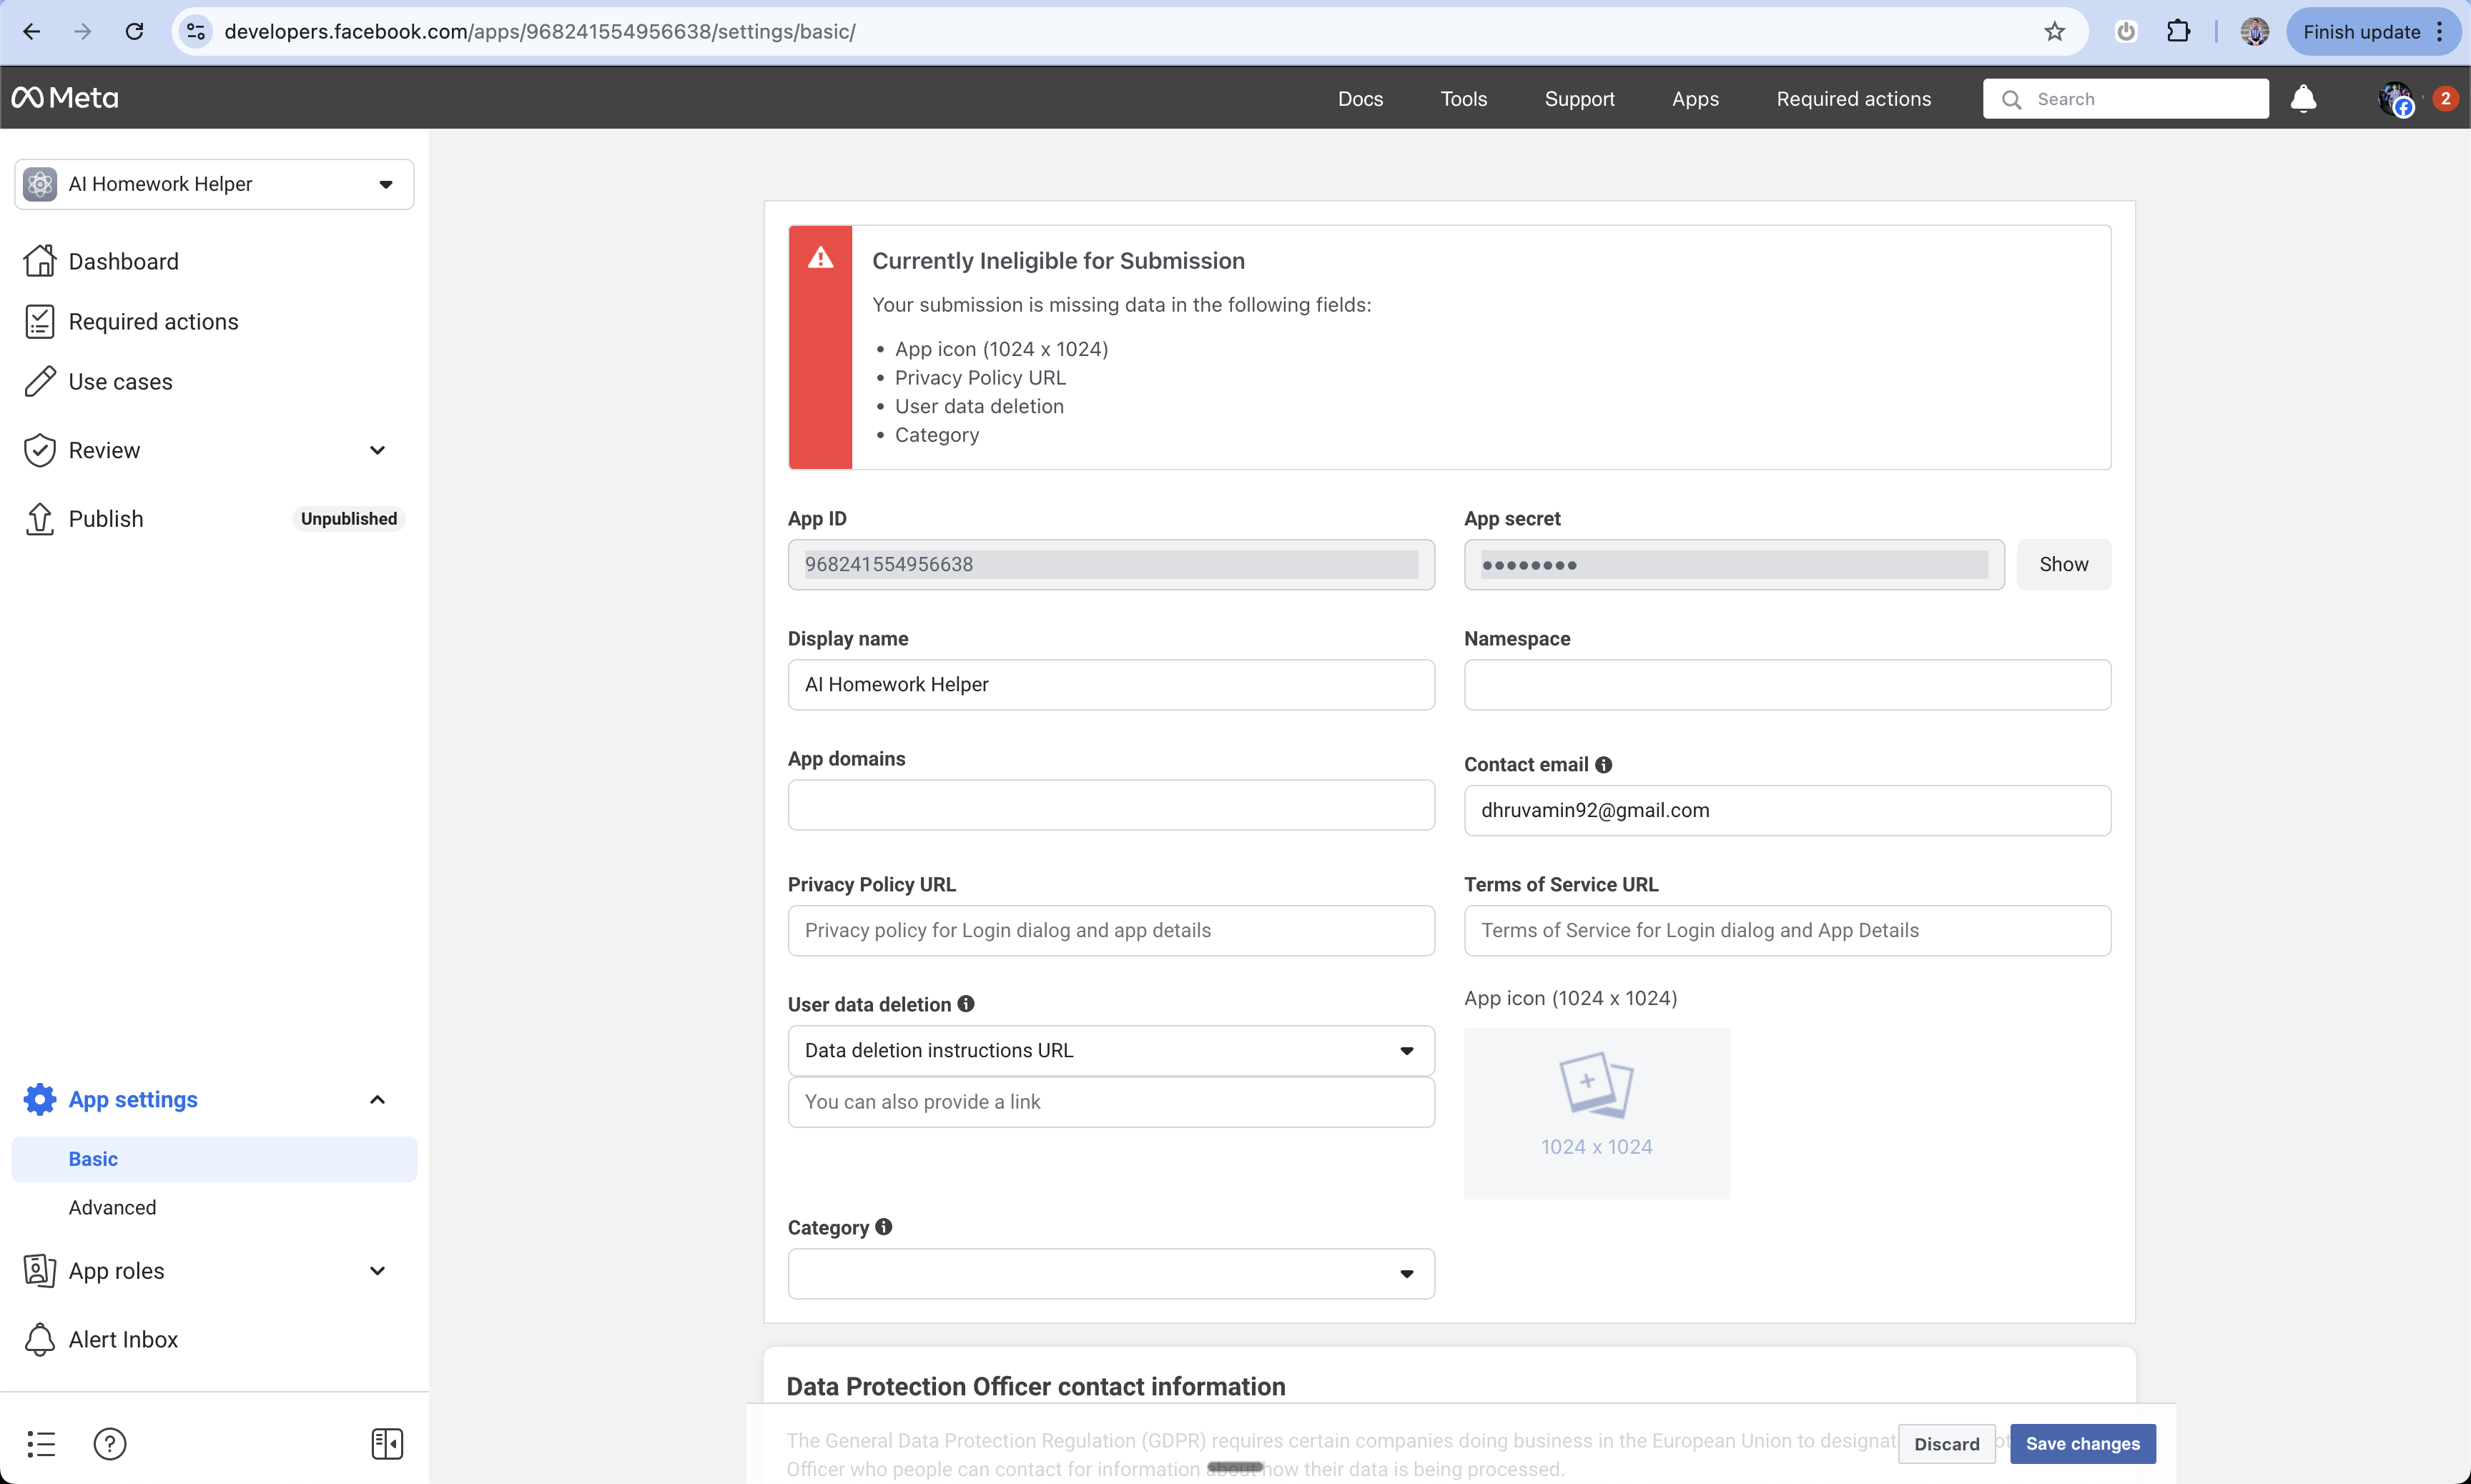
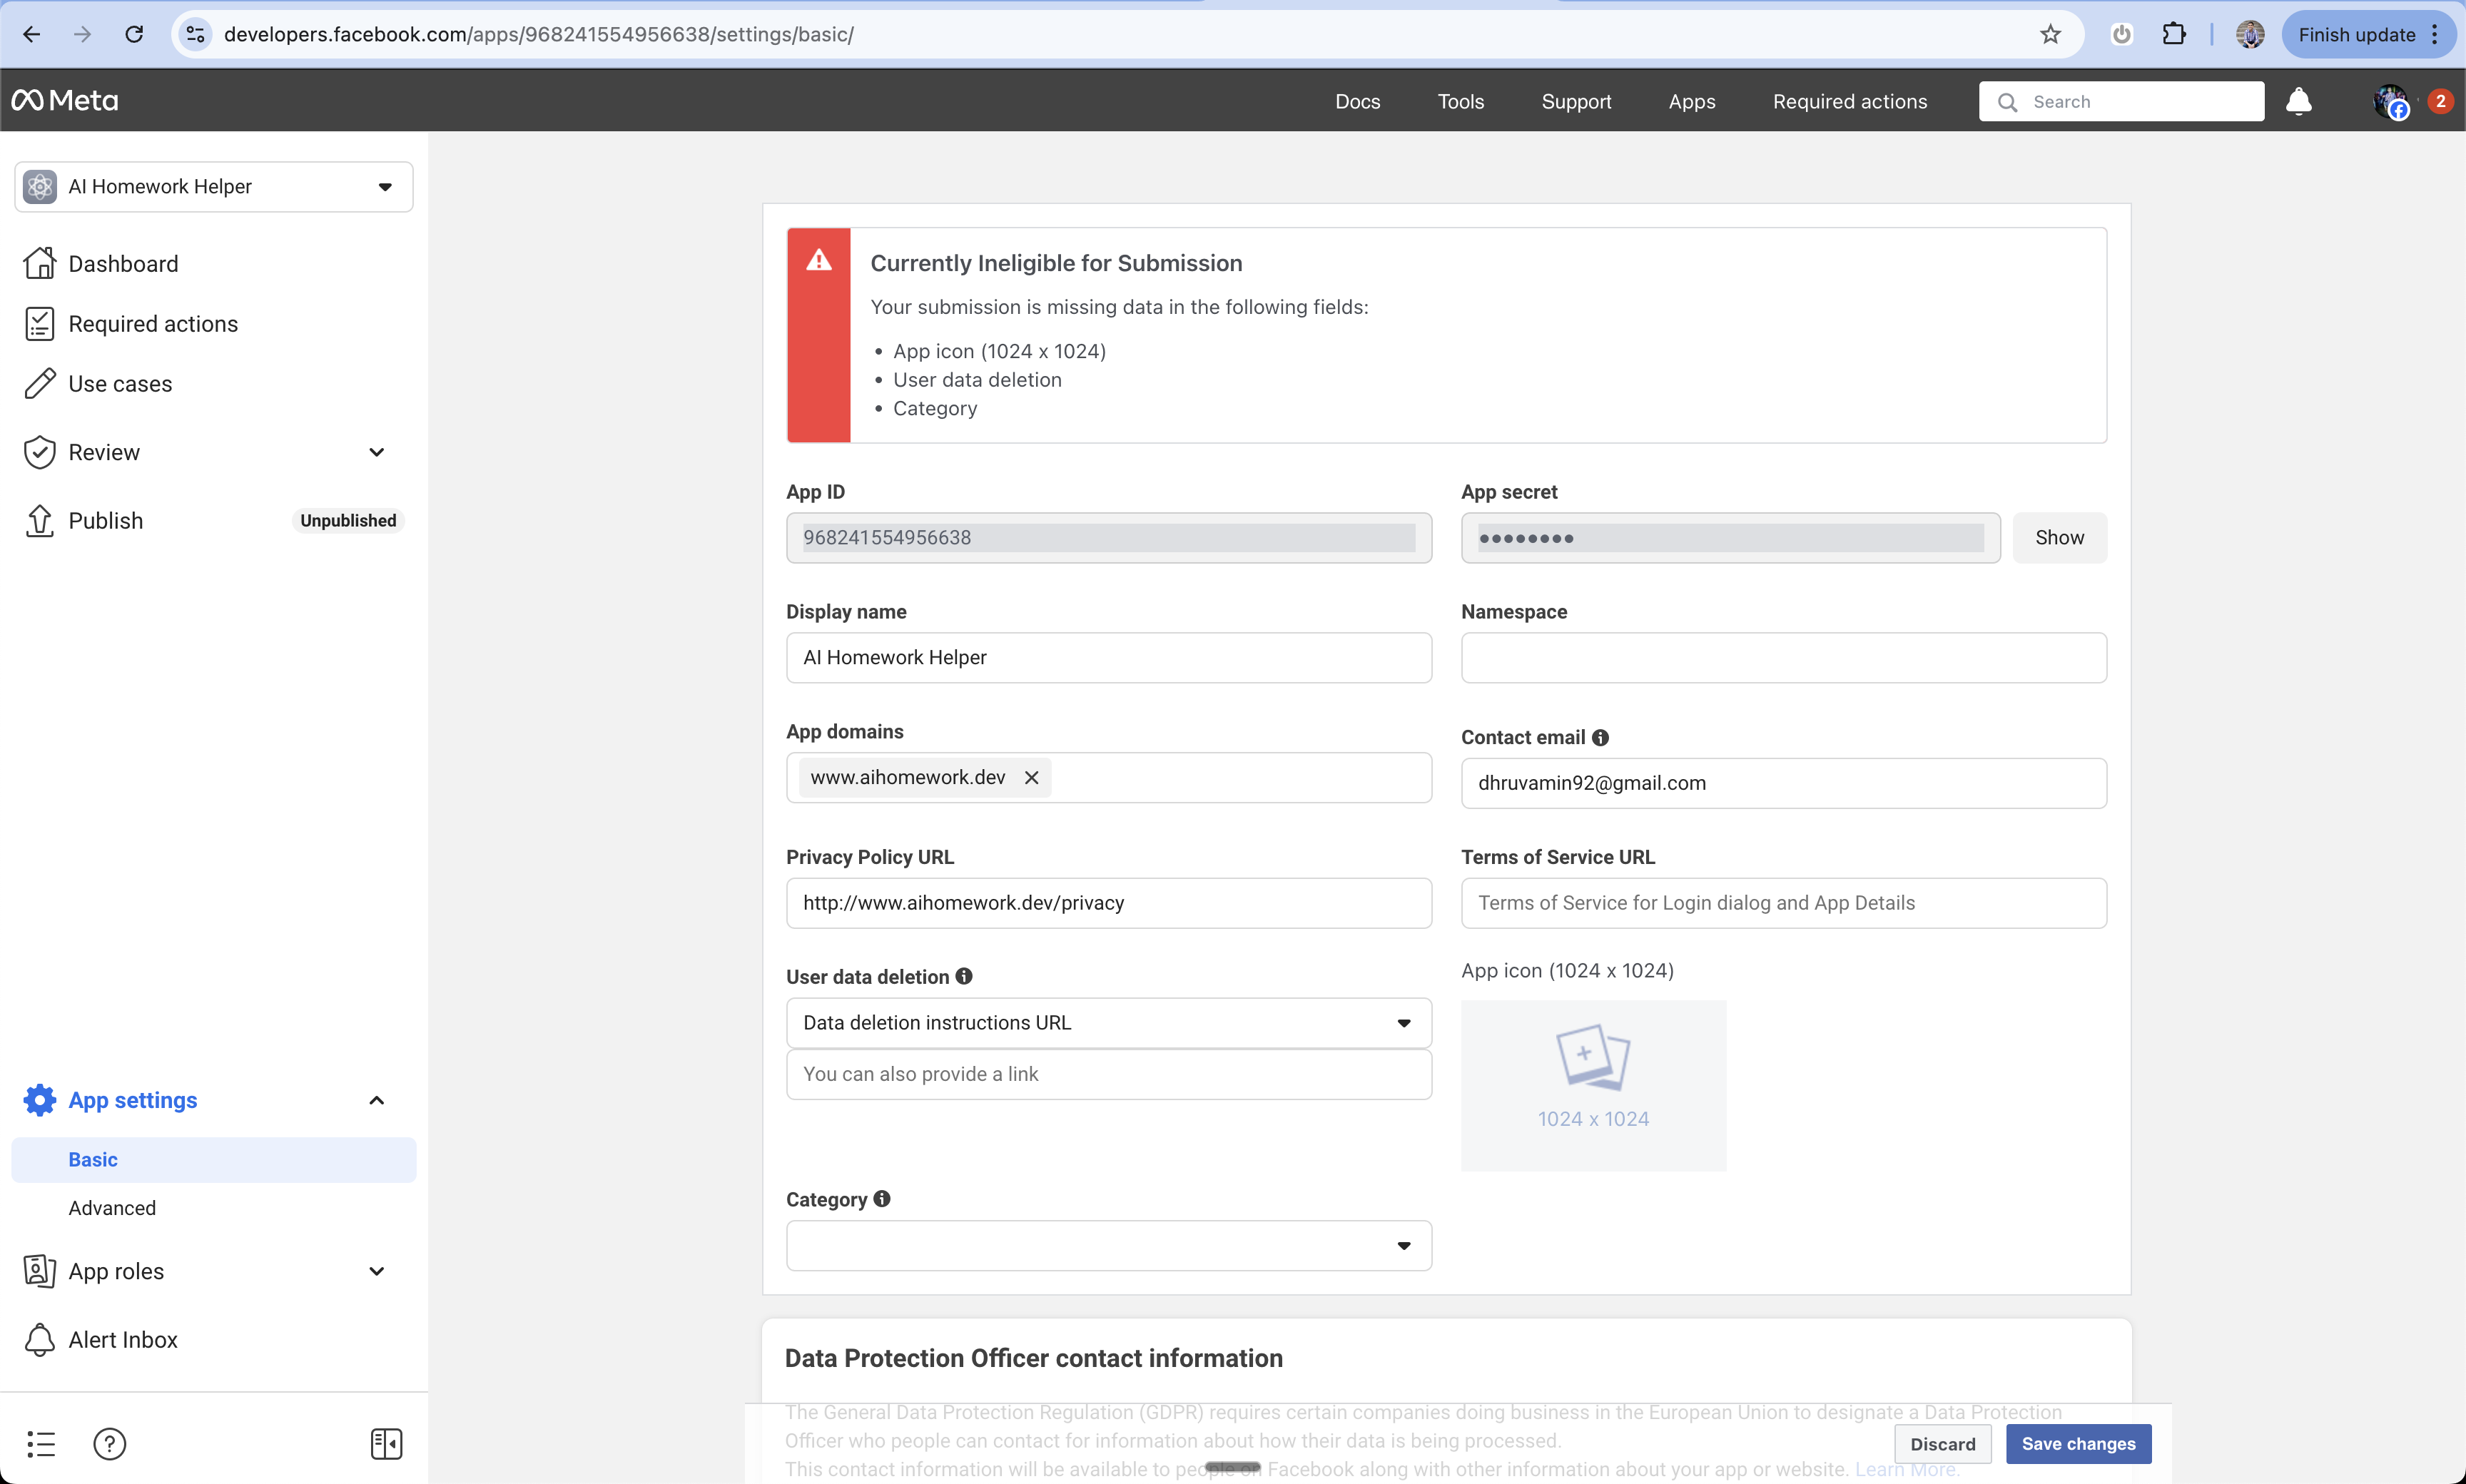
Copy App Credentials
- Find your App ID
- Click “Show” to reveal your App Secret
- Save both values - you’ll need them for Anything setup
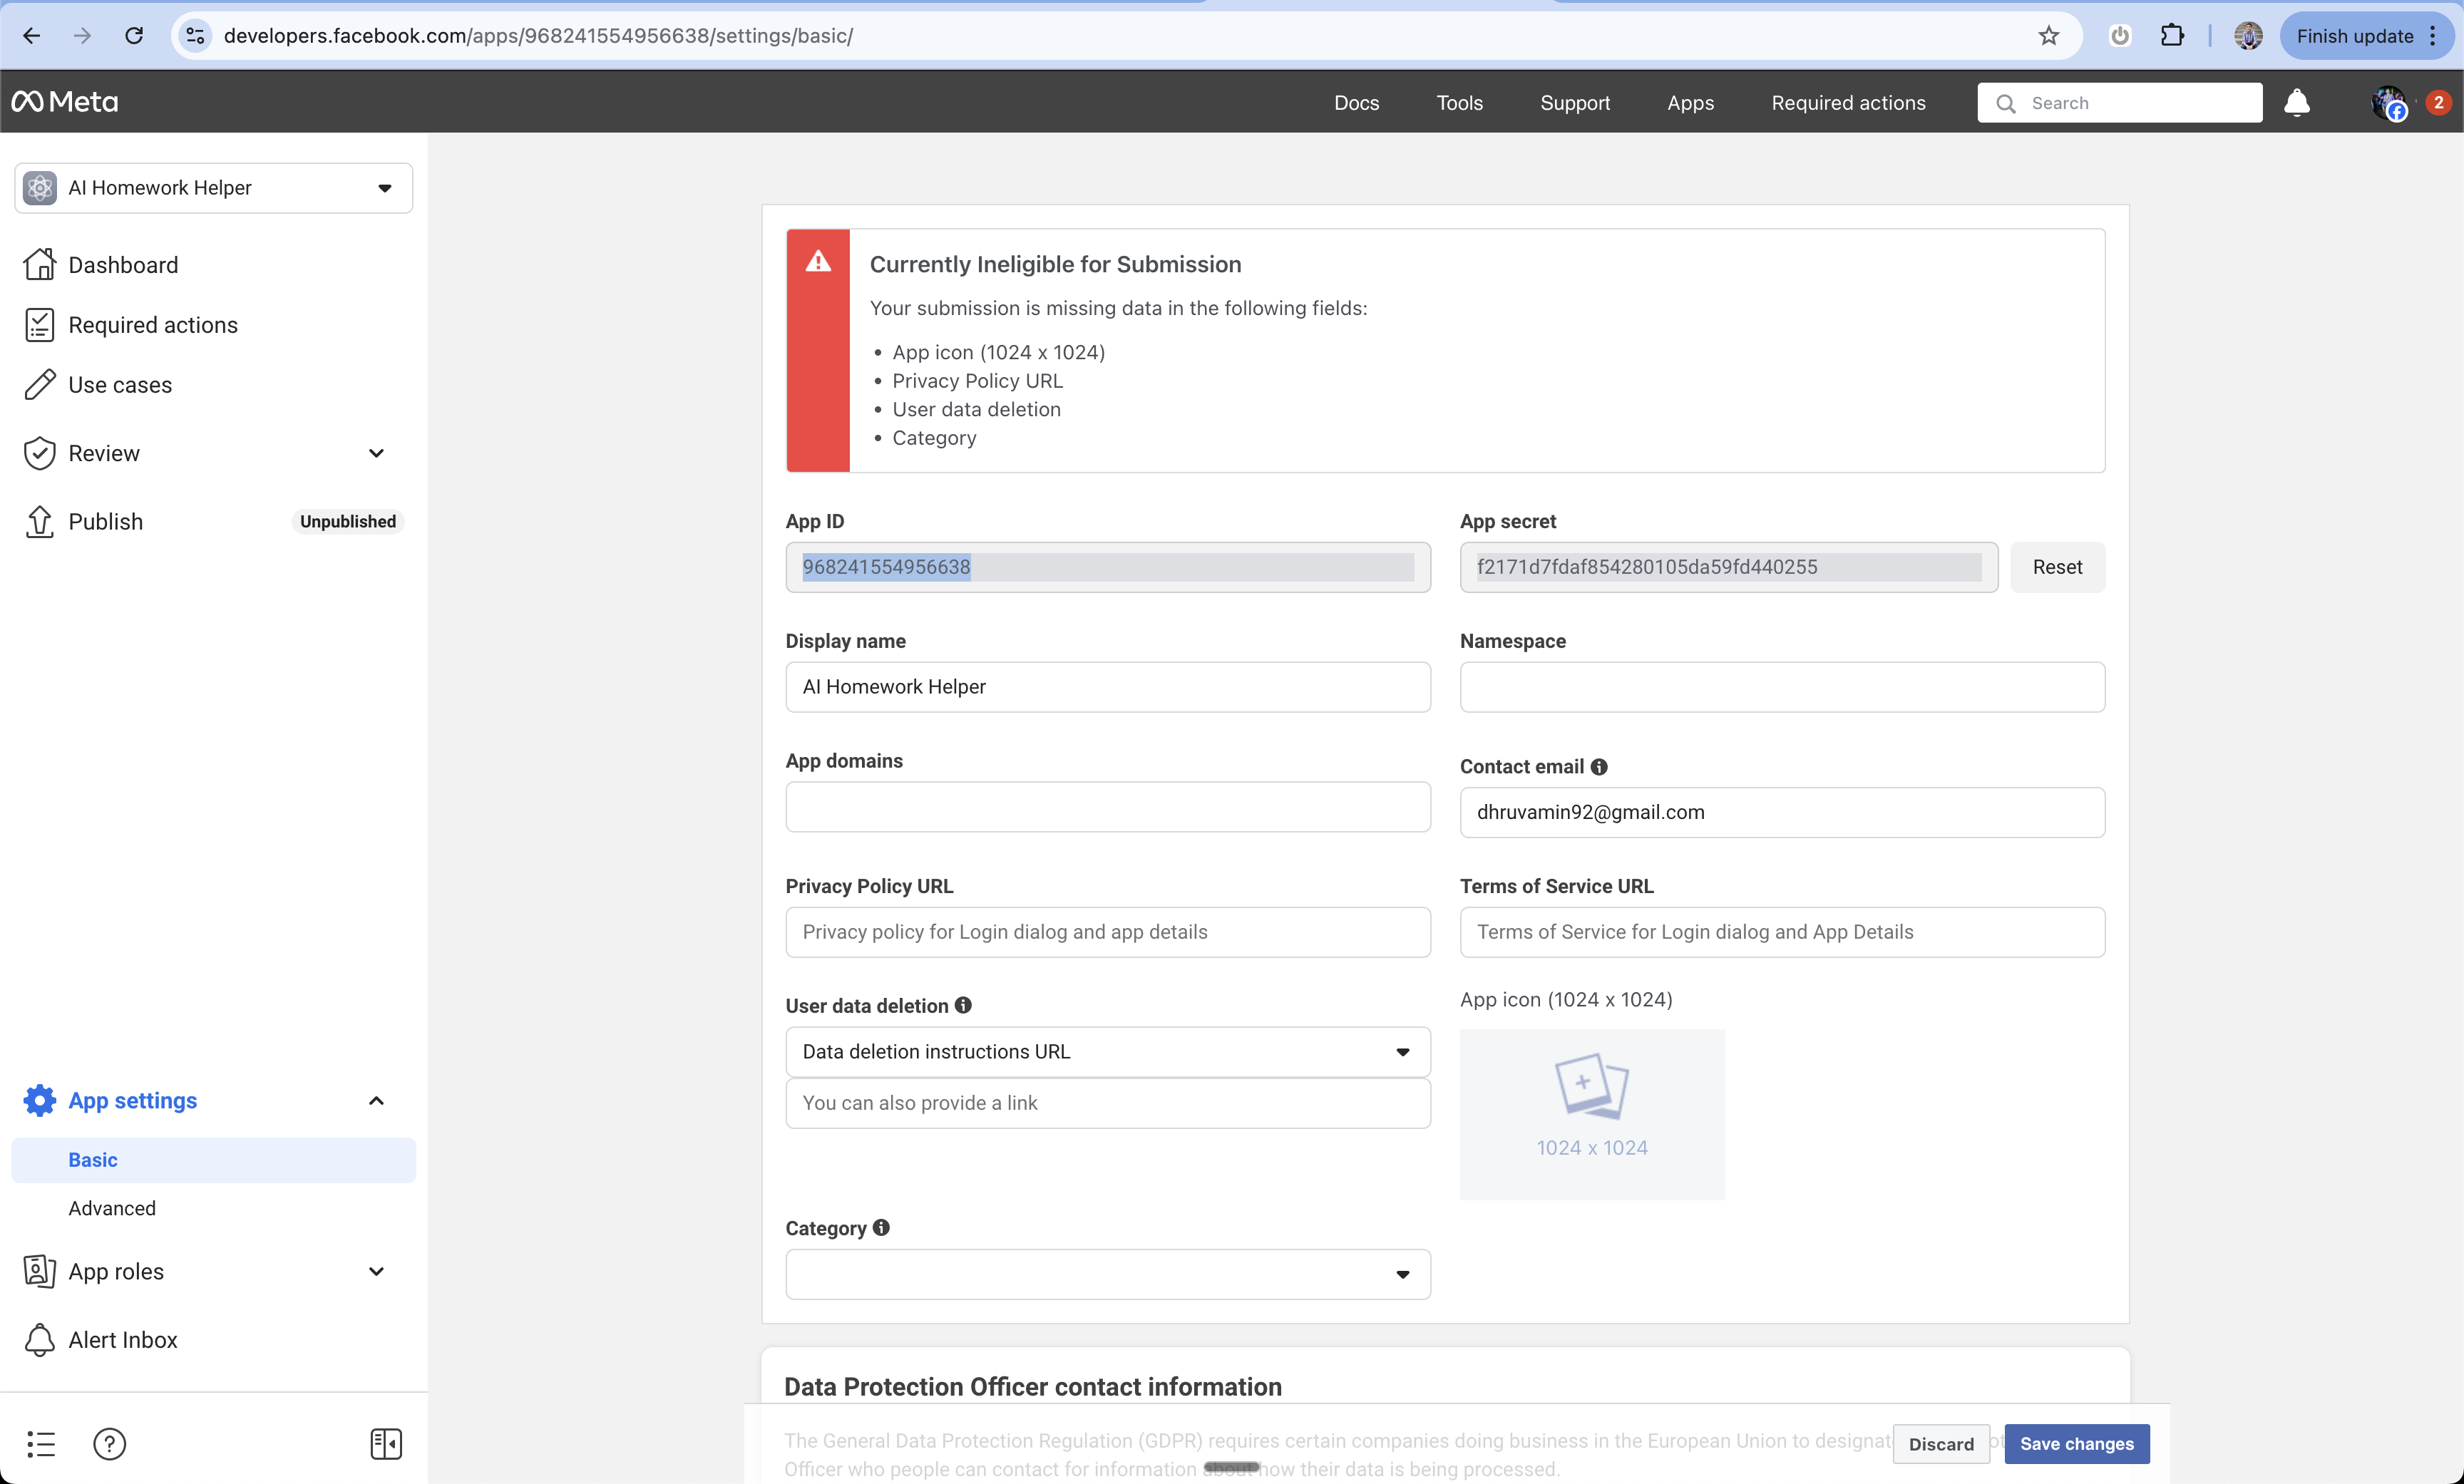
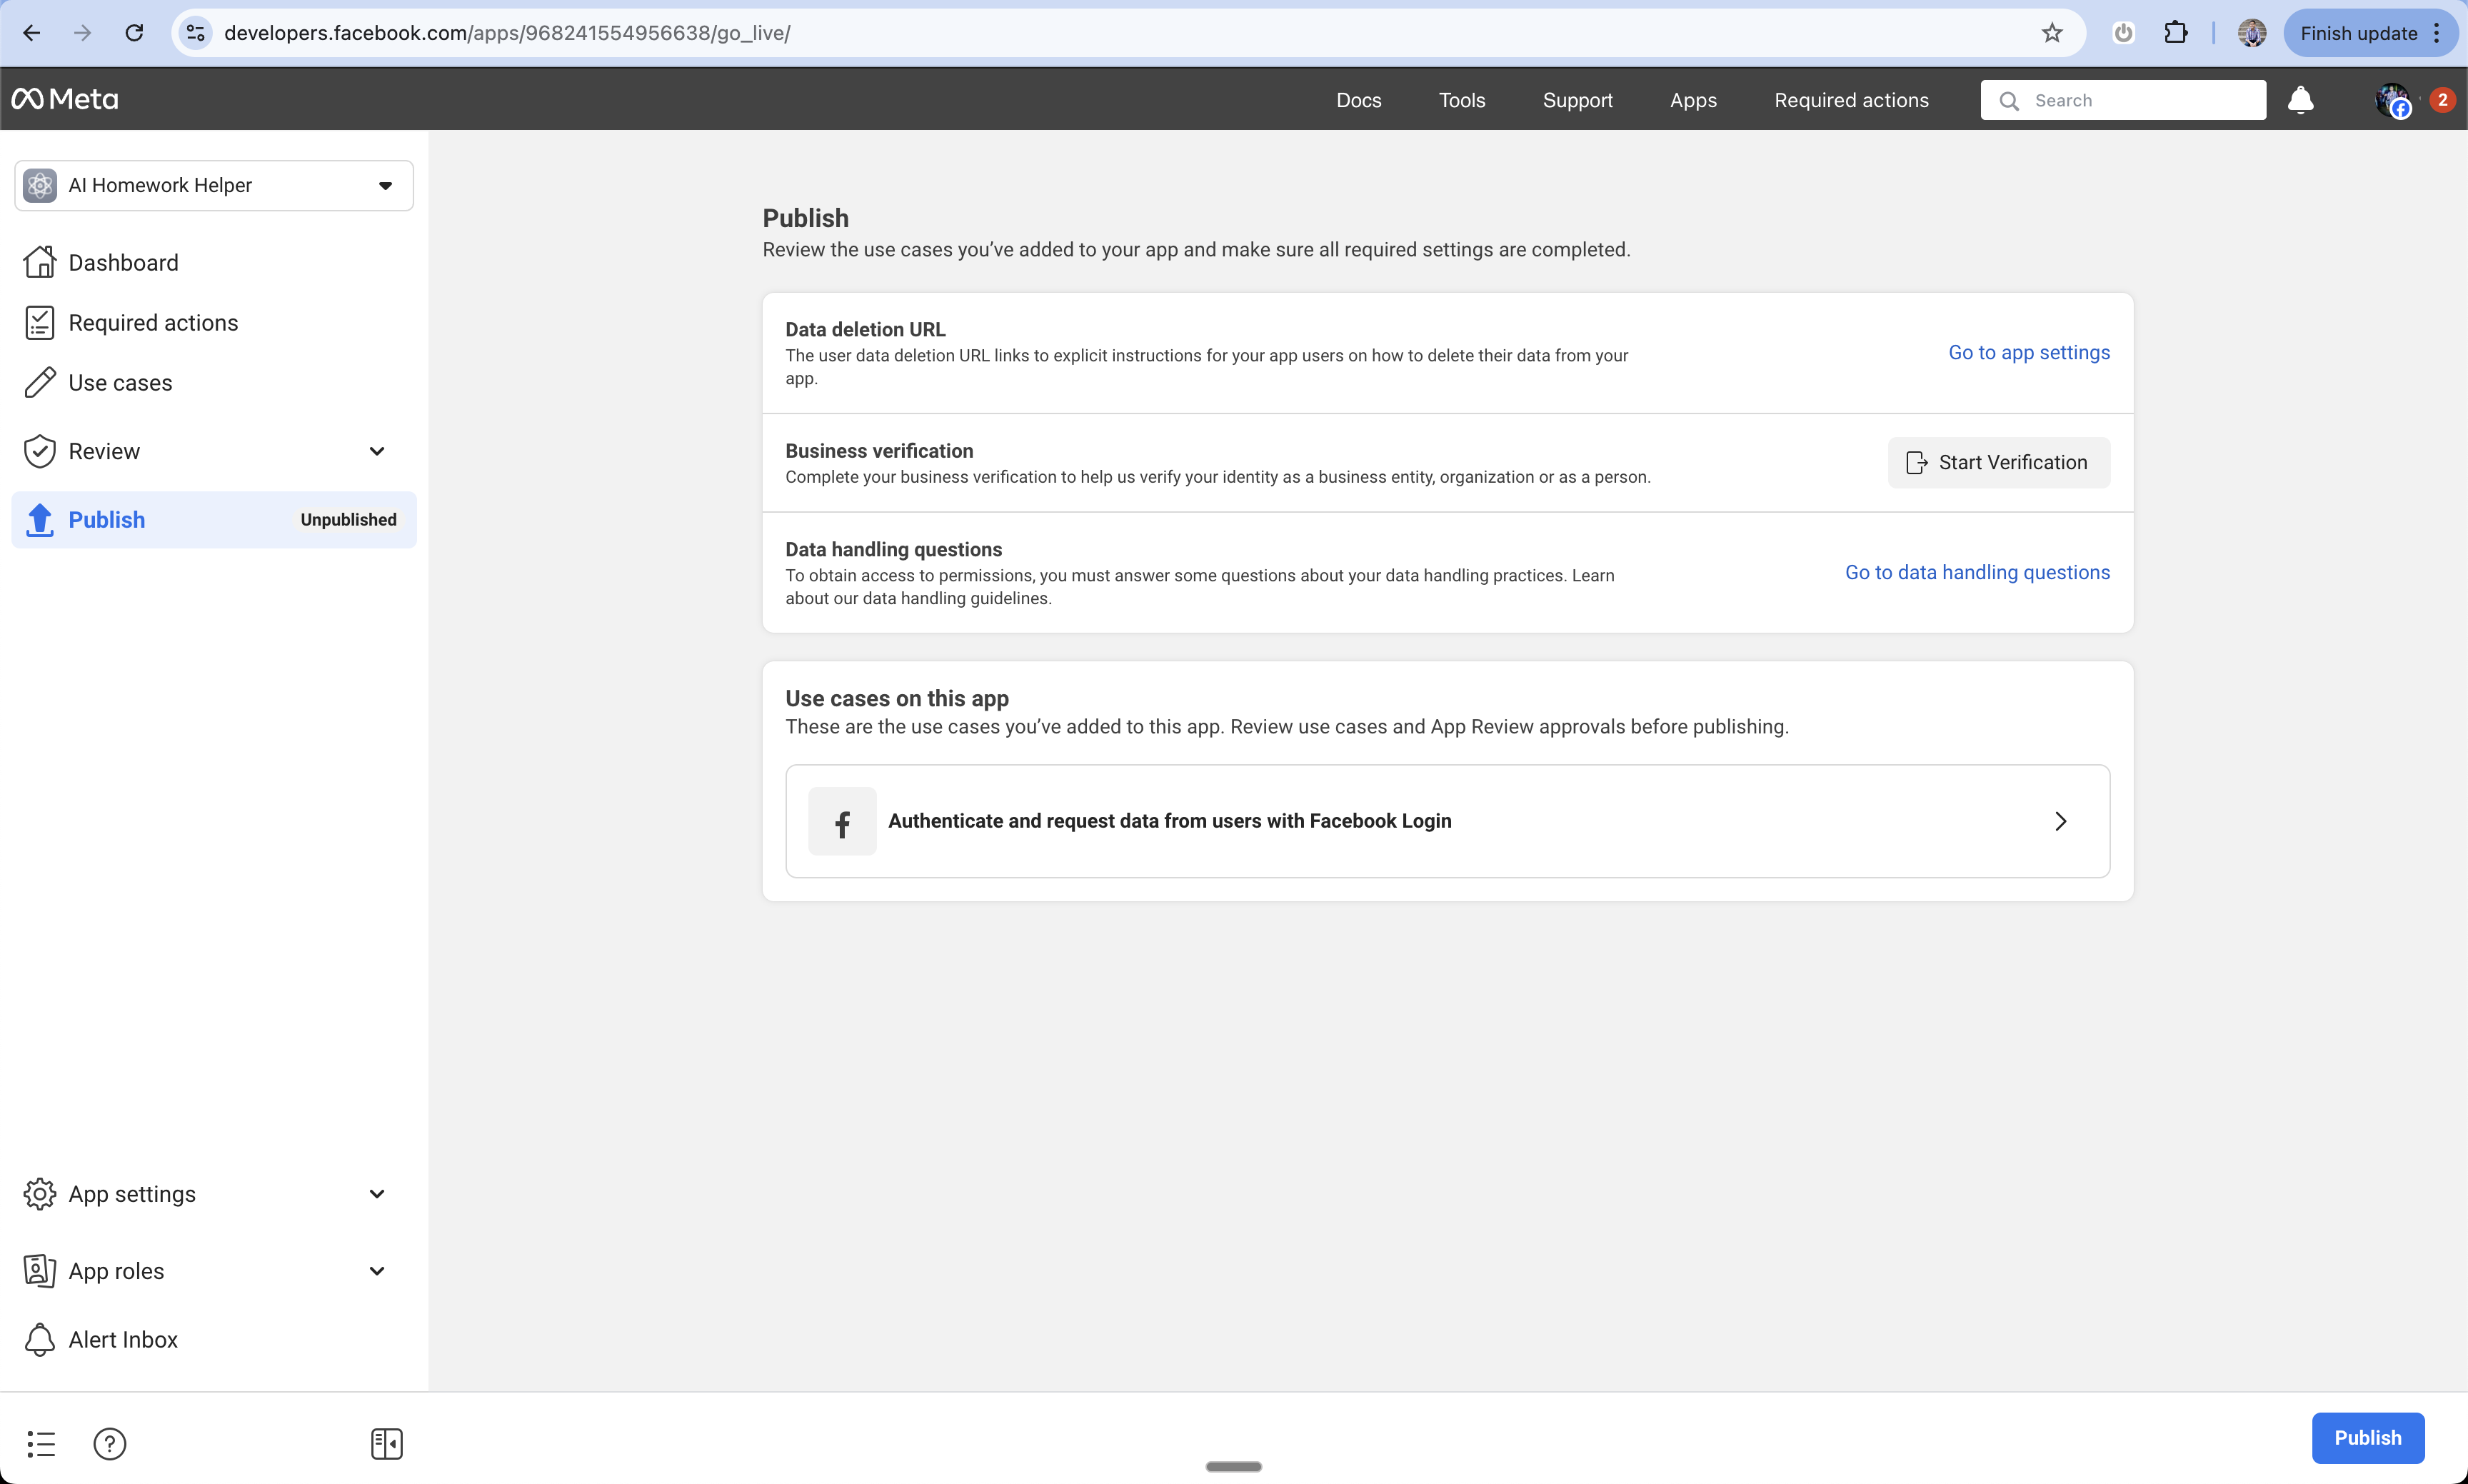
Complete Basic Settings (Later)
Before launching, you’ll need to complete these additional settings:
- Add your domain with
wwwprefix - Add Privacy Policy URL
- Add User Data Deletion Policy URL
- Add Terms of Service URL
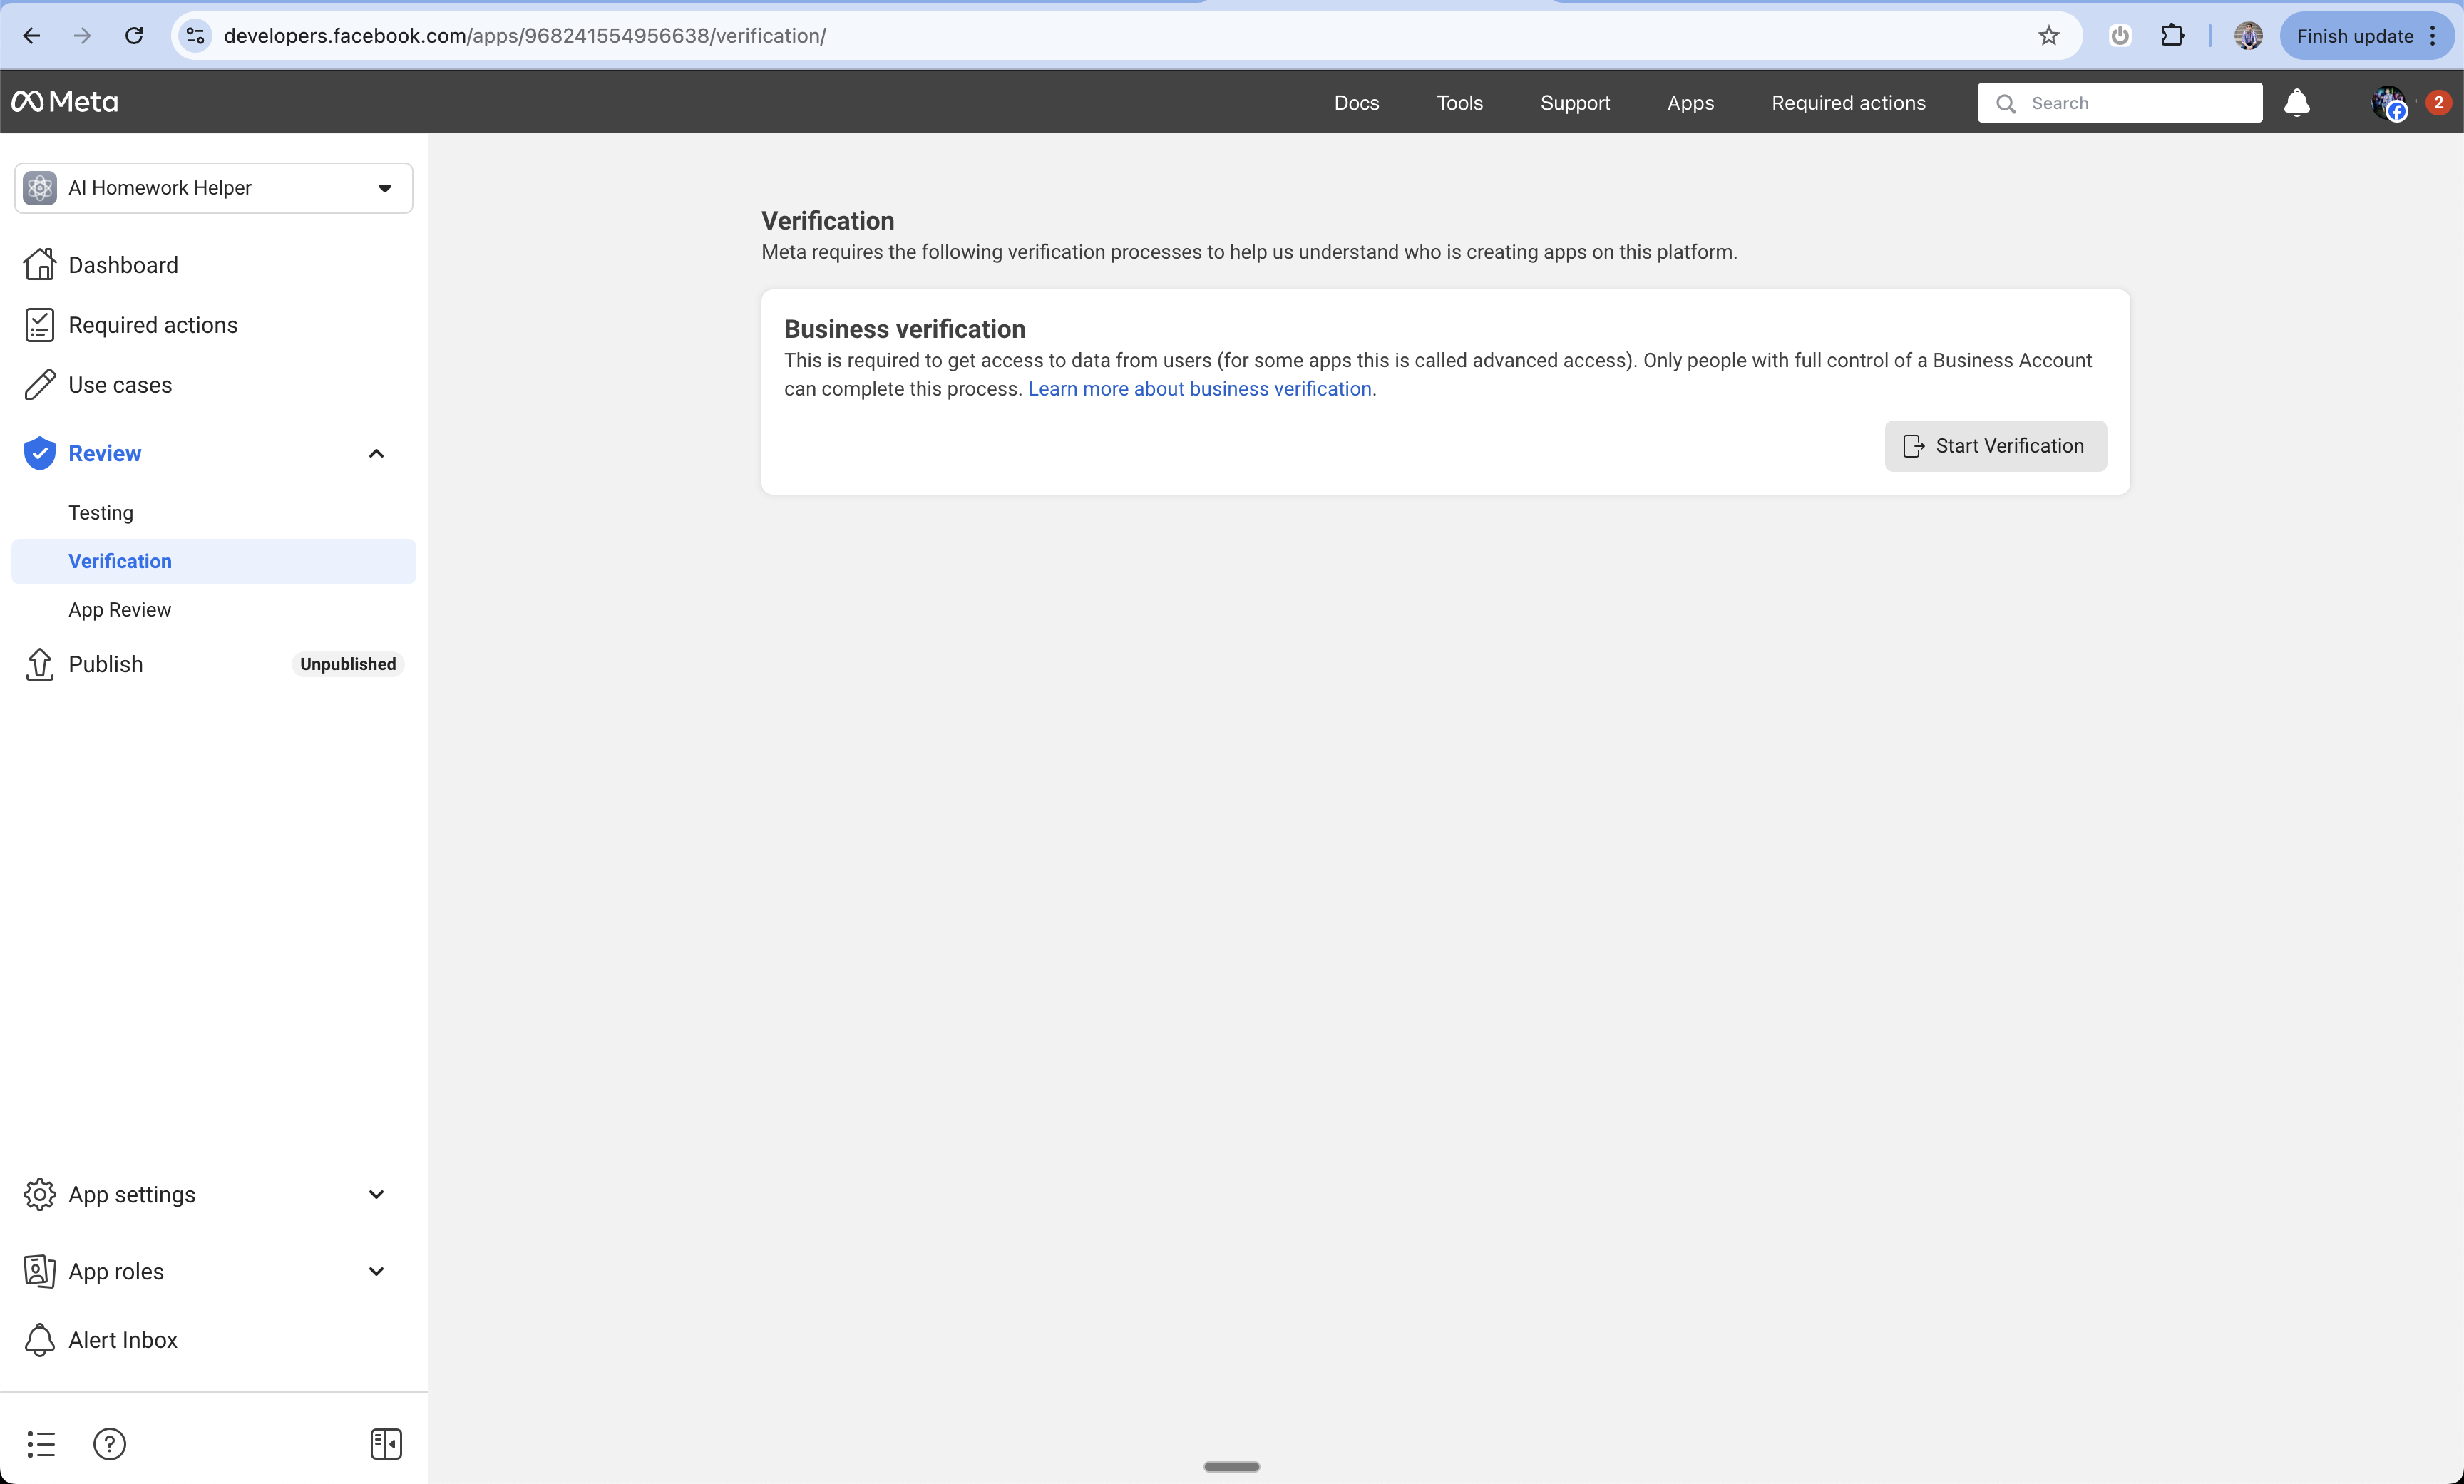
Business Verification (Later)
Required before launching your app:
- Complete the business verification process
- Provide required documentation
- Wait for Facebook’s review
Add to Anything project
Enable User Accounts
You have two options:
- Prompt Anything with “Let users sign in”
- Enable User Accounts from the logo menu
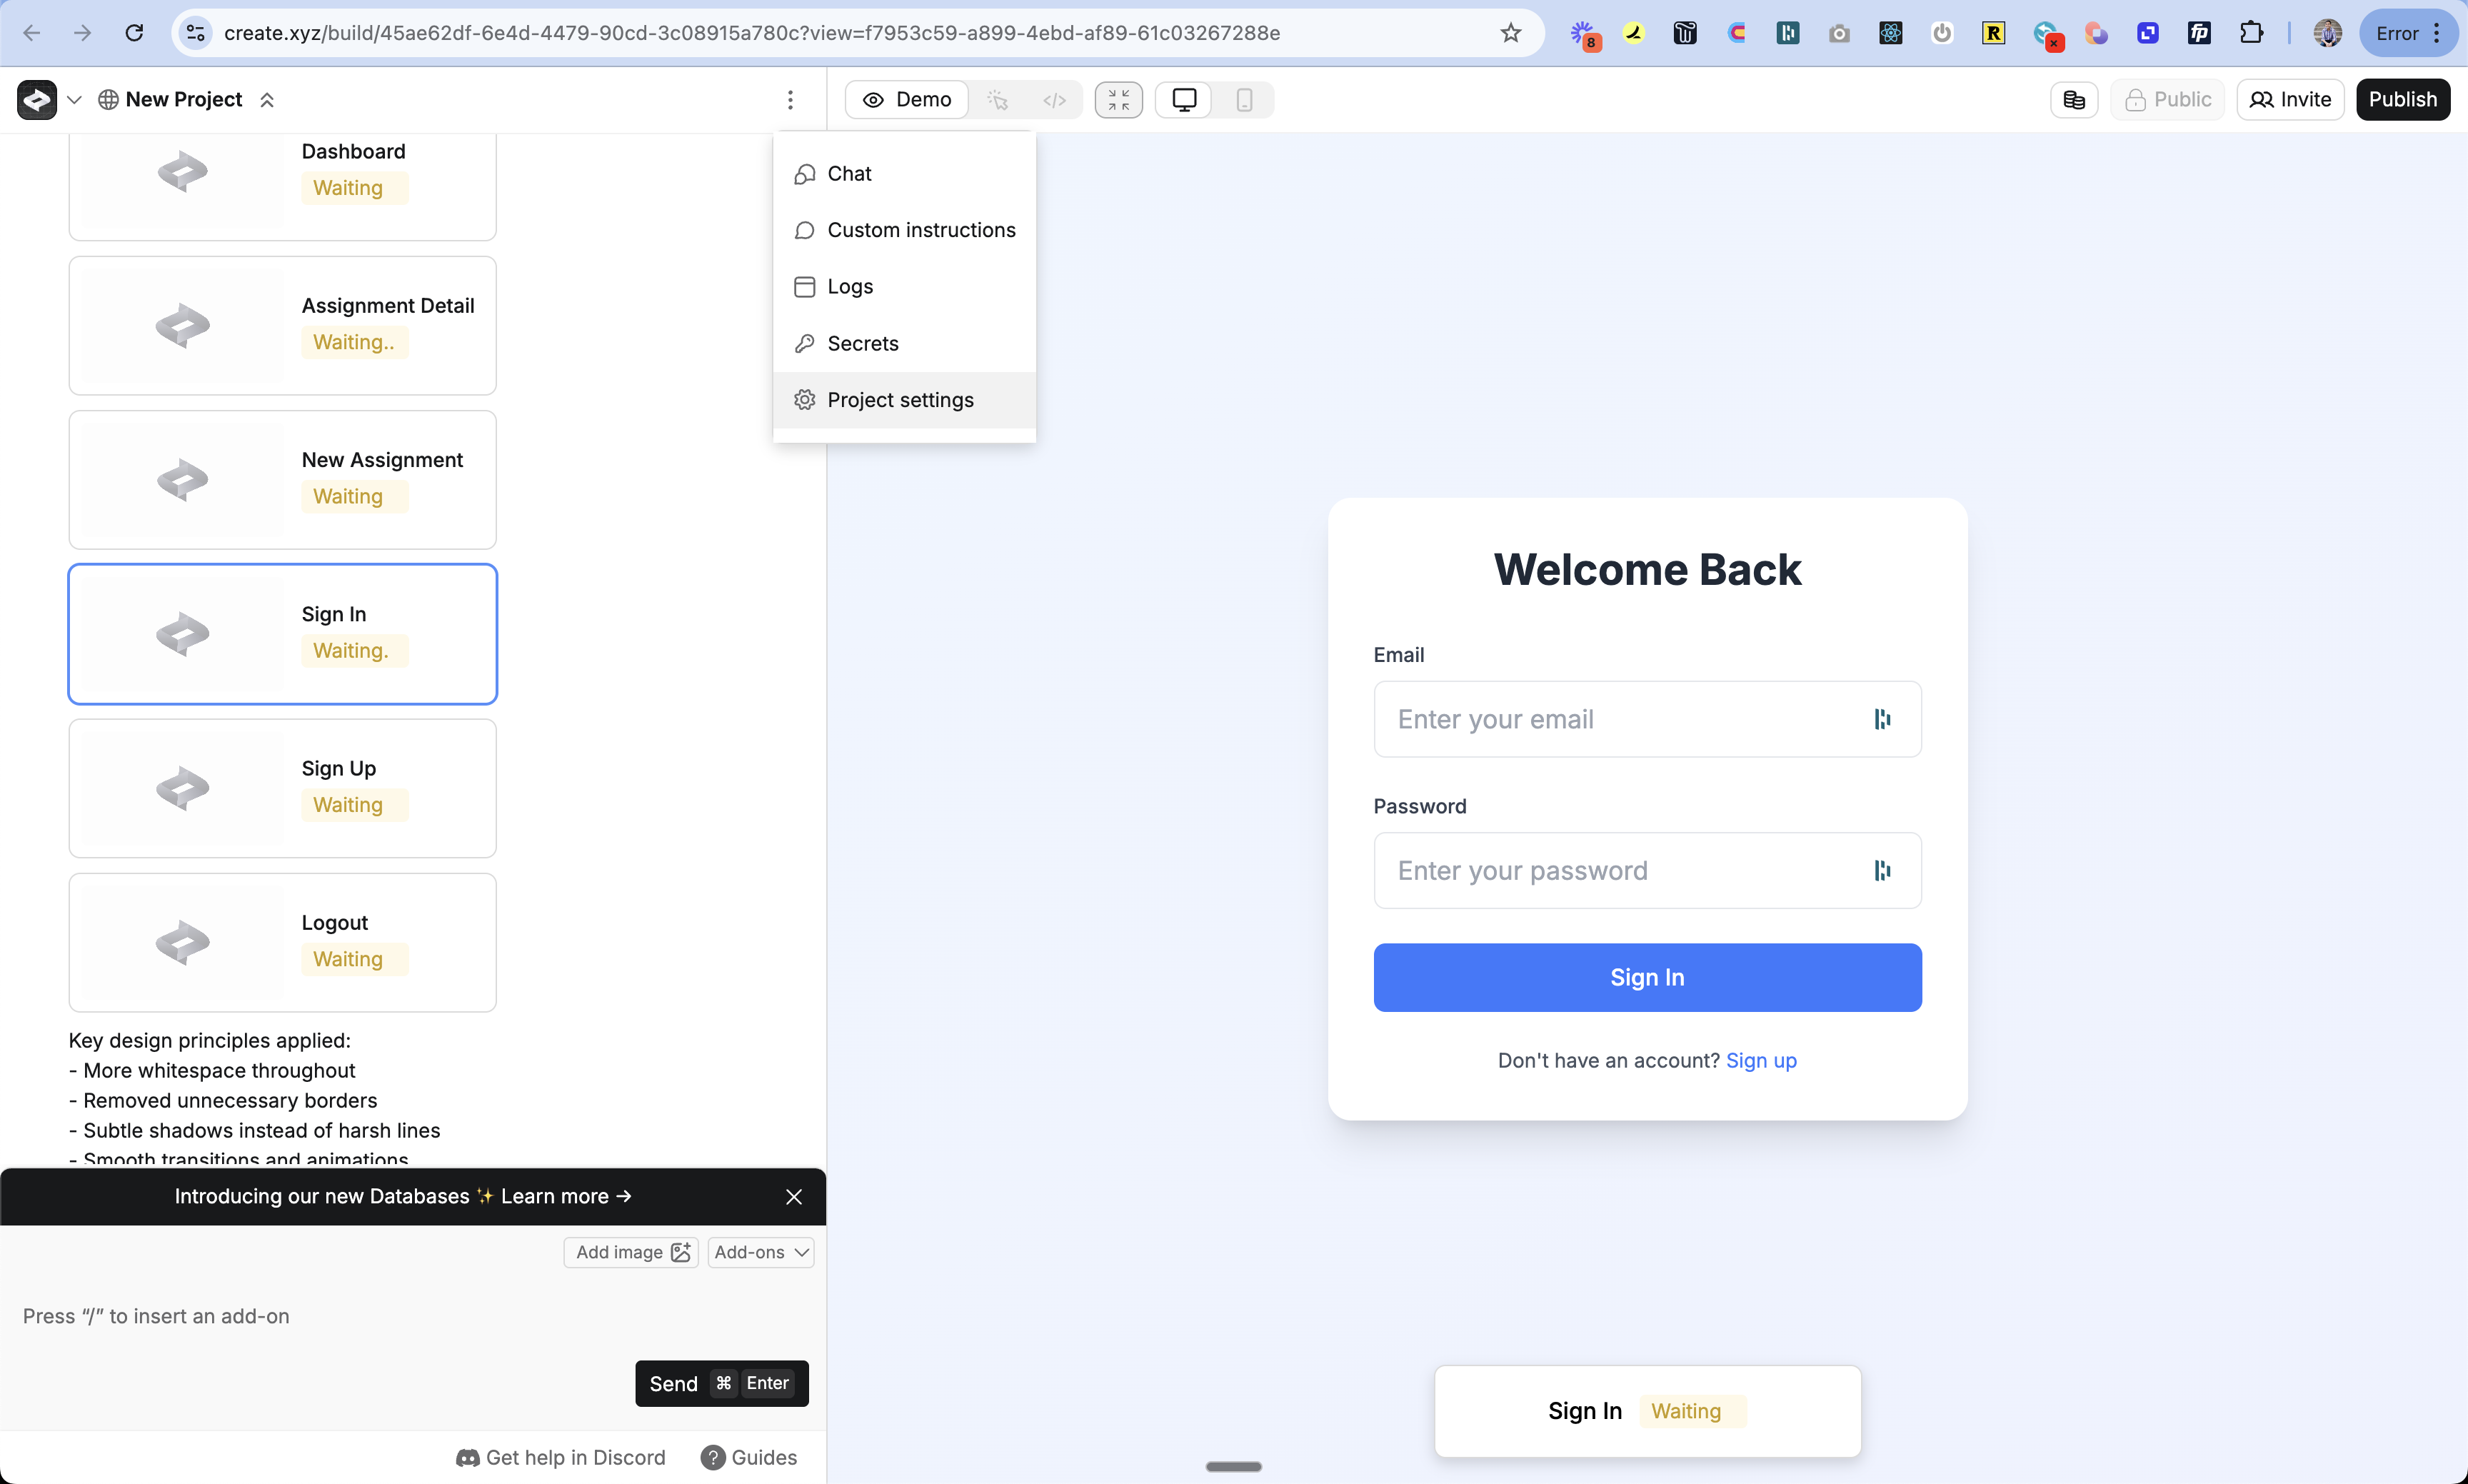
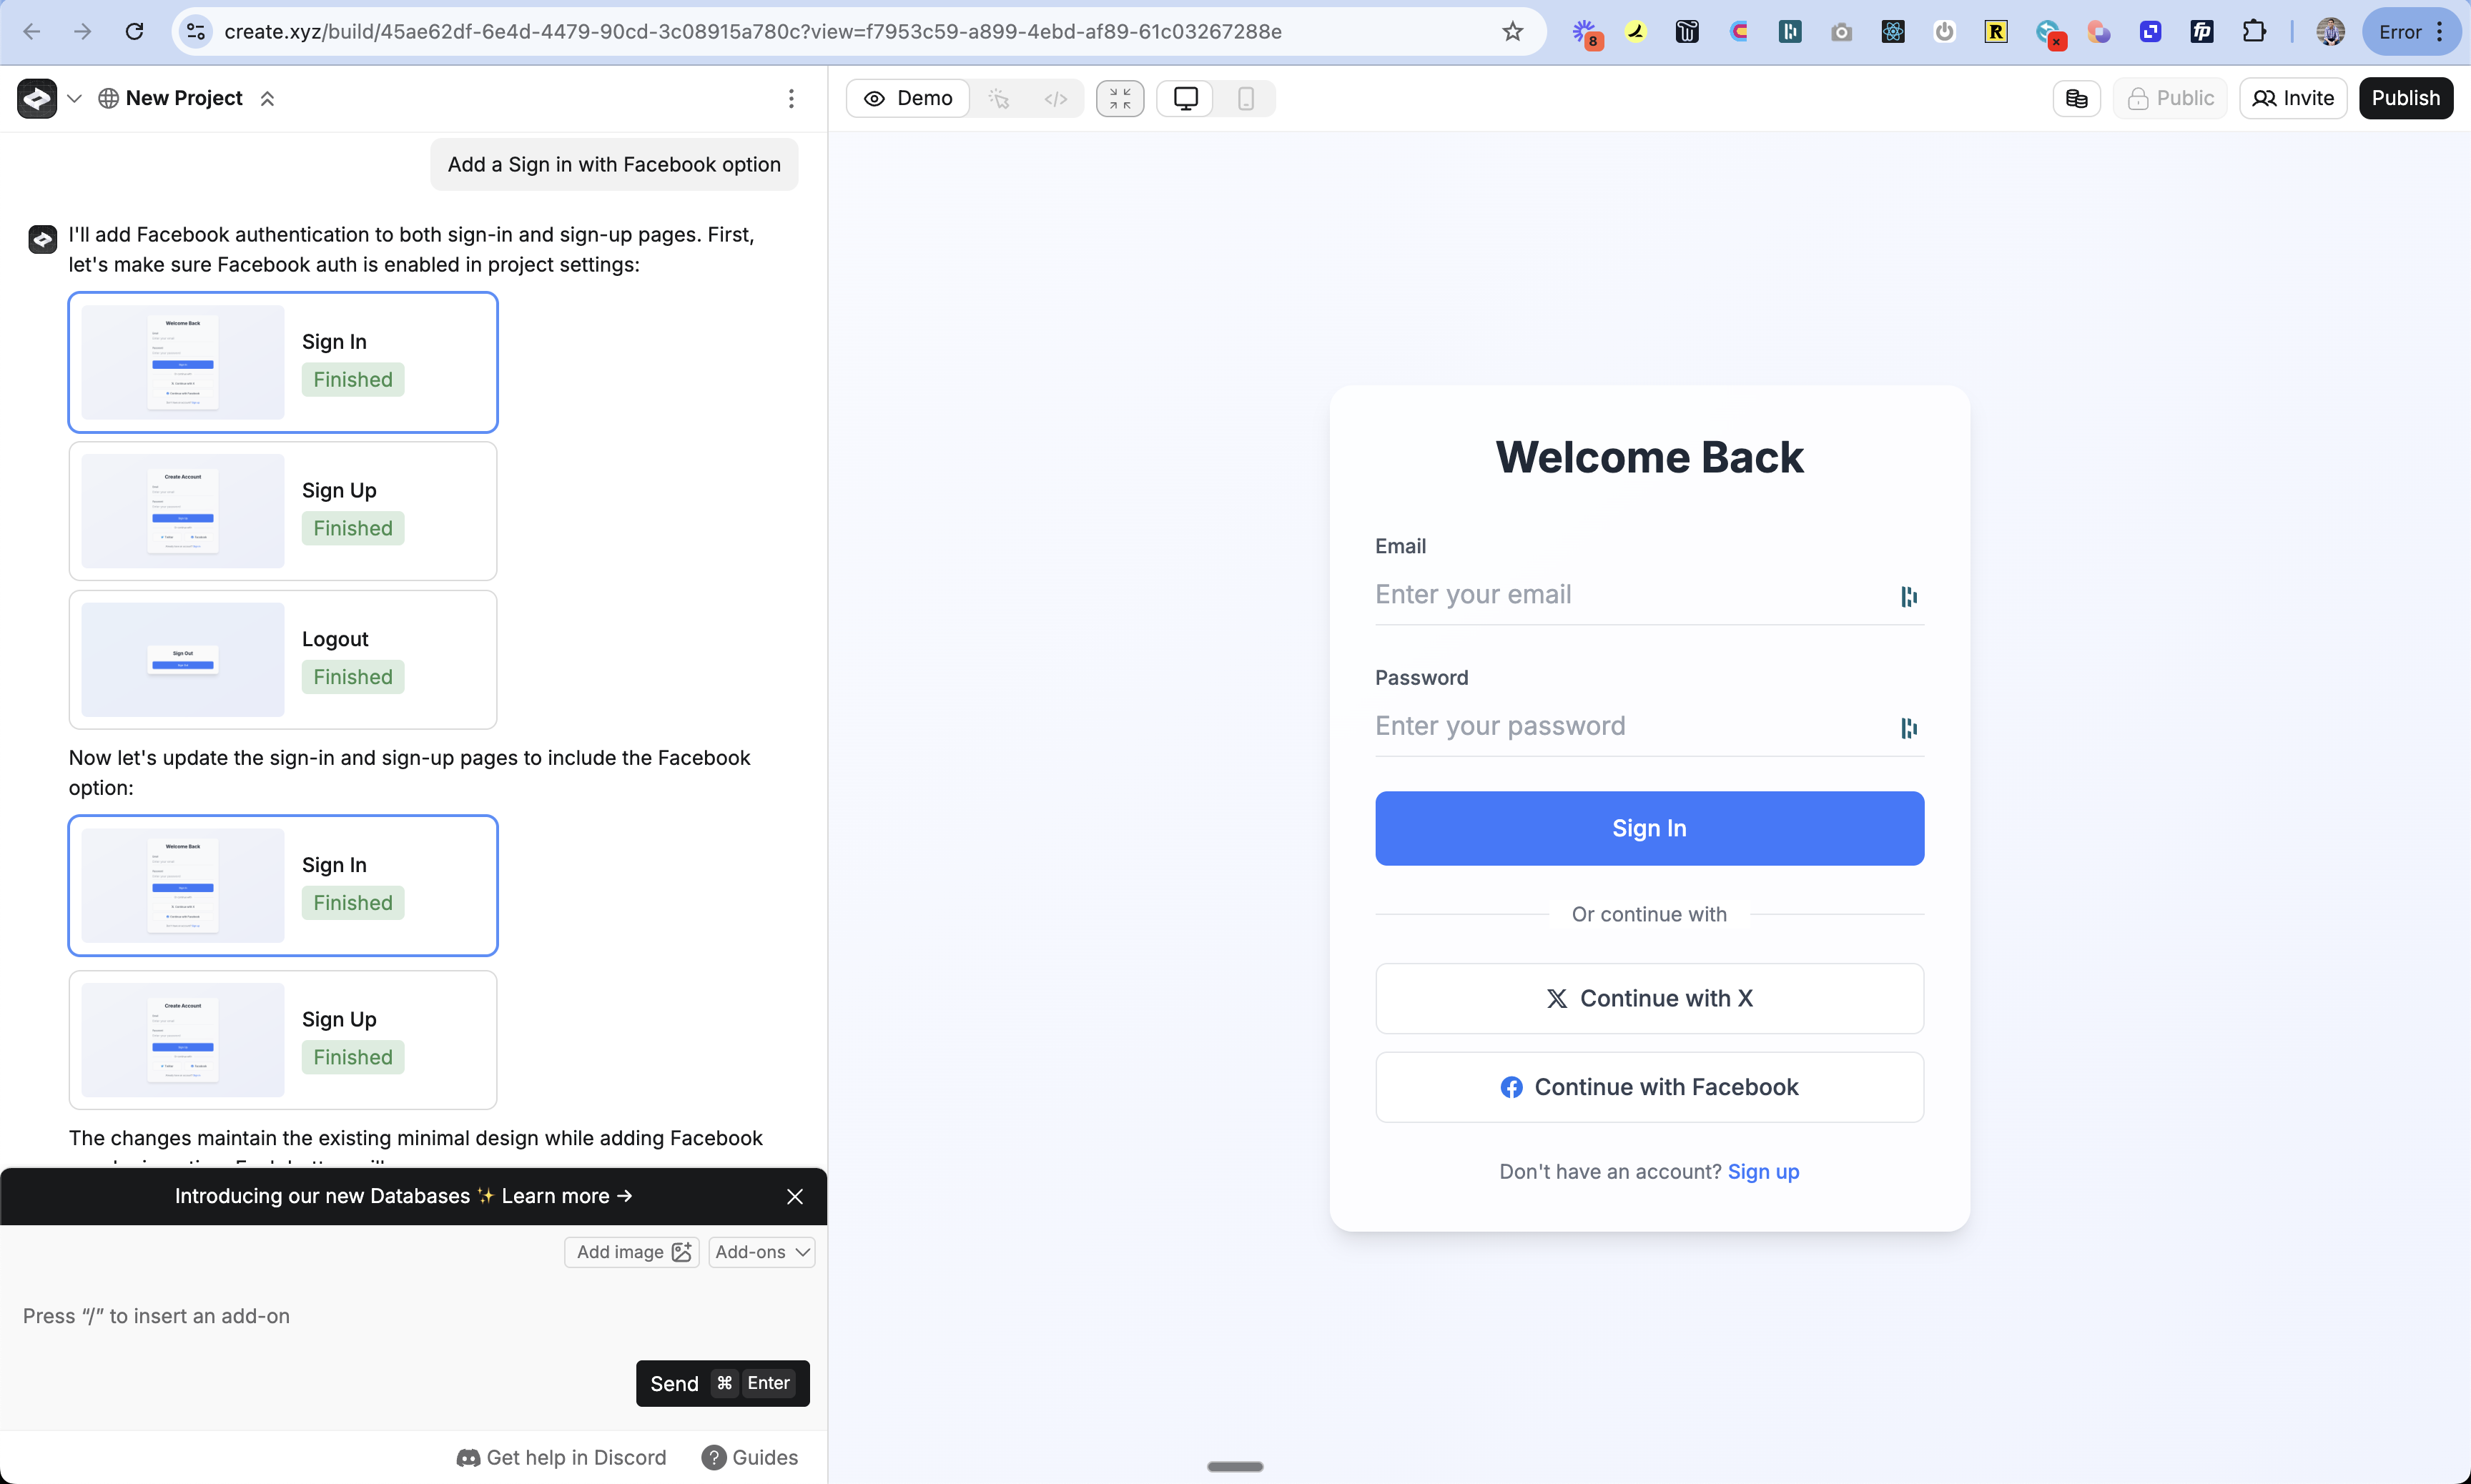
Add Sign In UI
- Return to the chat
- Prompt Anything with “Add Facebook Login as an option”
- Anything will update your sign-in pages automatically
Testing
- Publish your changes
- Open your app in a new incognito window
- Go to the sign in page
- Try signing in with Facebook
- Check the auth_users table to see your new user
Troubleshooting
Can't see the Facebook button
Can't see the Facebook button
Login not working
Login not working
- Double check your domain is exactly the same in Anything and Facebook
- Make sure your callback URL is right:
www.your-domain.com/api/auth/callback/facebook - Check if your App ID and Secret are pasted correctly
- Verify your domain is set up in Facebook
- Make sure your app is live at your custom domain
Users can't sign in after domain change
Users can't sign in after domain change
- Update the OAuth Redirect URIs in Facebook
- Update your App Domains in Facebook
- Re-publish your app on the new domain
FAQ
What user info do I get?
What user info do I get?
By default:
- Email address
- Name
- Profile picture (if they have one)
Can I change how the login button looks?
Can I change how the login button looks?
Do I need Facebook to review my app?
Do I need Facebook to review my app?
- For basic login: No
- For extra features: Yes
- You’ll need to submit your app to Facebook for approval