Overview
Anything’s built-in Stripe integration lets you add payments to your web app. You can collect payments for:- Monthly subscriptions (like $20/month for Pro access)
- One-time purchases (like $100 for lifetime access)
- Multiple pricing tiers (Basic, Pro, Enterprise)
- B2B invoicing (for custom work or consulting)
Mobile Apps: Stripe is for web apps only. iOS mobile apps must use RevenueCat (Beta) for all payments and subscriptions.
Setup
Connect Stripe Account
Complete your Stripe onboarding in your Anything dashboard. This links your app to your Stripe account so you can receive payments.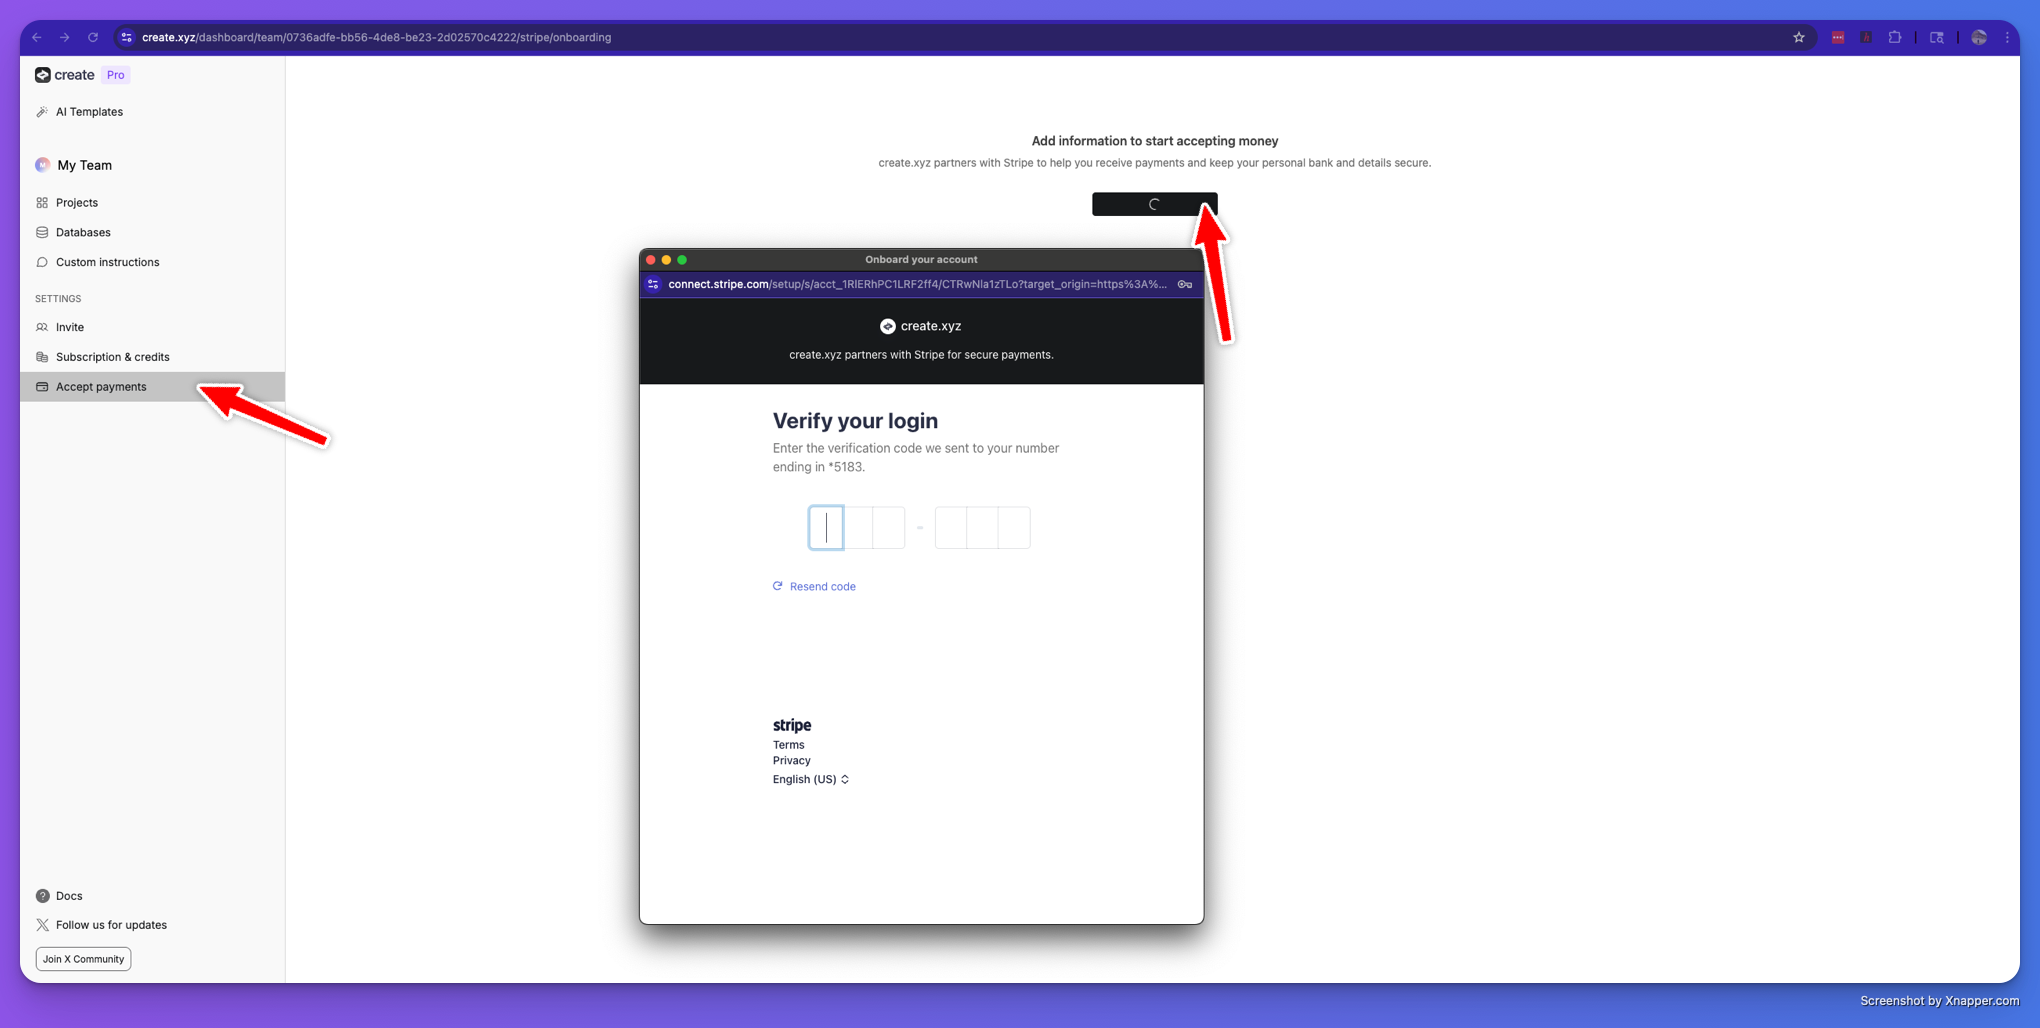
How It Works
Simple Version:- User clicks “Upgrade” button in your app
- Stripe checkout page opens in a popup window
- User enters payment info and completes purchase
- Your app automatically detects they’ve paid and unlocks features
Key Features
✨ No setup required- No need to create “Price IDs” in Stripe dashboard
- No webhook configuration needed
- Prices are defined by your direct instructions to the builder
- Your app automatically polls to check if users have paid
- Works on web apps
- Caches results for better performance
- Automatically handles test vs live Stripe keys
- Creates and manages Stripe customers for you
- Works in Anything’s preview environment
Common Pricing Models
Monthly Subscriptions
One-Time Purchases
What You Get
When you implement Stripe, Anything automatically provides:- Backend routes for creating checkout sessions
- Frontend hooks for checking payment status
- Customer management in Stripe
- Proper error handling
- Web payment flows
Testing
Anything defaults to test mode while in the builder/preview system, so you can test checkout immediately. Test Credit Cards: Successful payments:- Visa:
4242424242424242 - Mastercard:
5555555555554444 - American Express:
378282246310005
- Card declined:
4000000000000002 - Insufficient funds:
4000000000009995 - Expired card:
4000000000000069
- Expiry date: Any future date (e.g.,
12/25) - CVC: Any 3 digits (e.g.,
123) - ZIP code: Any valid ZIP (e.g.,
12345)
Technical Implementation
Anything automatically handles the payment flow for your web app:- User clicks payment button in your web app
- Stripe checkout page opens in a popup window
- User completes payment with their preferred method
- Webhook updates user’s account with purchased items
- App automatically detects payment and unlocks features