- Let users sign up and sign in
- Protect pages so only logged-in users can see them
- Store data per user
- Personalize the experience
Getting started
Say something like “add sign up and login” or “let users create accounts.” Anything will:- Enable User Accounts in your project
- Add sign up, sign in, and logout pages
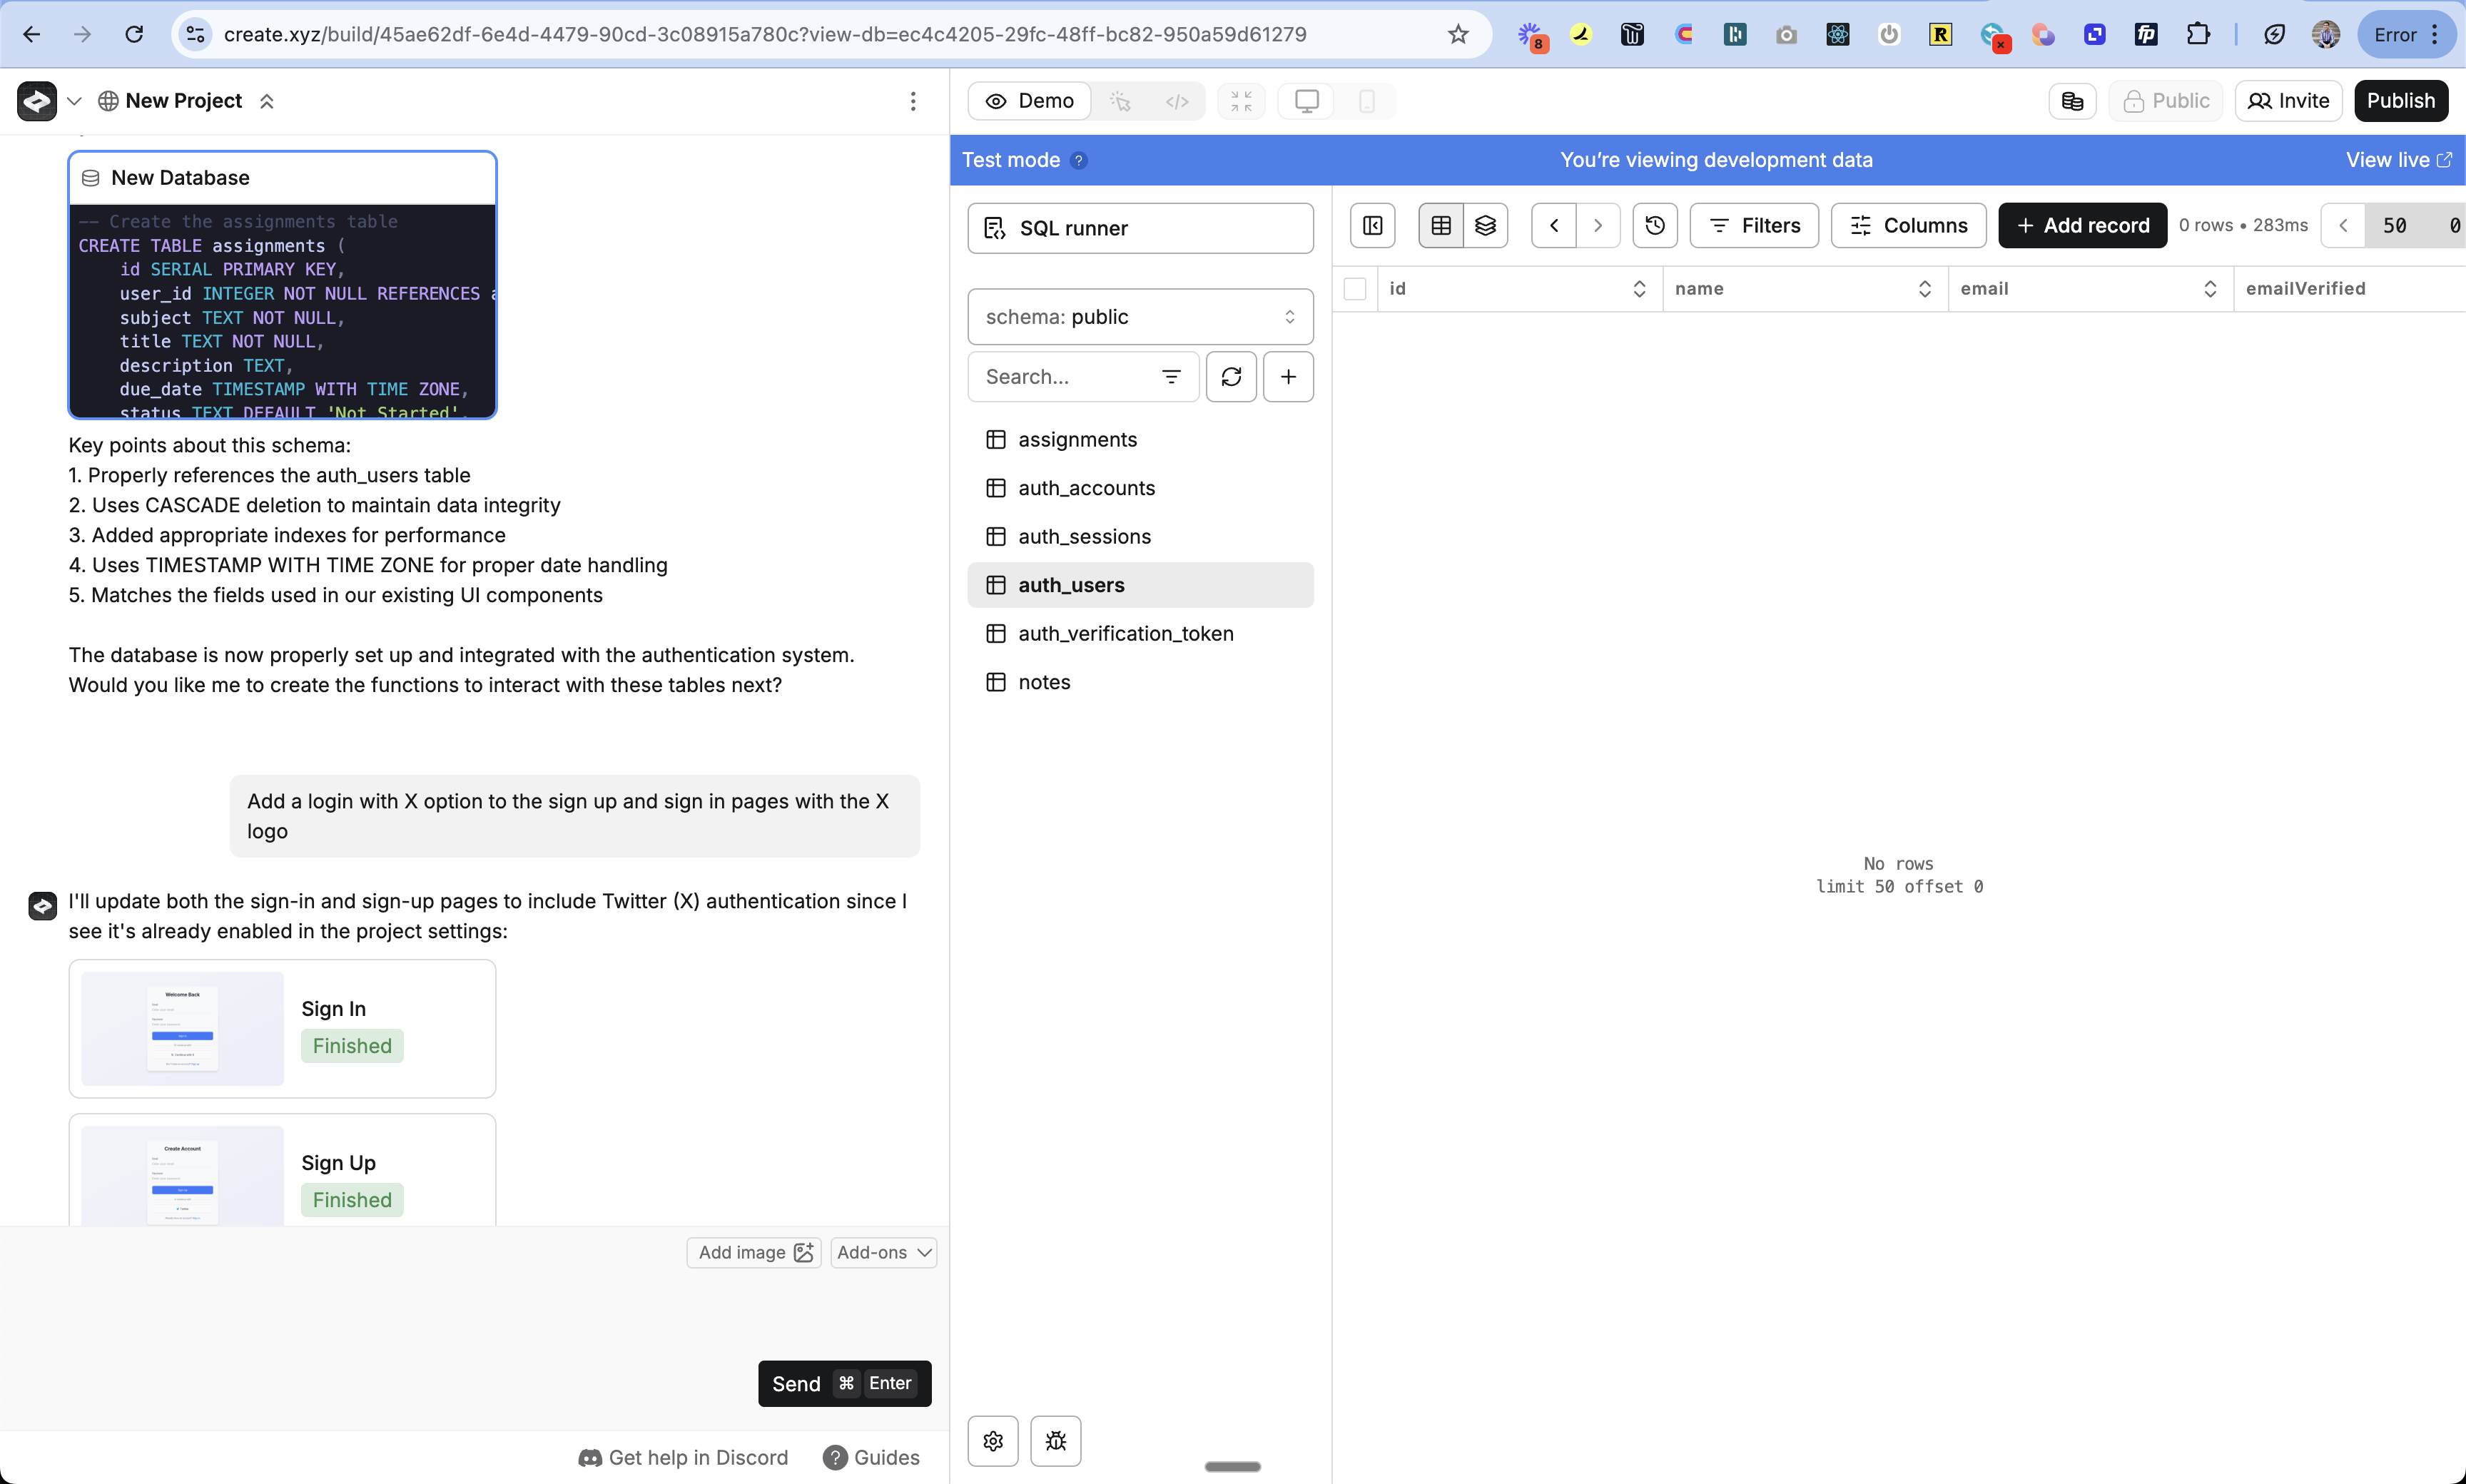
- Create auth tables in your database to store users
- Add checks to your pages and functions so only logged-in users can access protected content
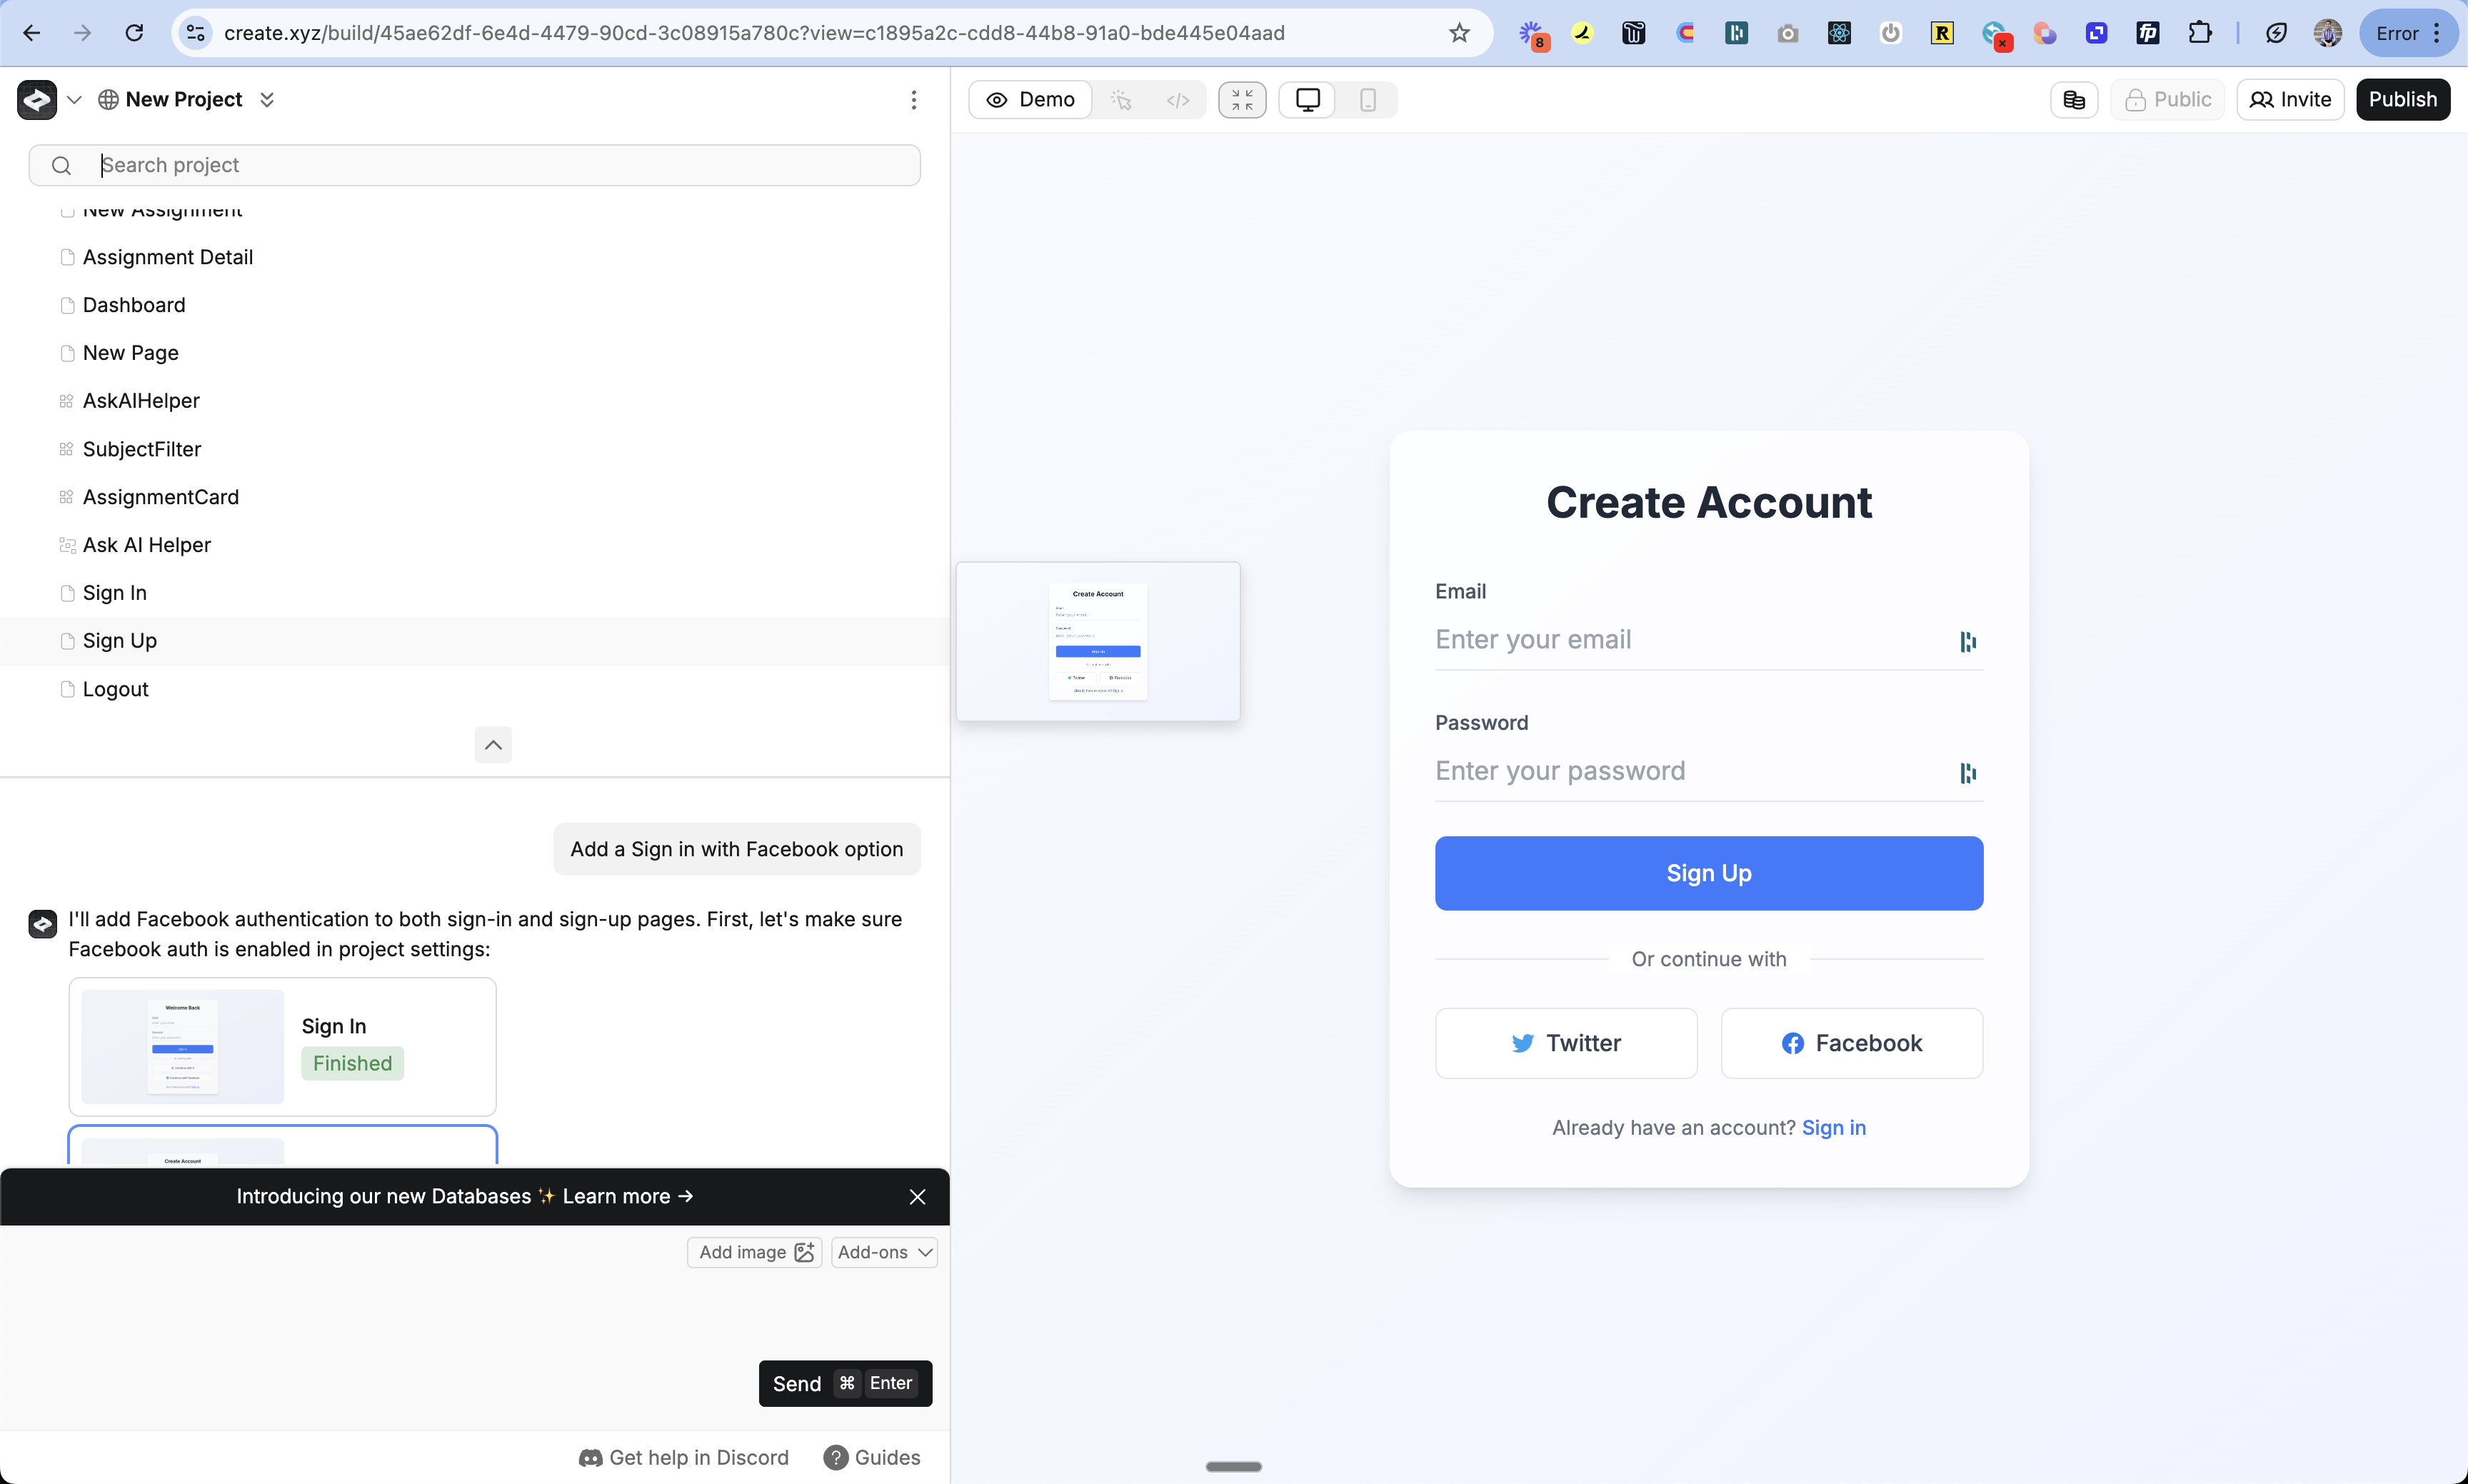
Auth pages
Anything creates three pages:/account/signup/account/signin/account/logout
Auth tables
Anything creates four tables in your database:| Table | What it stores |
|---|---|
auth_users | User profiles (email, name, image) |
auth_accounts | Login methods per user (email/password, Google, etc.) |
auth_sessions | Active sessions |
auth_verification_token | Email verification and magic link tokens |
Protected pages
Tell Anything which pages require sign-in and which are public. If someone visits a protected page without being logged in, Anything redirects them to sign in and sends them back after.How sessions work
When someone signs up or signs in, Anything stores a secure cookie in their browser. That cookie keeps them logged in as they browse your app.- Protected pages and functions check the cookie before loading
- No valid cookie? Anything redirects to sign-in
- Logout clears the cookie and ends the session
Example
Say you have a landing page at/ and an AI homework creator at /app.
- Say “add sign up and login, only signed-in users can use the homework creator”
- Or protect manually: go to the
/apppage, open the 3-dot menu > Settings > “Require account to view” - Publish
/ stays public, /app redirects to sign-in, and after login users land on /app. From there:
Customizing auth pages
Flows and redirects
Tell Anything where to send users after sign up, sign in, and logout.User data
By default, Anything stores email, a hashed password, user ID, and created date. You can add anything else:Using user data
Reference user data in your prompts and Anything updates your pages and functions to use it.Roles and permissions
Add roles to control who can do what. Describe the roles you want and how behavior should change:Auth methods
Anything supports five sign-in methods. Toggle them on or off in Project Settings.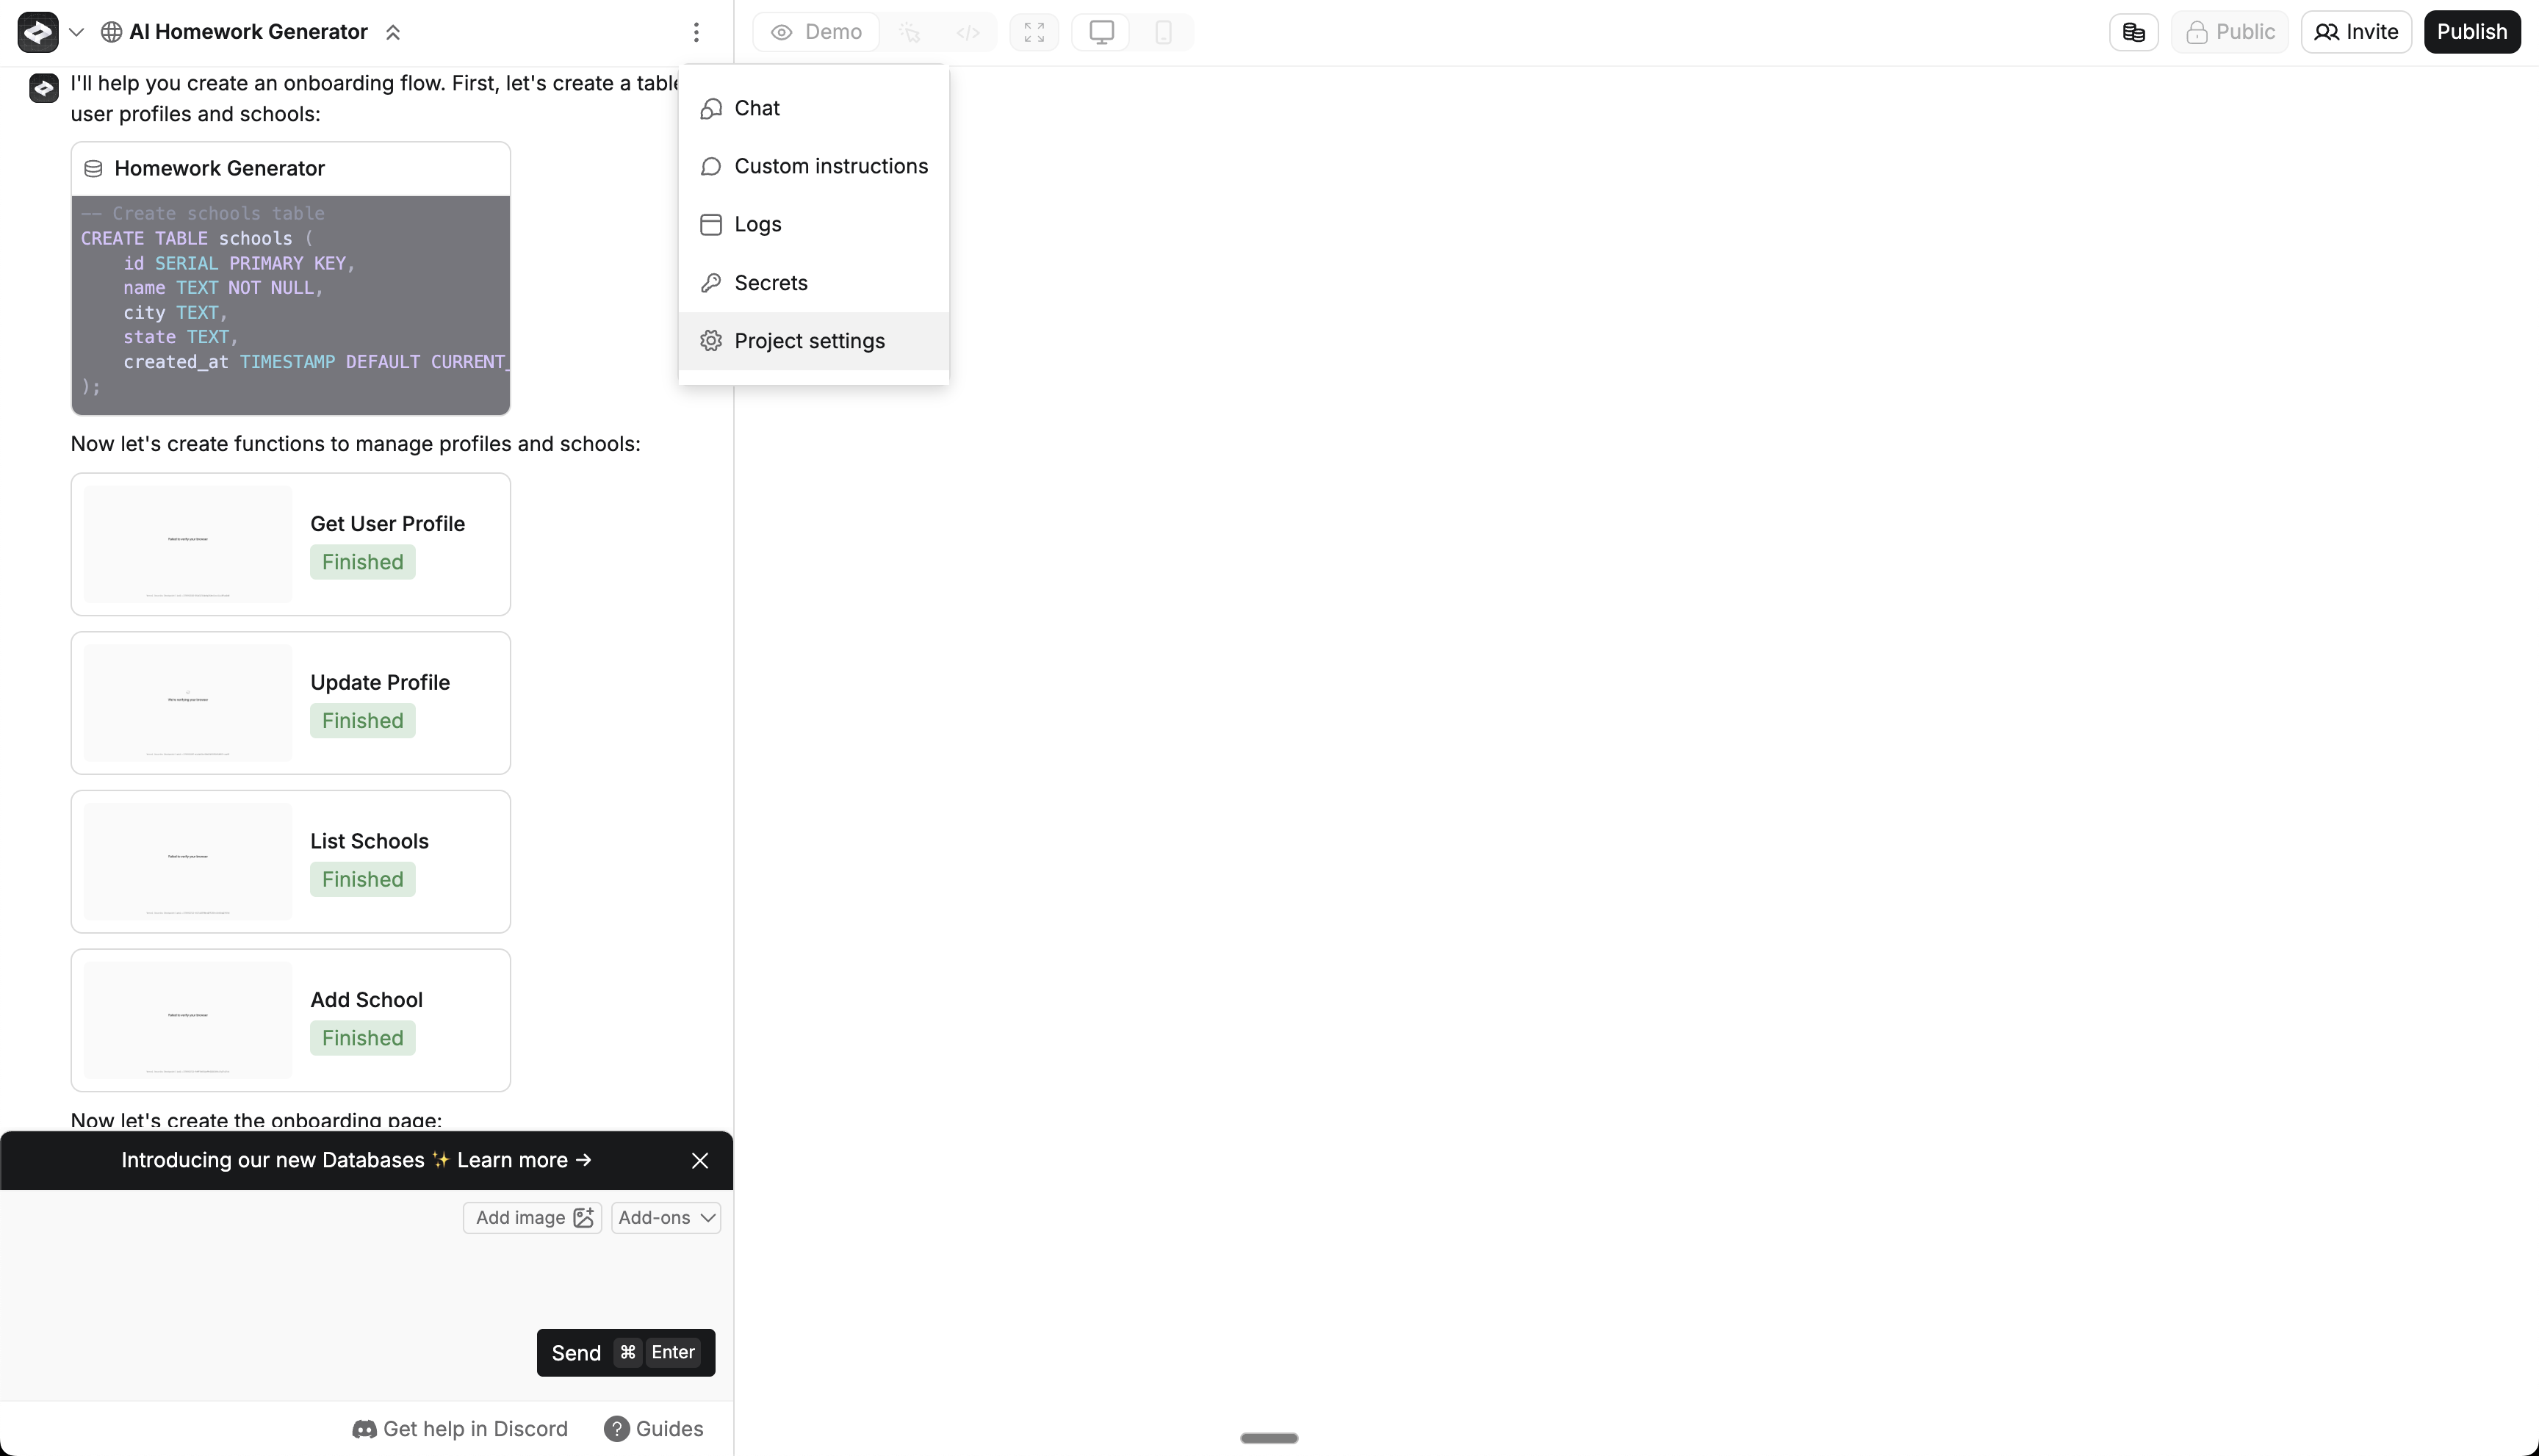
Anything also supports magic links for passwordless sign-in. Ask the agent to “add magic link login” and it sets up email-based sign-in with no password required.
Testing
- Publish your changes
- Open an incognito window
- Visit a protected page and confirm it redirects to sign-in
- Create a test account and confirm you can access the page
Troubleshooting
If auth isn’t working:- Check that User Accounts is enabled. You should see sign up, sign in, and logout pages in the Project Selector and auth tables in the database.
- Check page settings to confirm the page requires sign-in
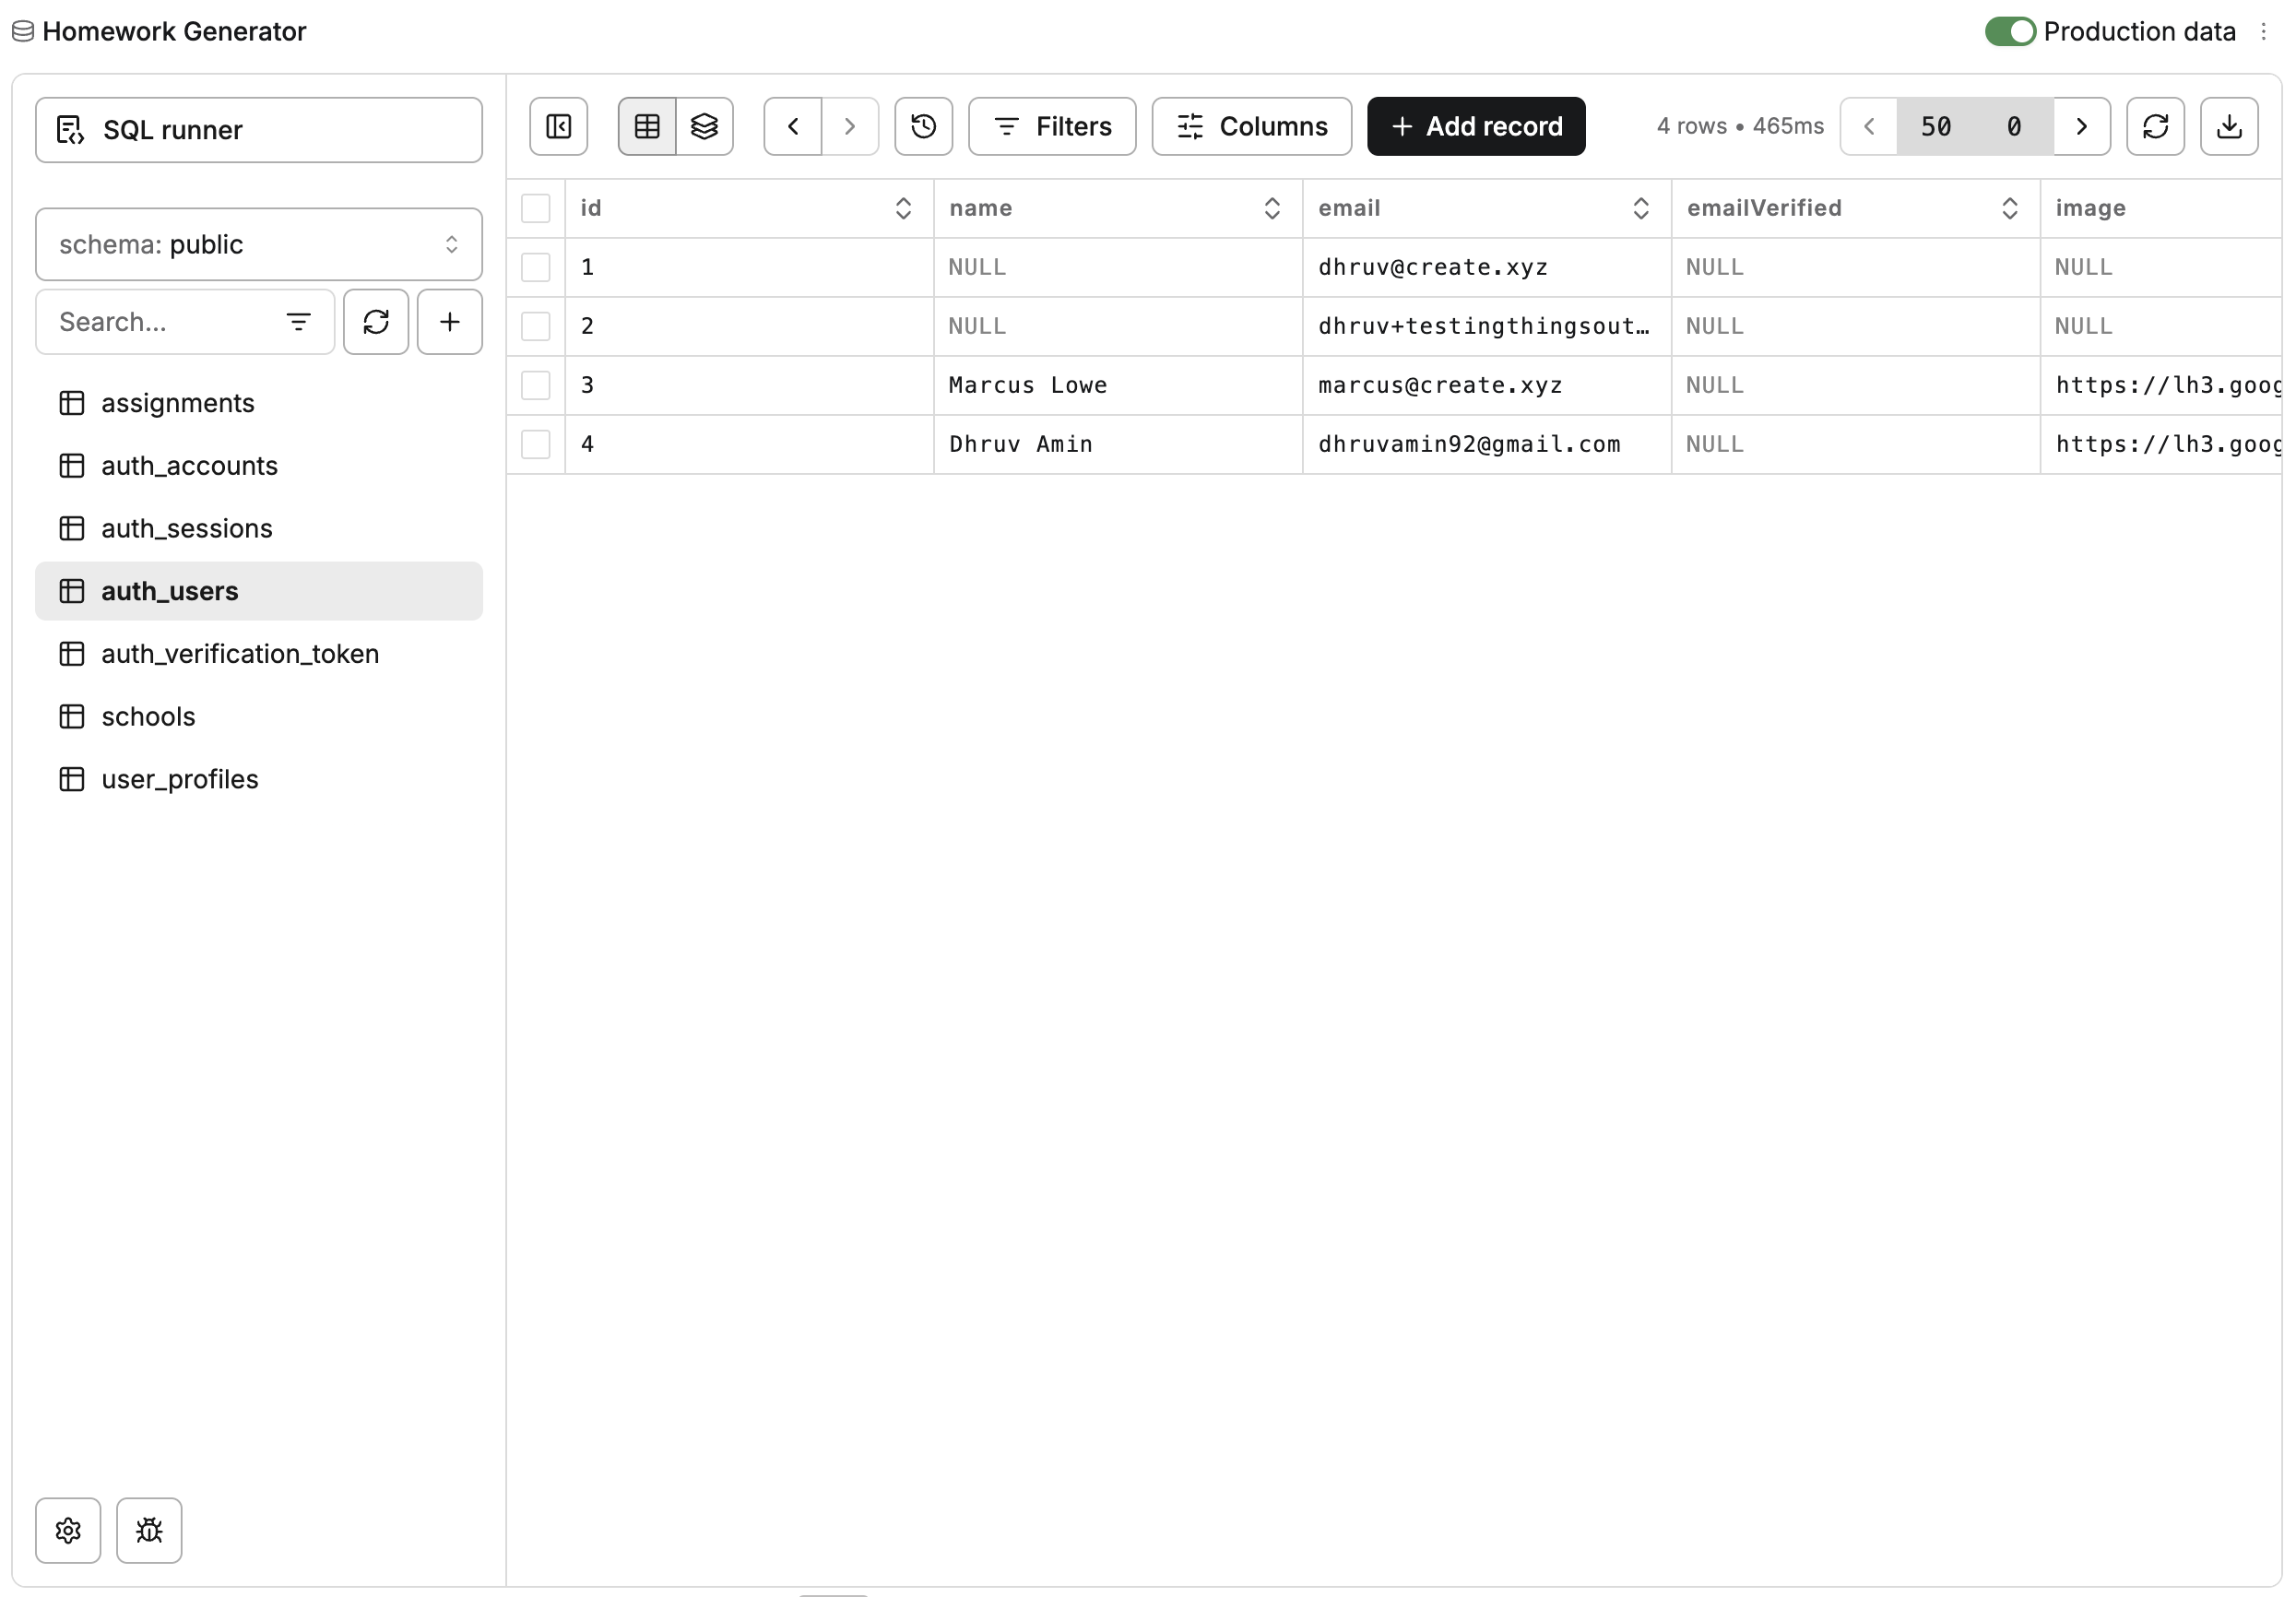
- Open the
auth_userstable to verify the user was created - Test with a fresh account in incognito
- See Get Help for more
Error codes
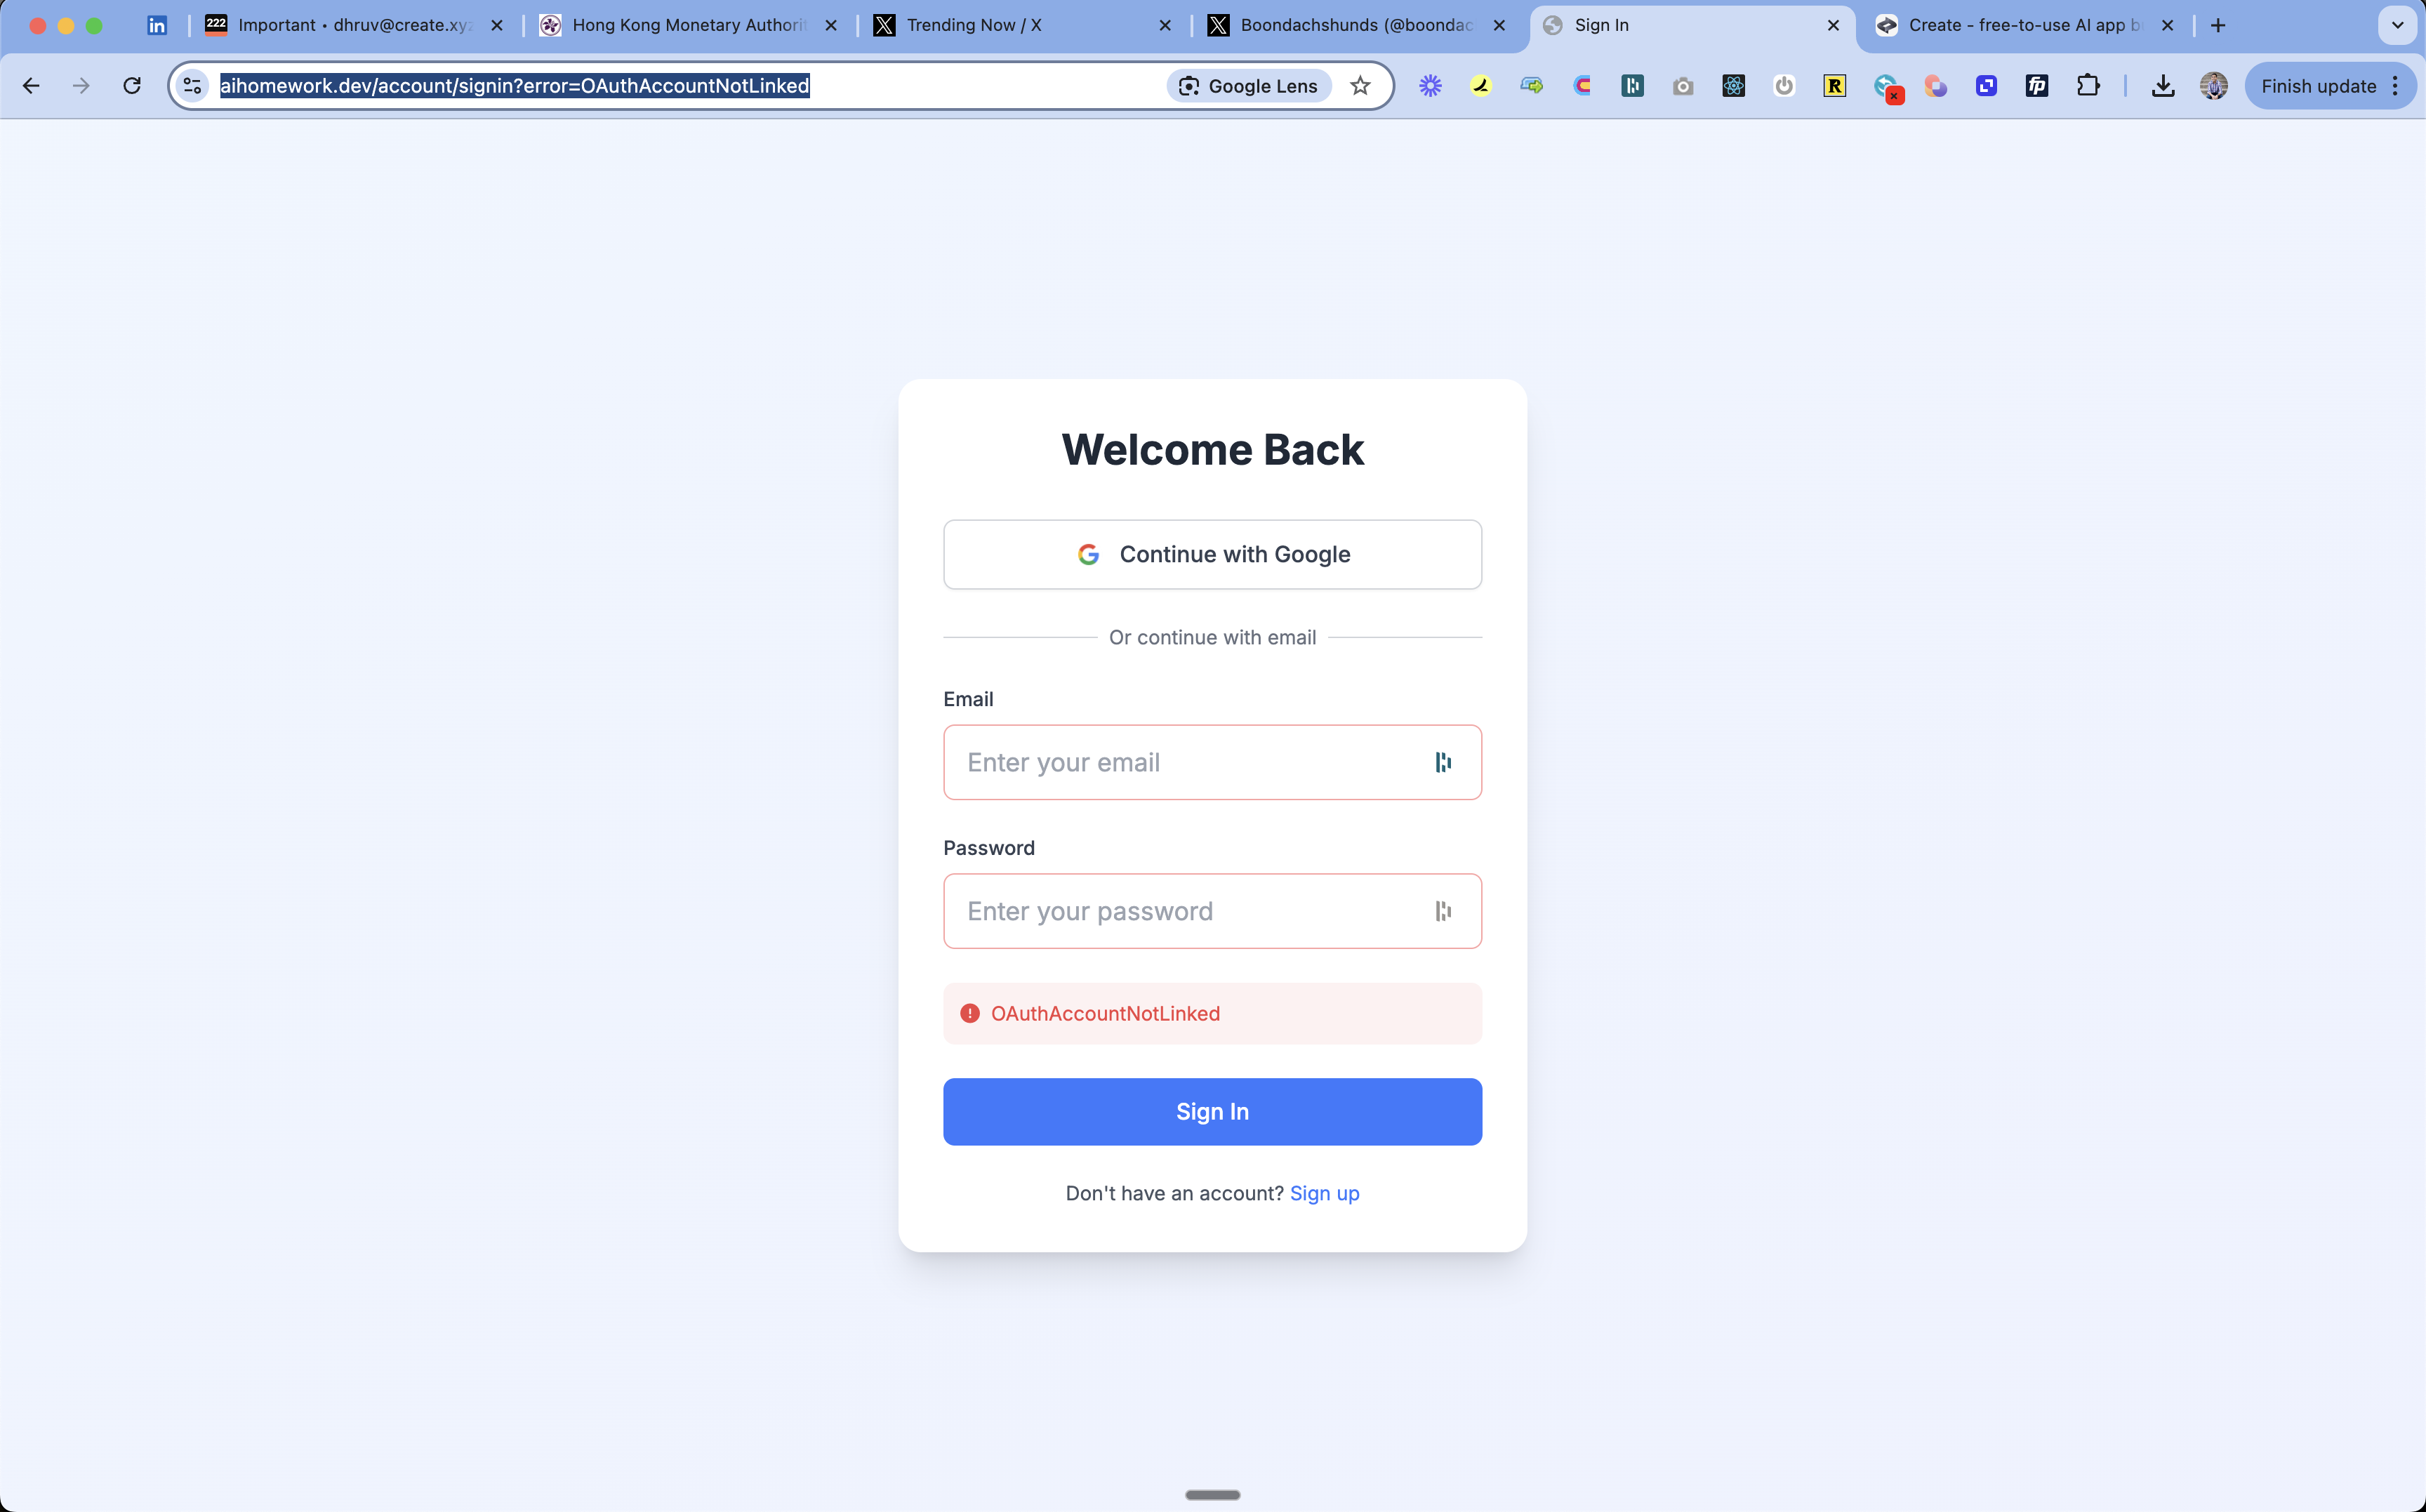
If someone hits an error during sign in or sign up, check the URL for?error=[code].
- OAuthSignin/Callback: OAuth configuration issue
- Check provider settings and keys
- Verify redirect URLs
- OAuthAccountNotLinked: Email already used with different auth method
- User should sign in with original method (e.g. Google instead of email)
- CredentialsSignin: Wrong email/password
- Double-check credentials
- Reset password if needed
- EmailCreateAccount: Email already registered
- Use sign in instead
- Reset password if needed
- AccessDenied: Permission issue
- Check access settings
- Verify allowed domains
- Configuration: System setup issue
- Check auth configuration
- Verify environment variables
Databases
Store user data and content
Publishing
Go live with auth