Before you start
Make sure you have:Overview
Create Google Credentials
Add to Anything
Add sign-in UI
Test flow
Google Cloud Setup
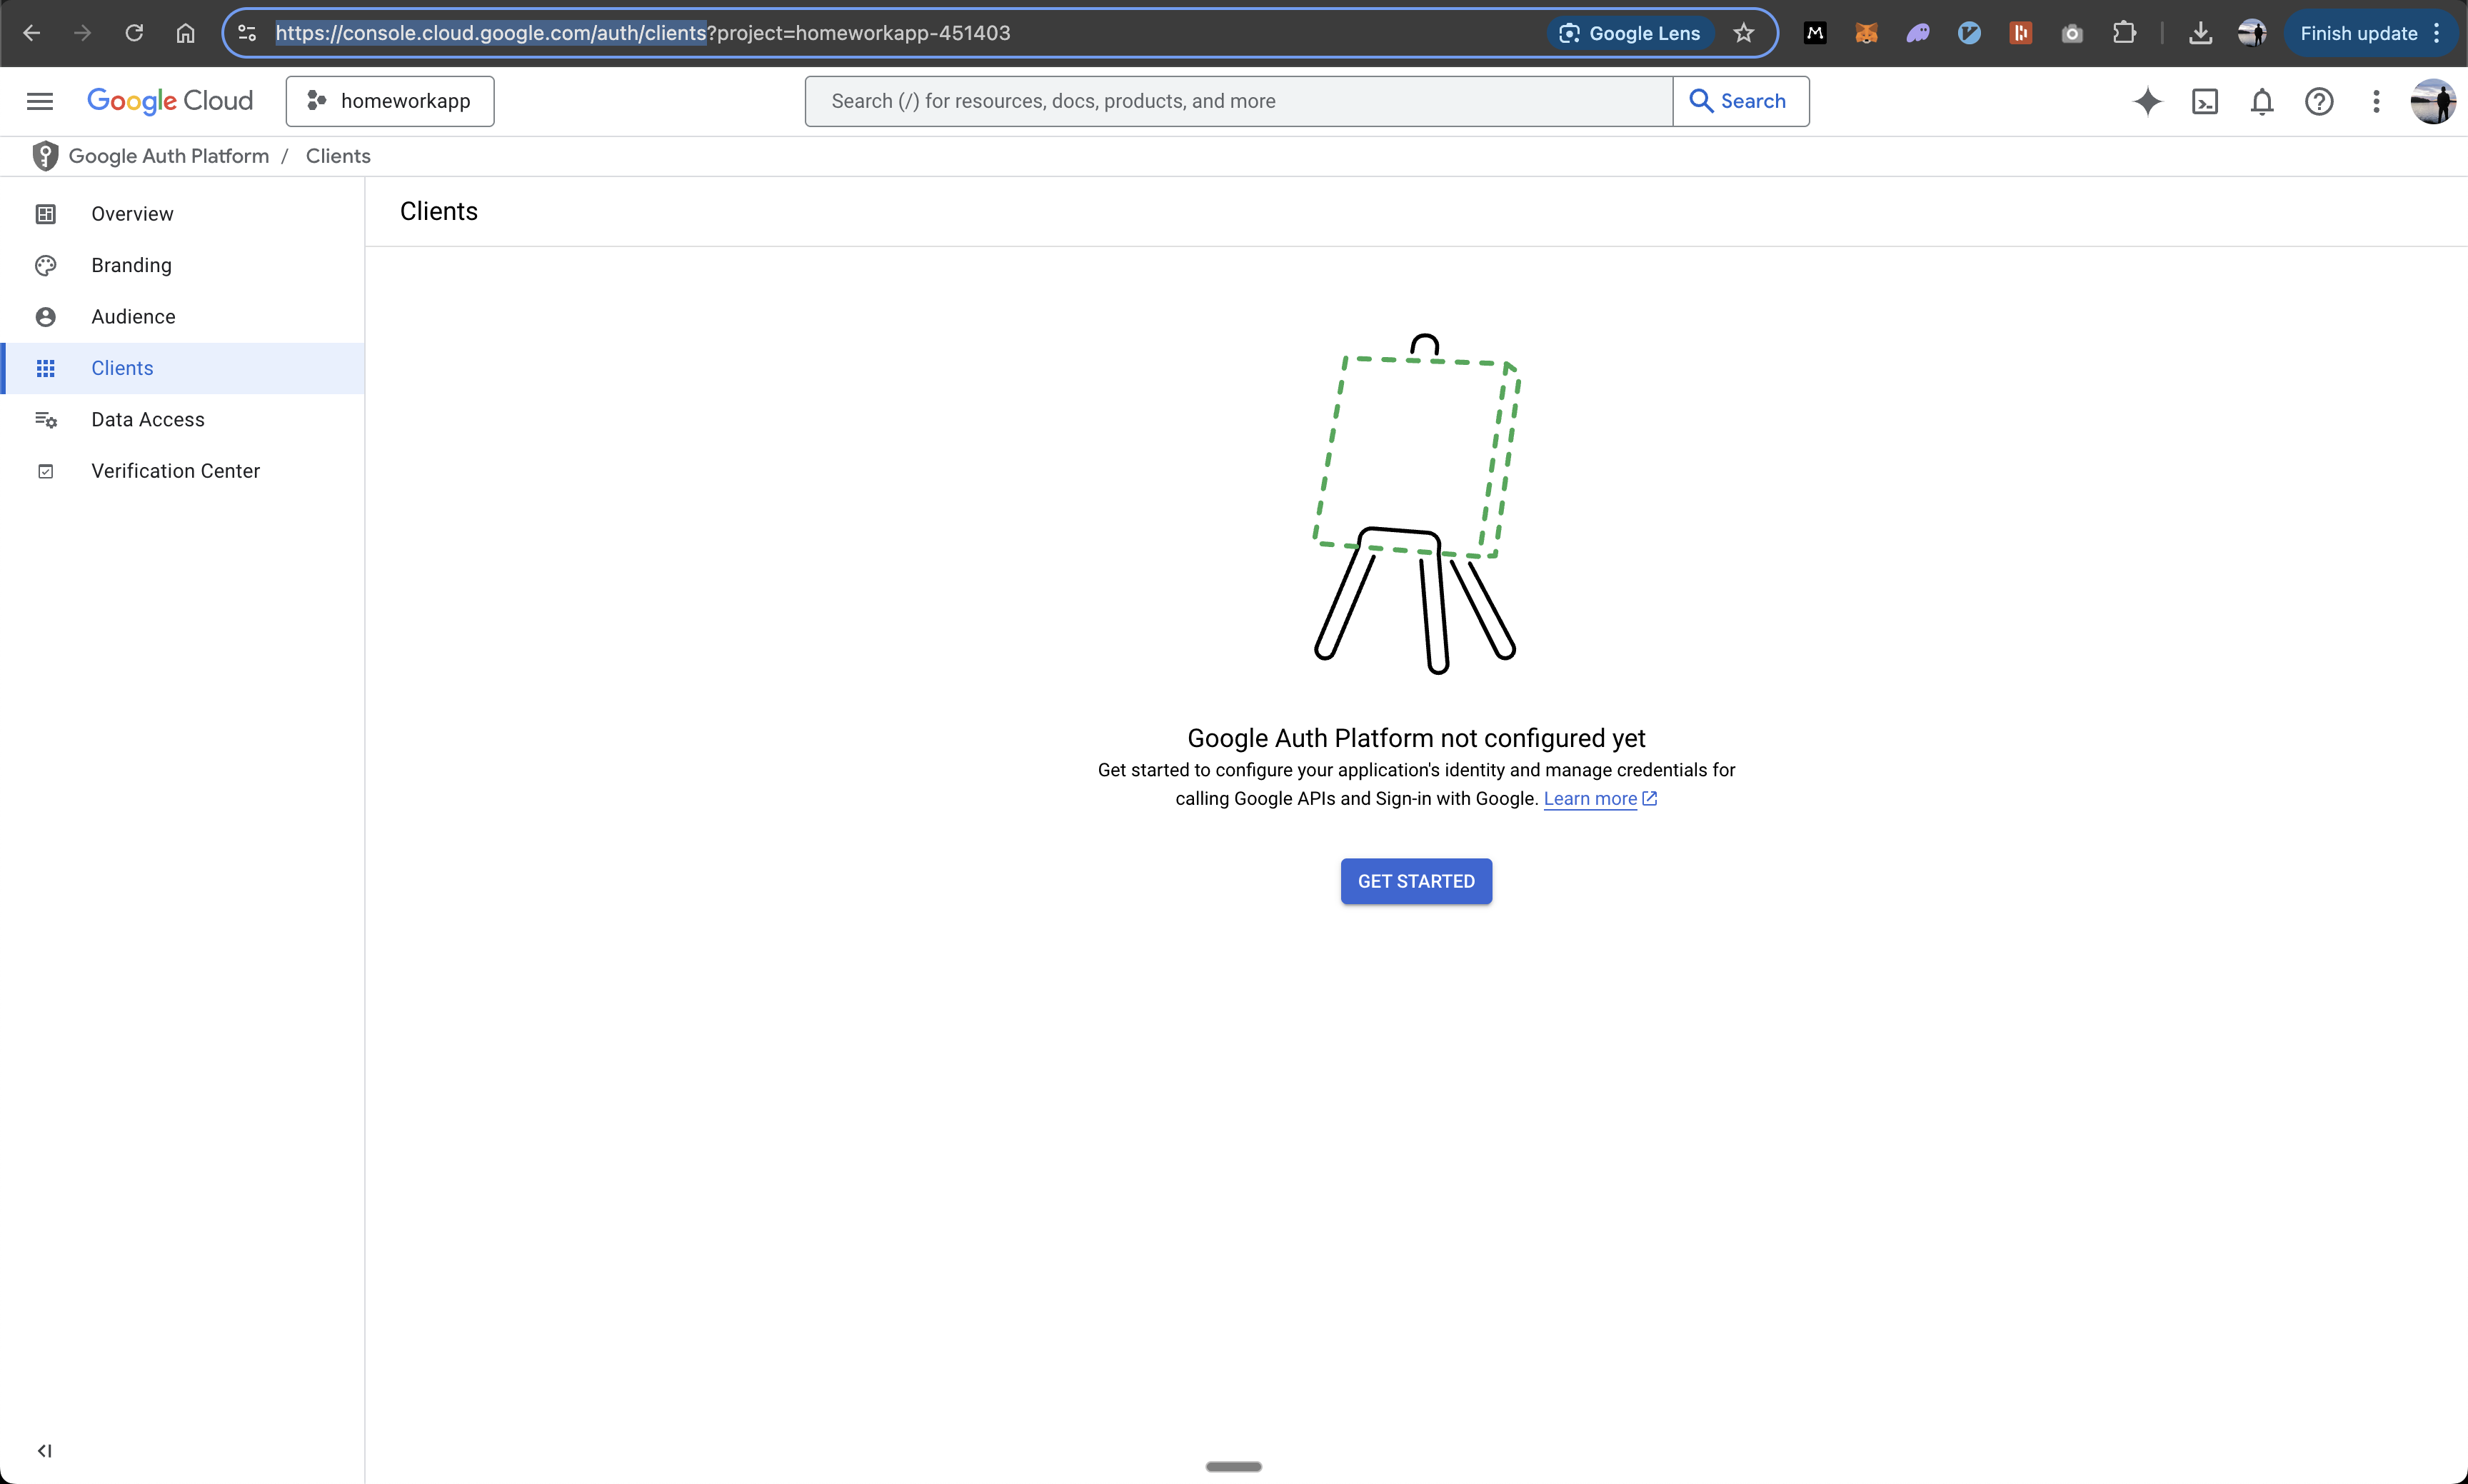
Access Google Cloud OAuth Clients
- Go to Google Cloud OAuth Clients
- Sign in with your Google account
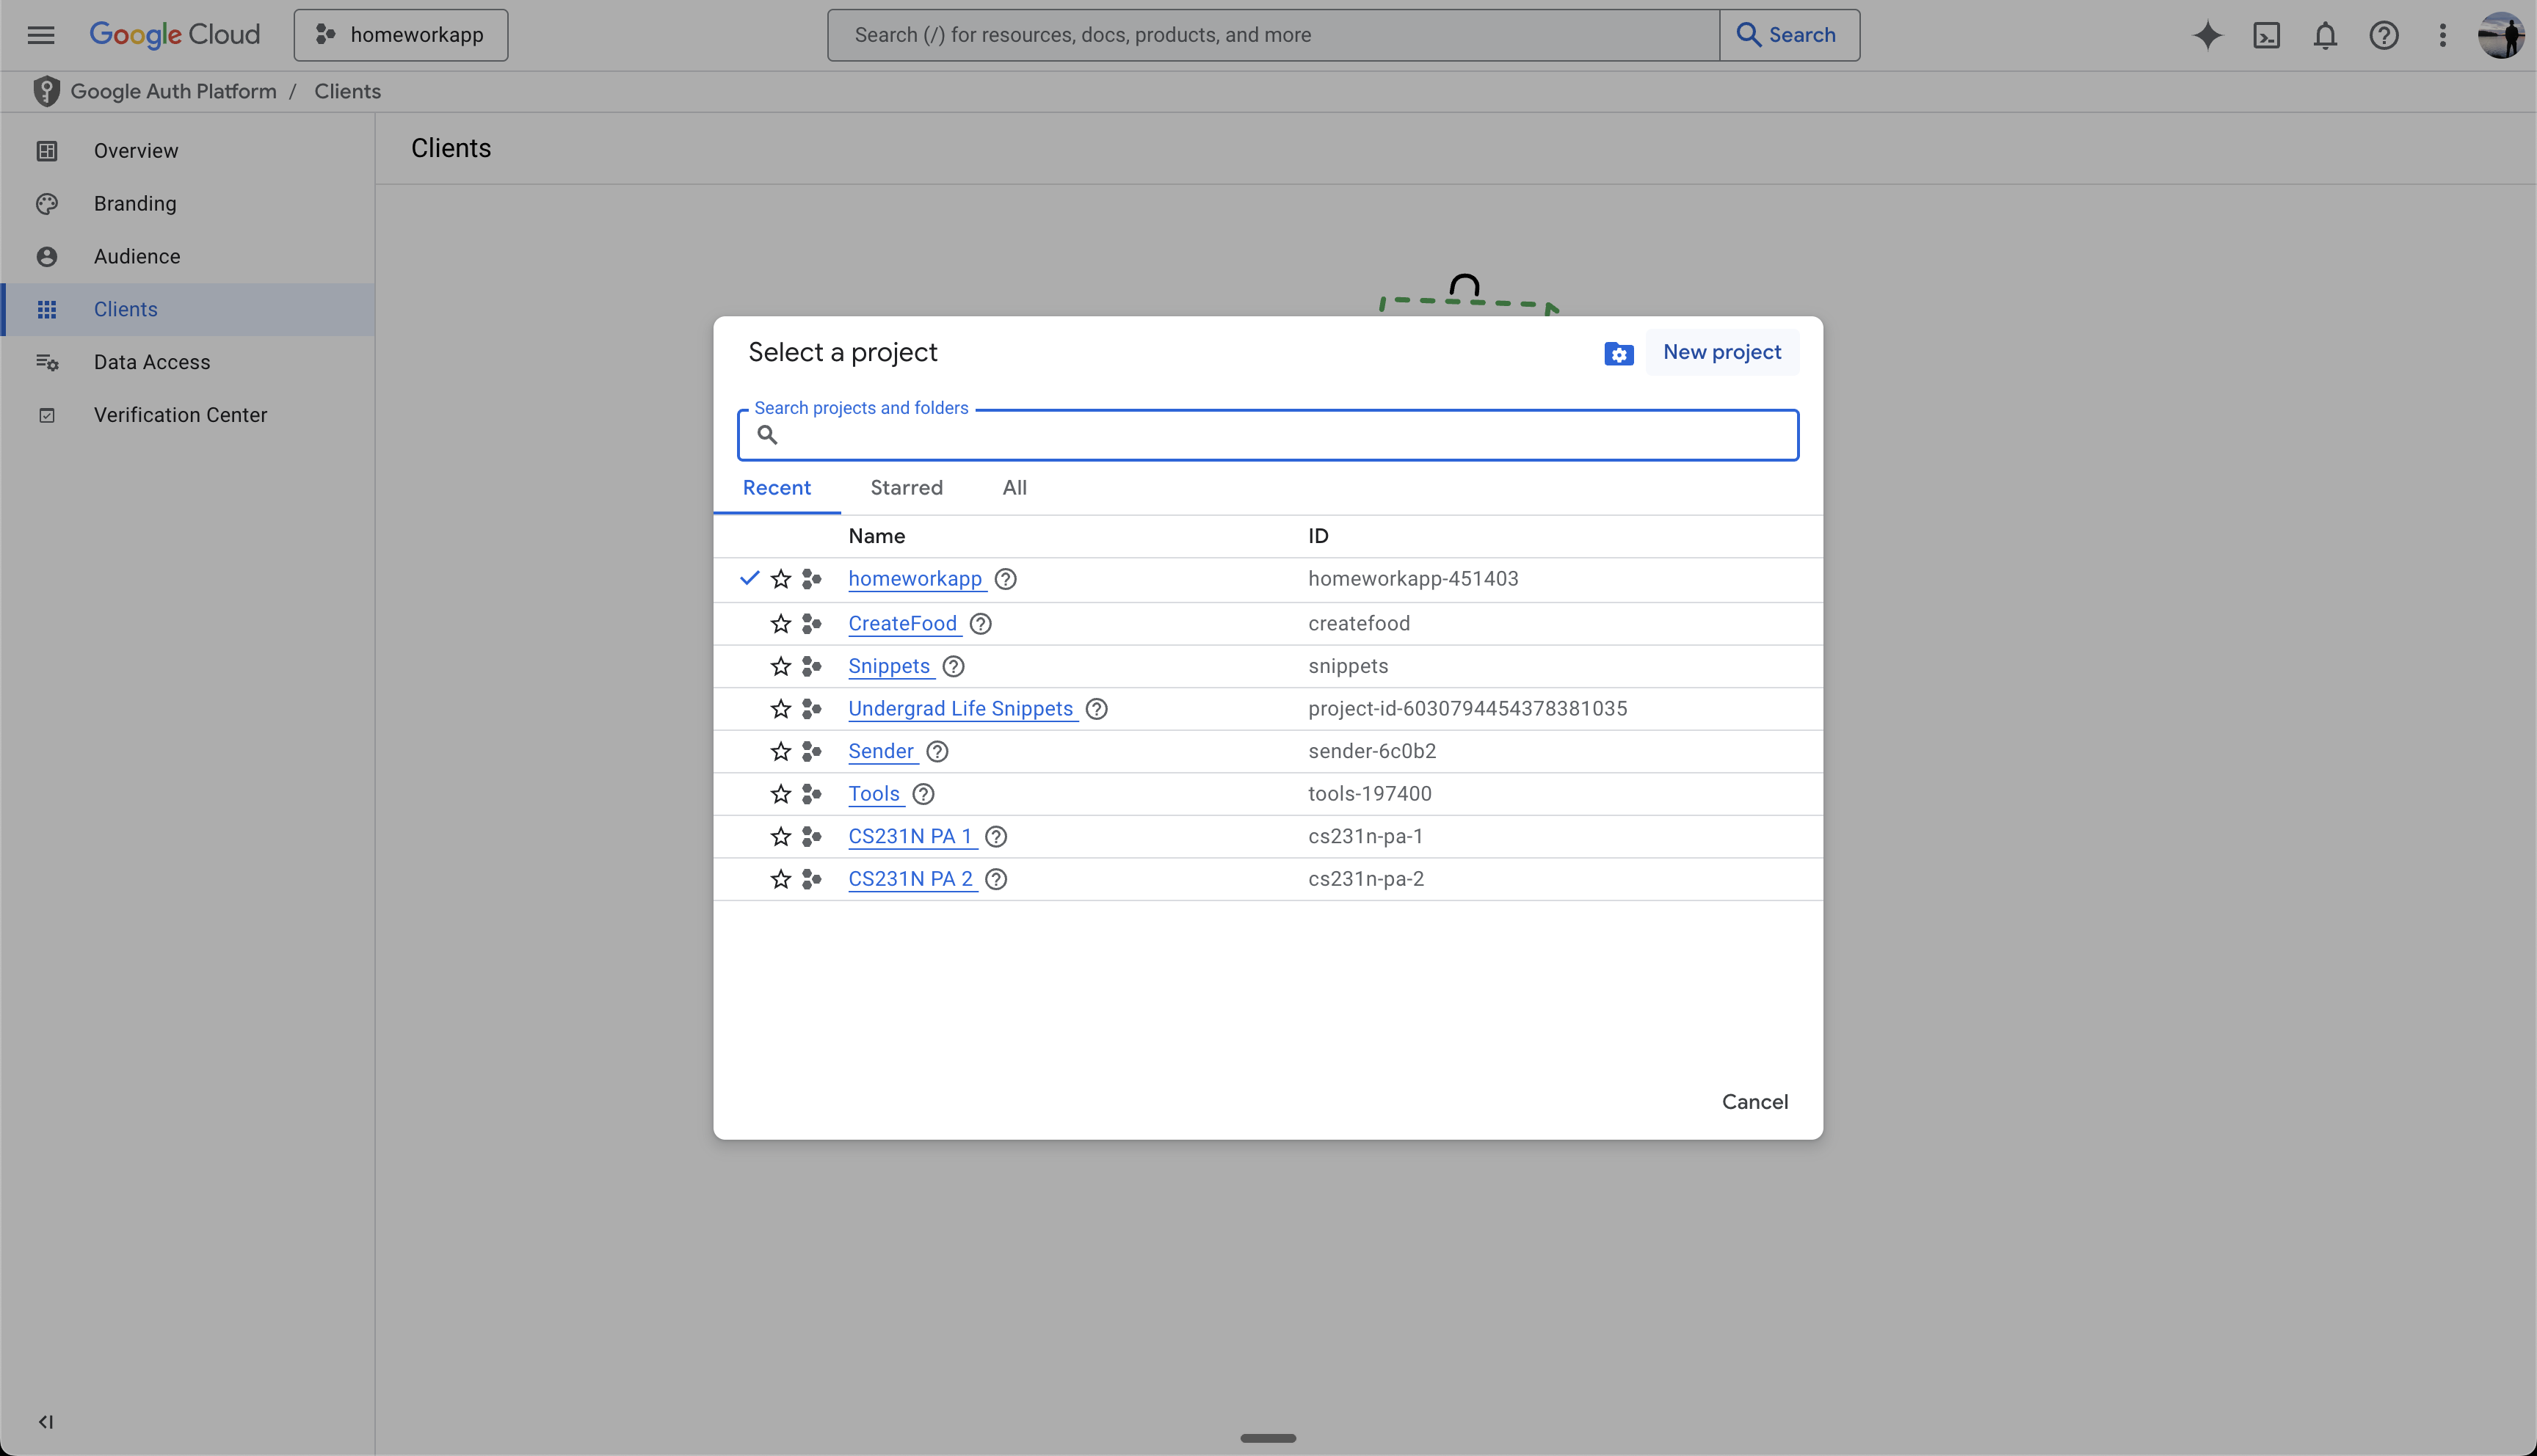
Select or Create Project
- Click the project selector dropdown
- Choose to create a new project or select an existing one
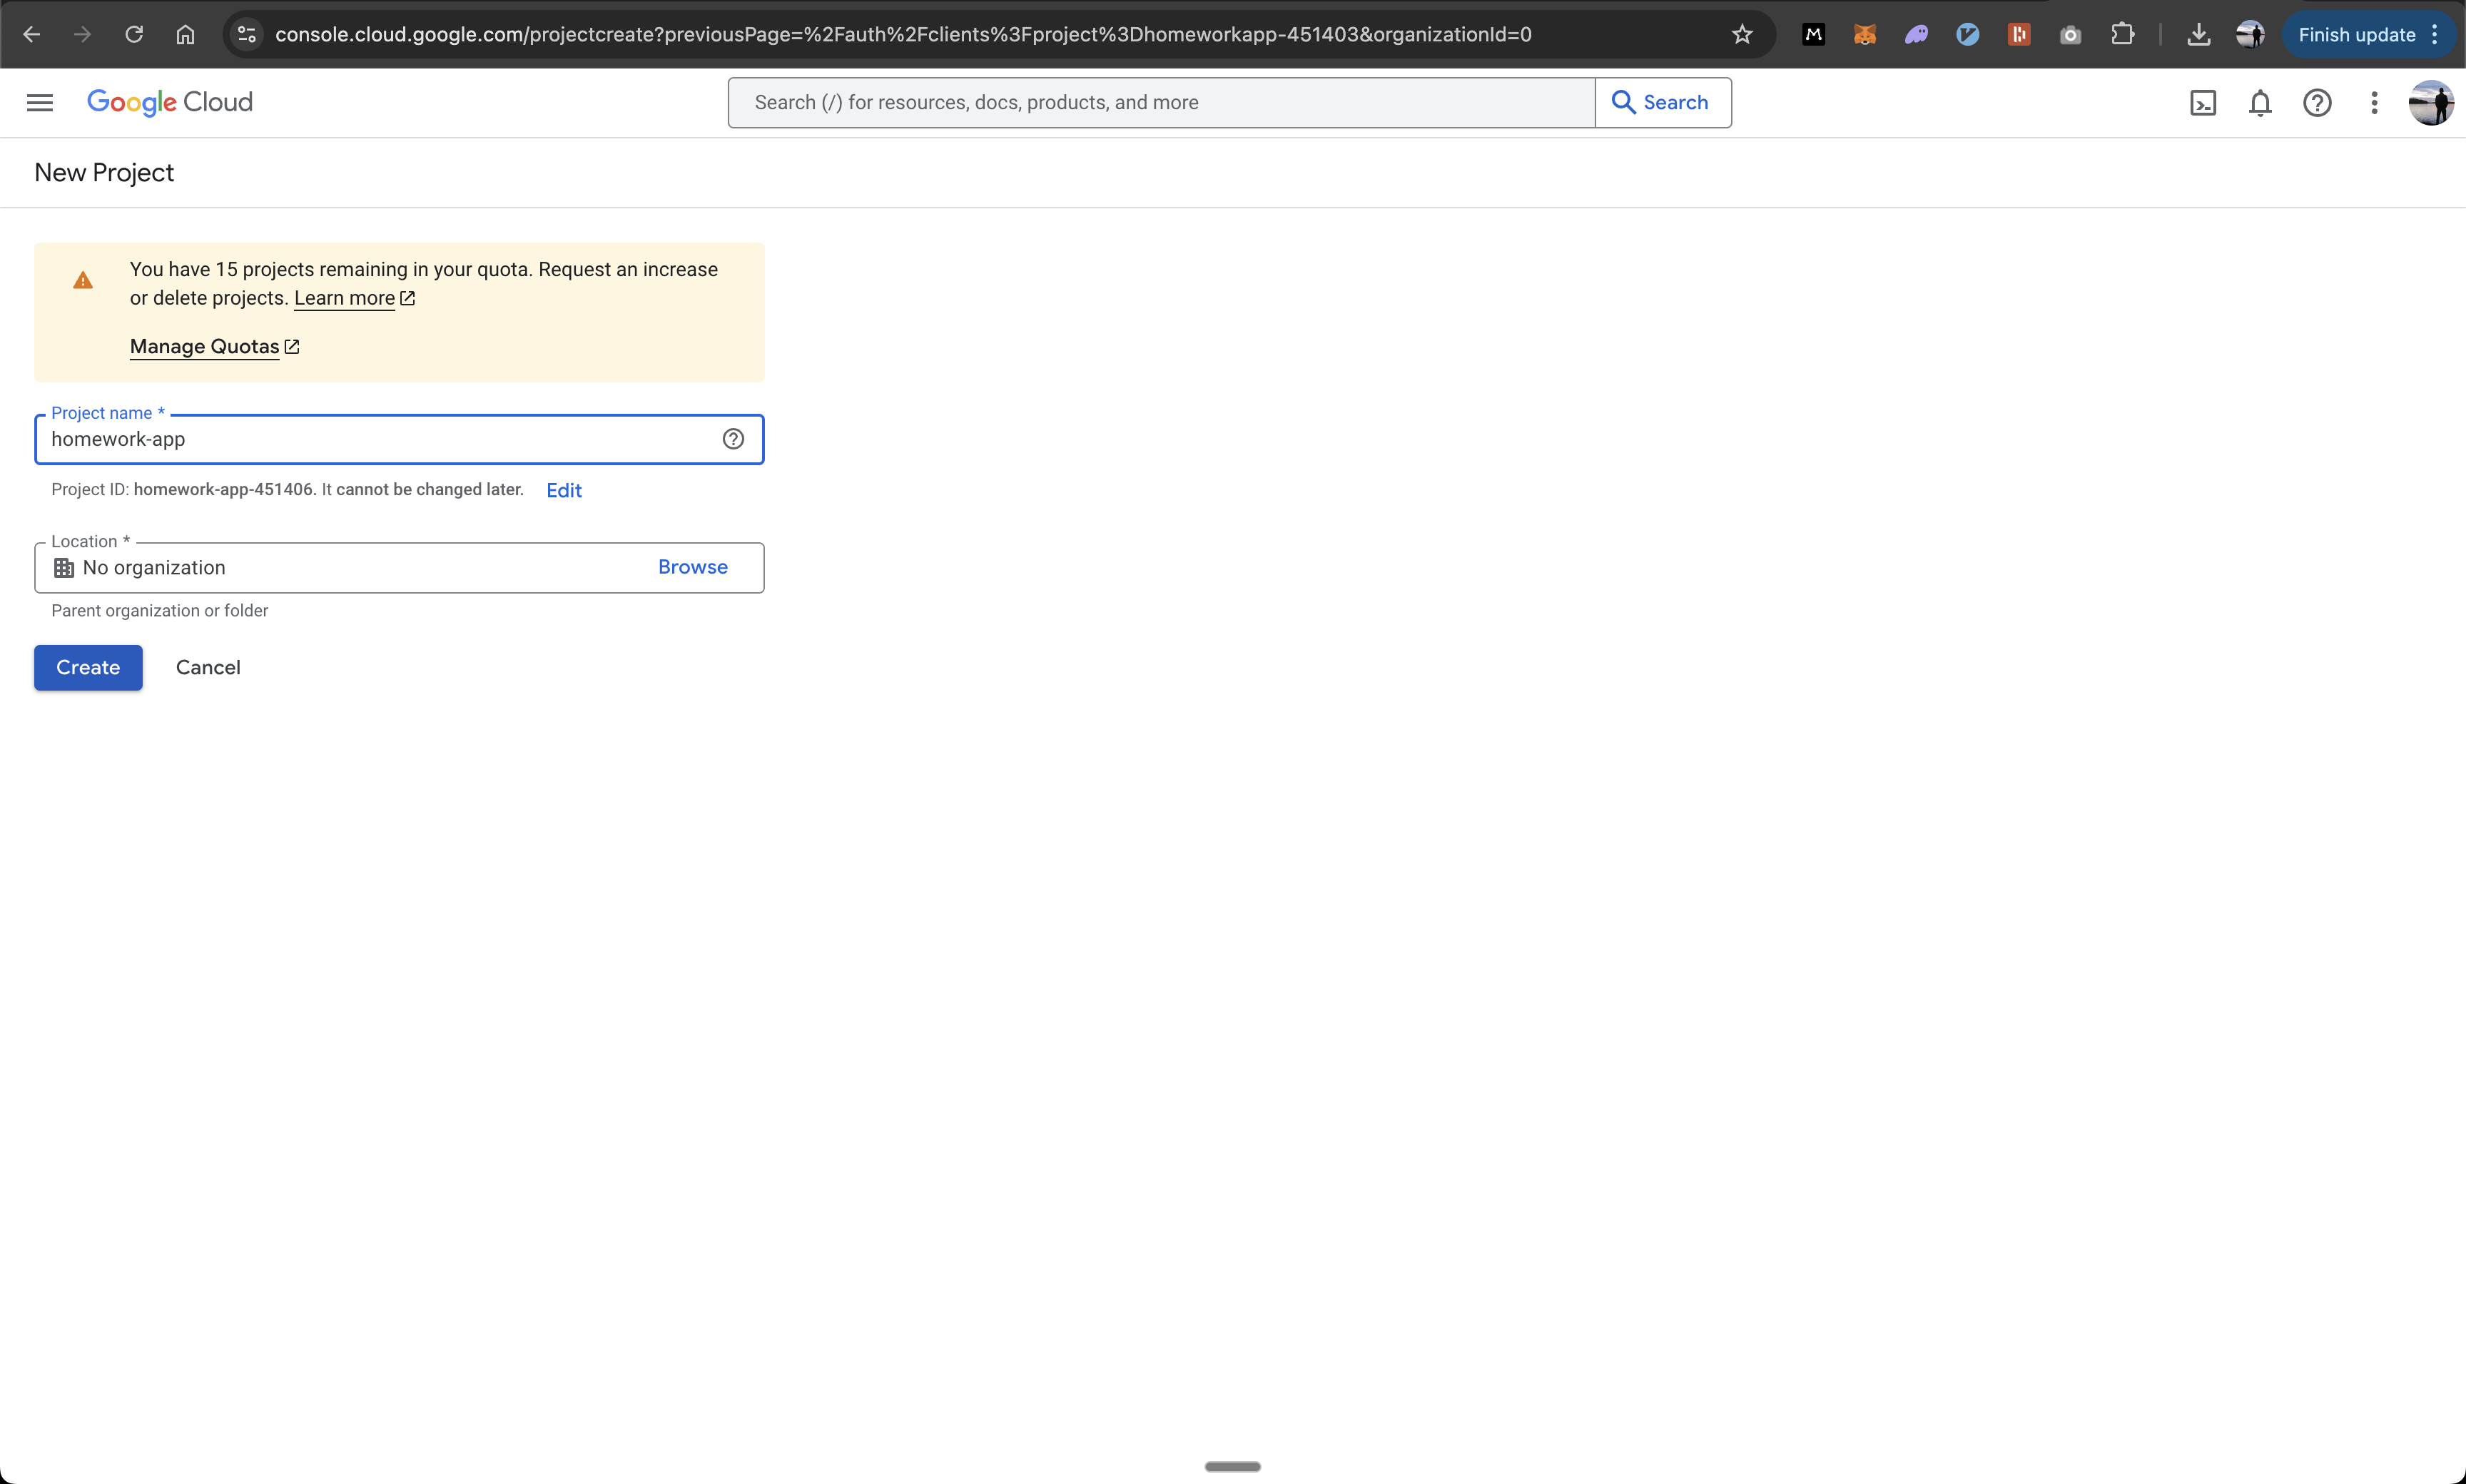
Configure New Project
- If creating new: Enter a recognizable project name (internal use only)
- Choose whether to add it to an existing Organization or “No organization”
- Click “Create”
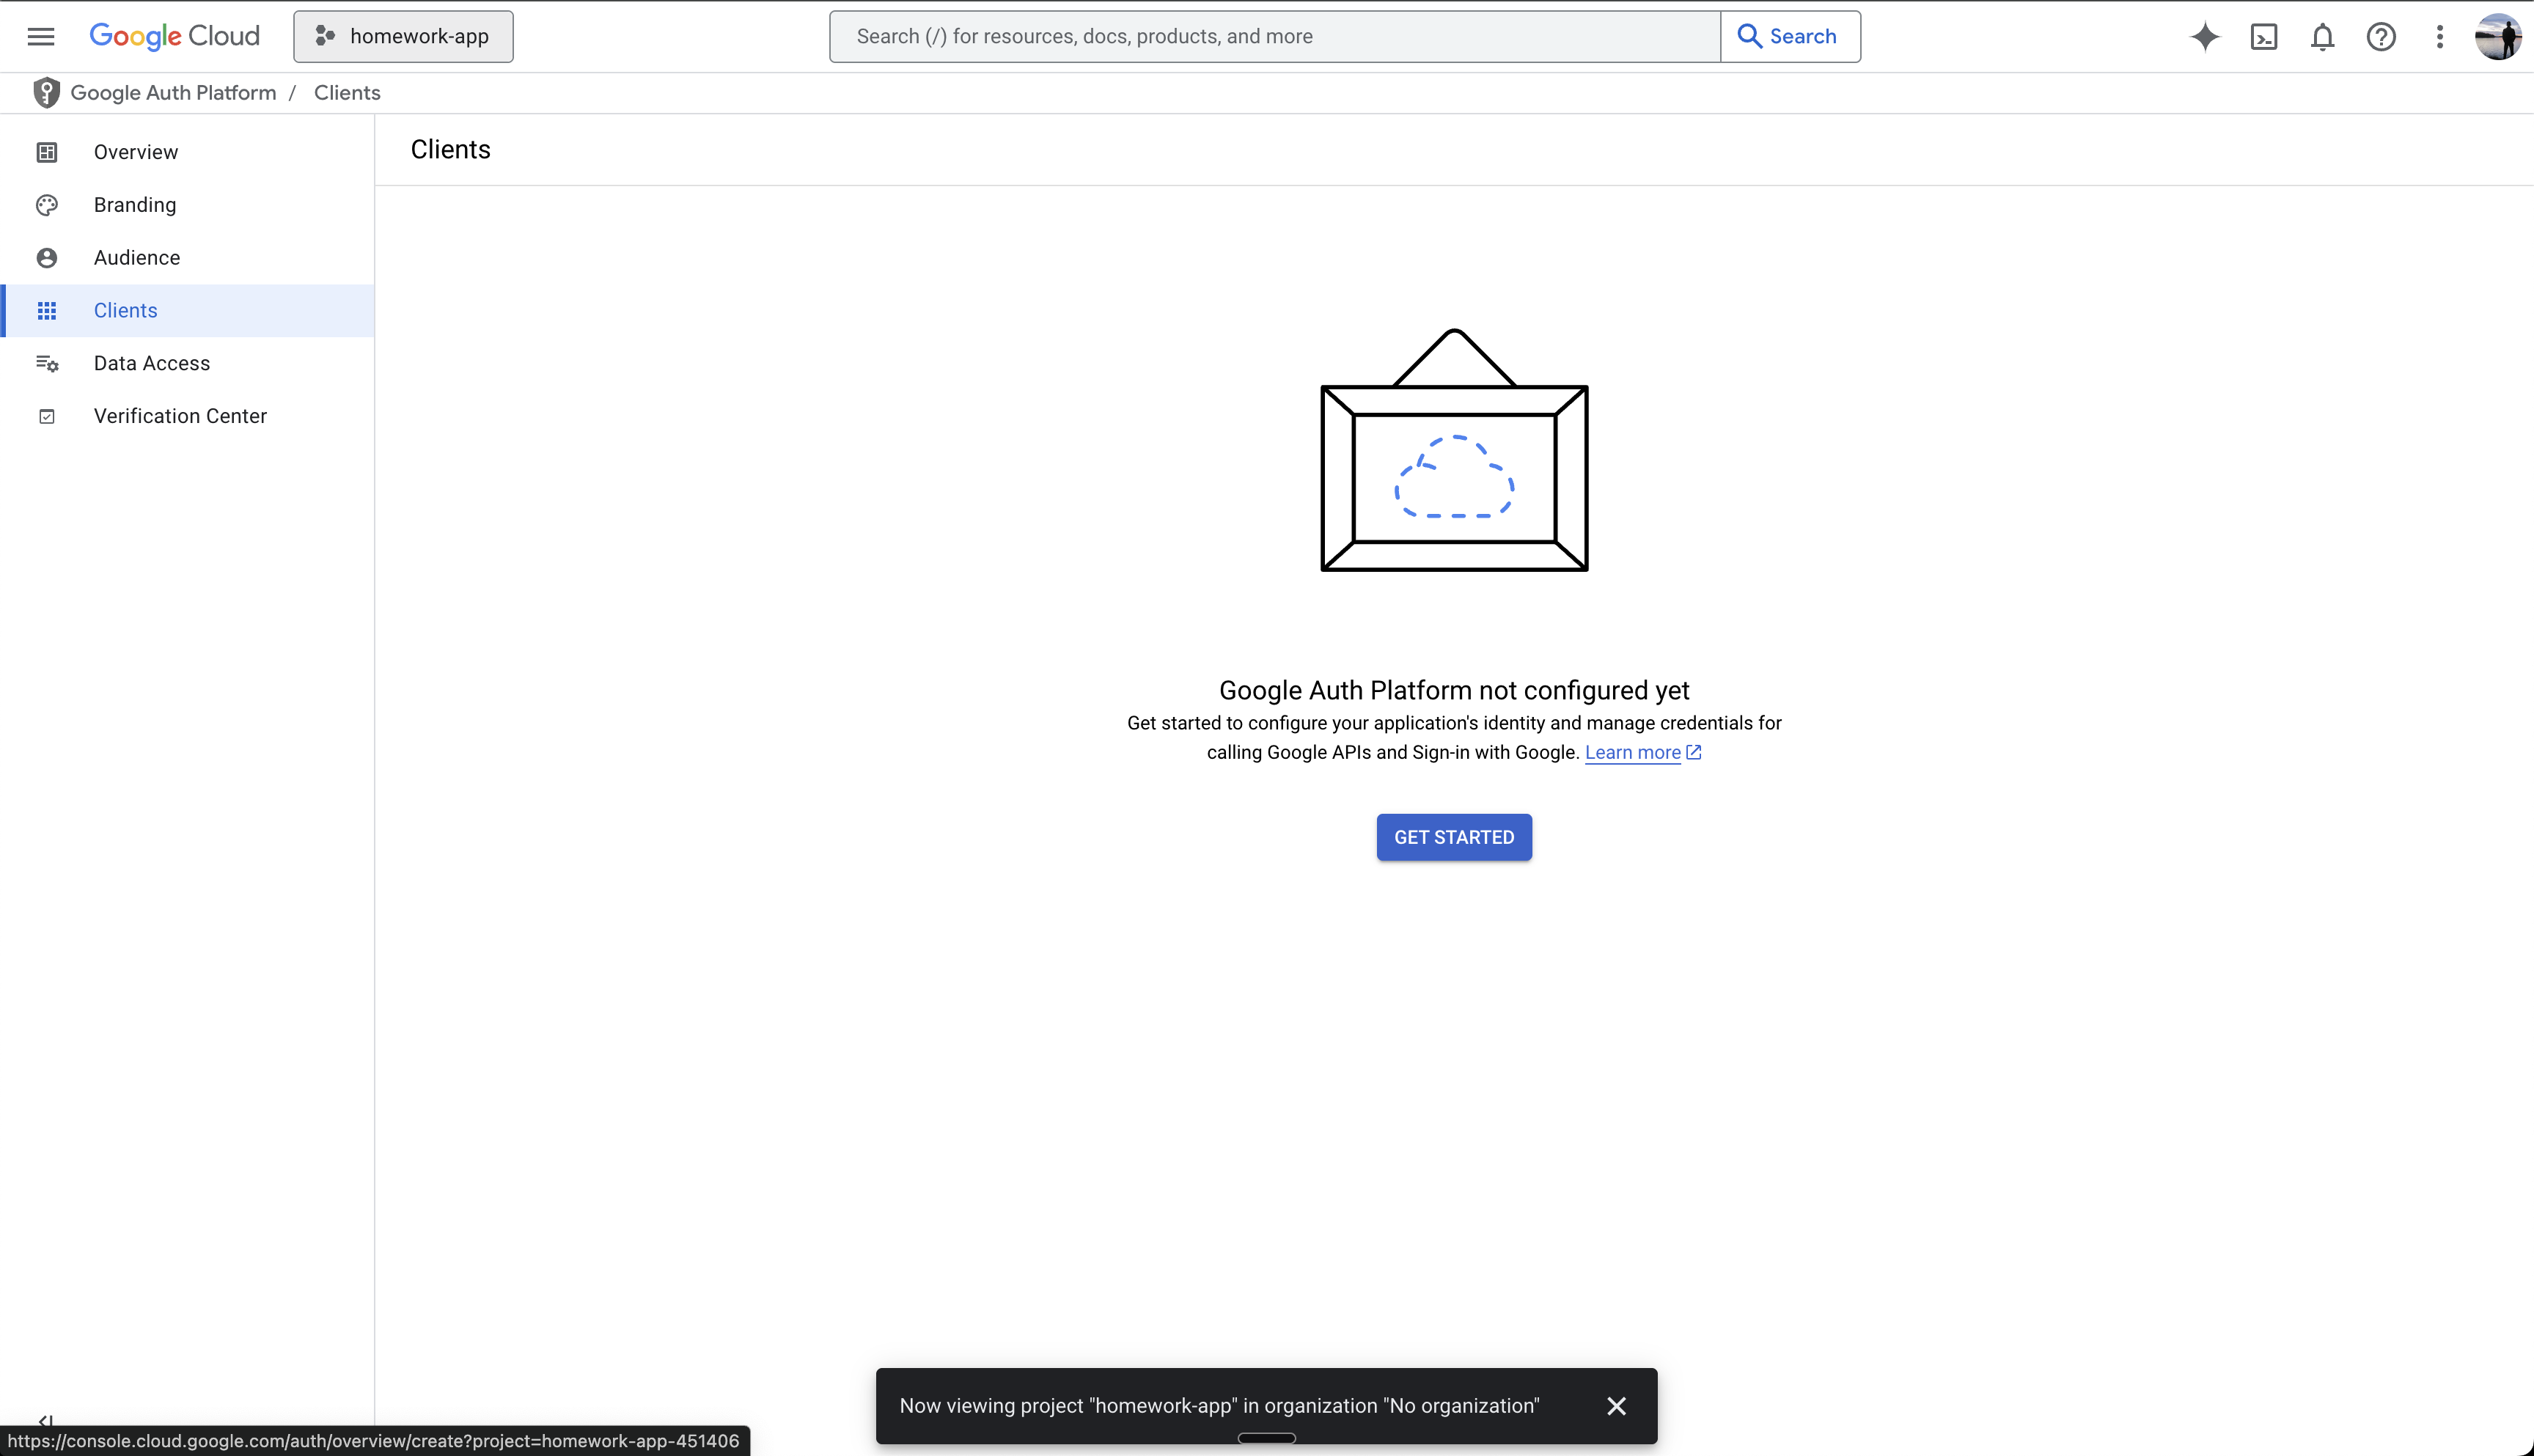
Initialize Google Auth Platform
- Once project is selected/created
- Click “Get Started” on the Google Auth Platform screen
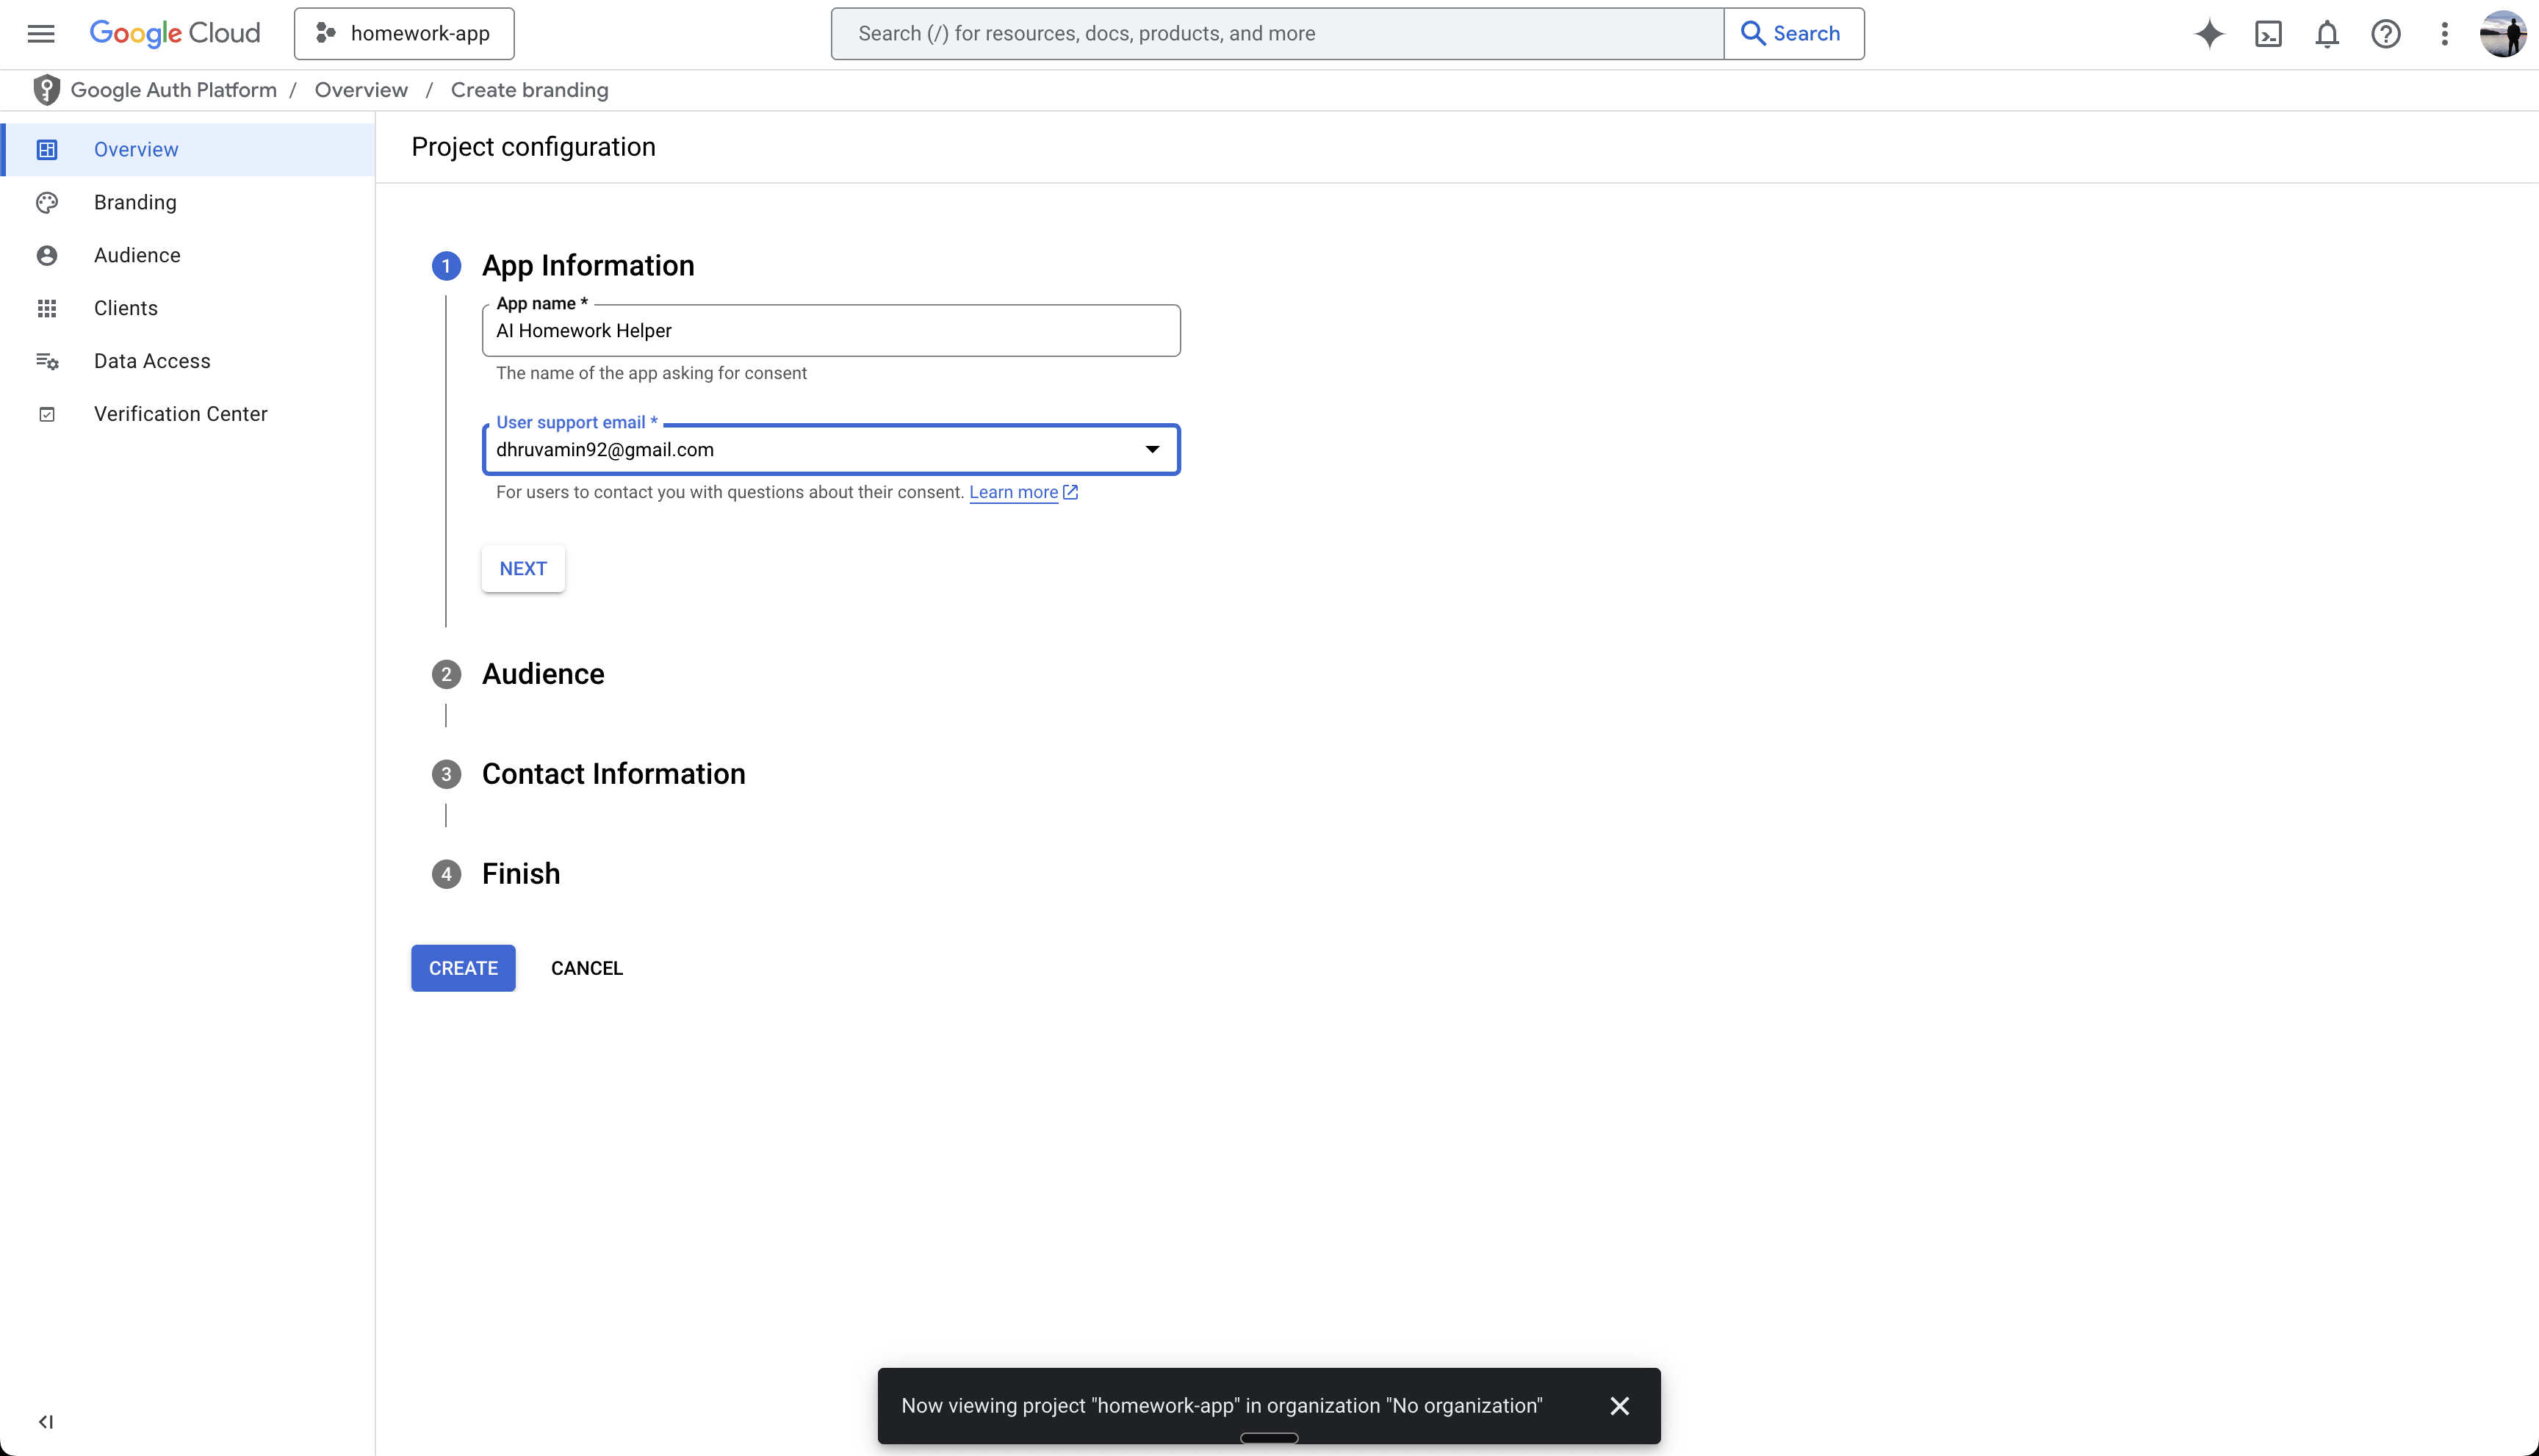
Configure App Information
- Enter your App Name (this will be public-facing)
- Add a support email address (this will be public-facing)
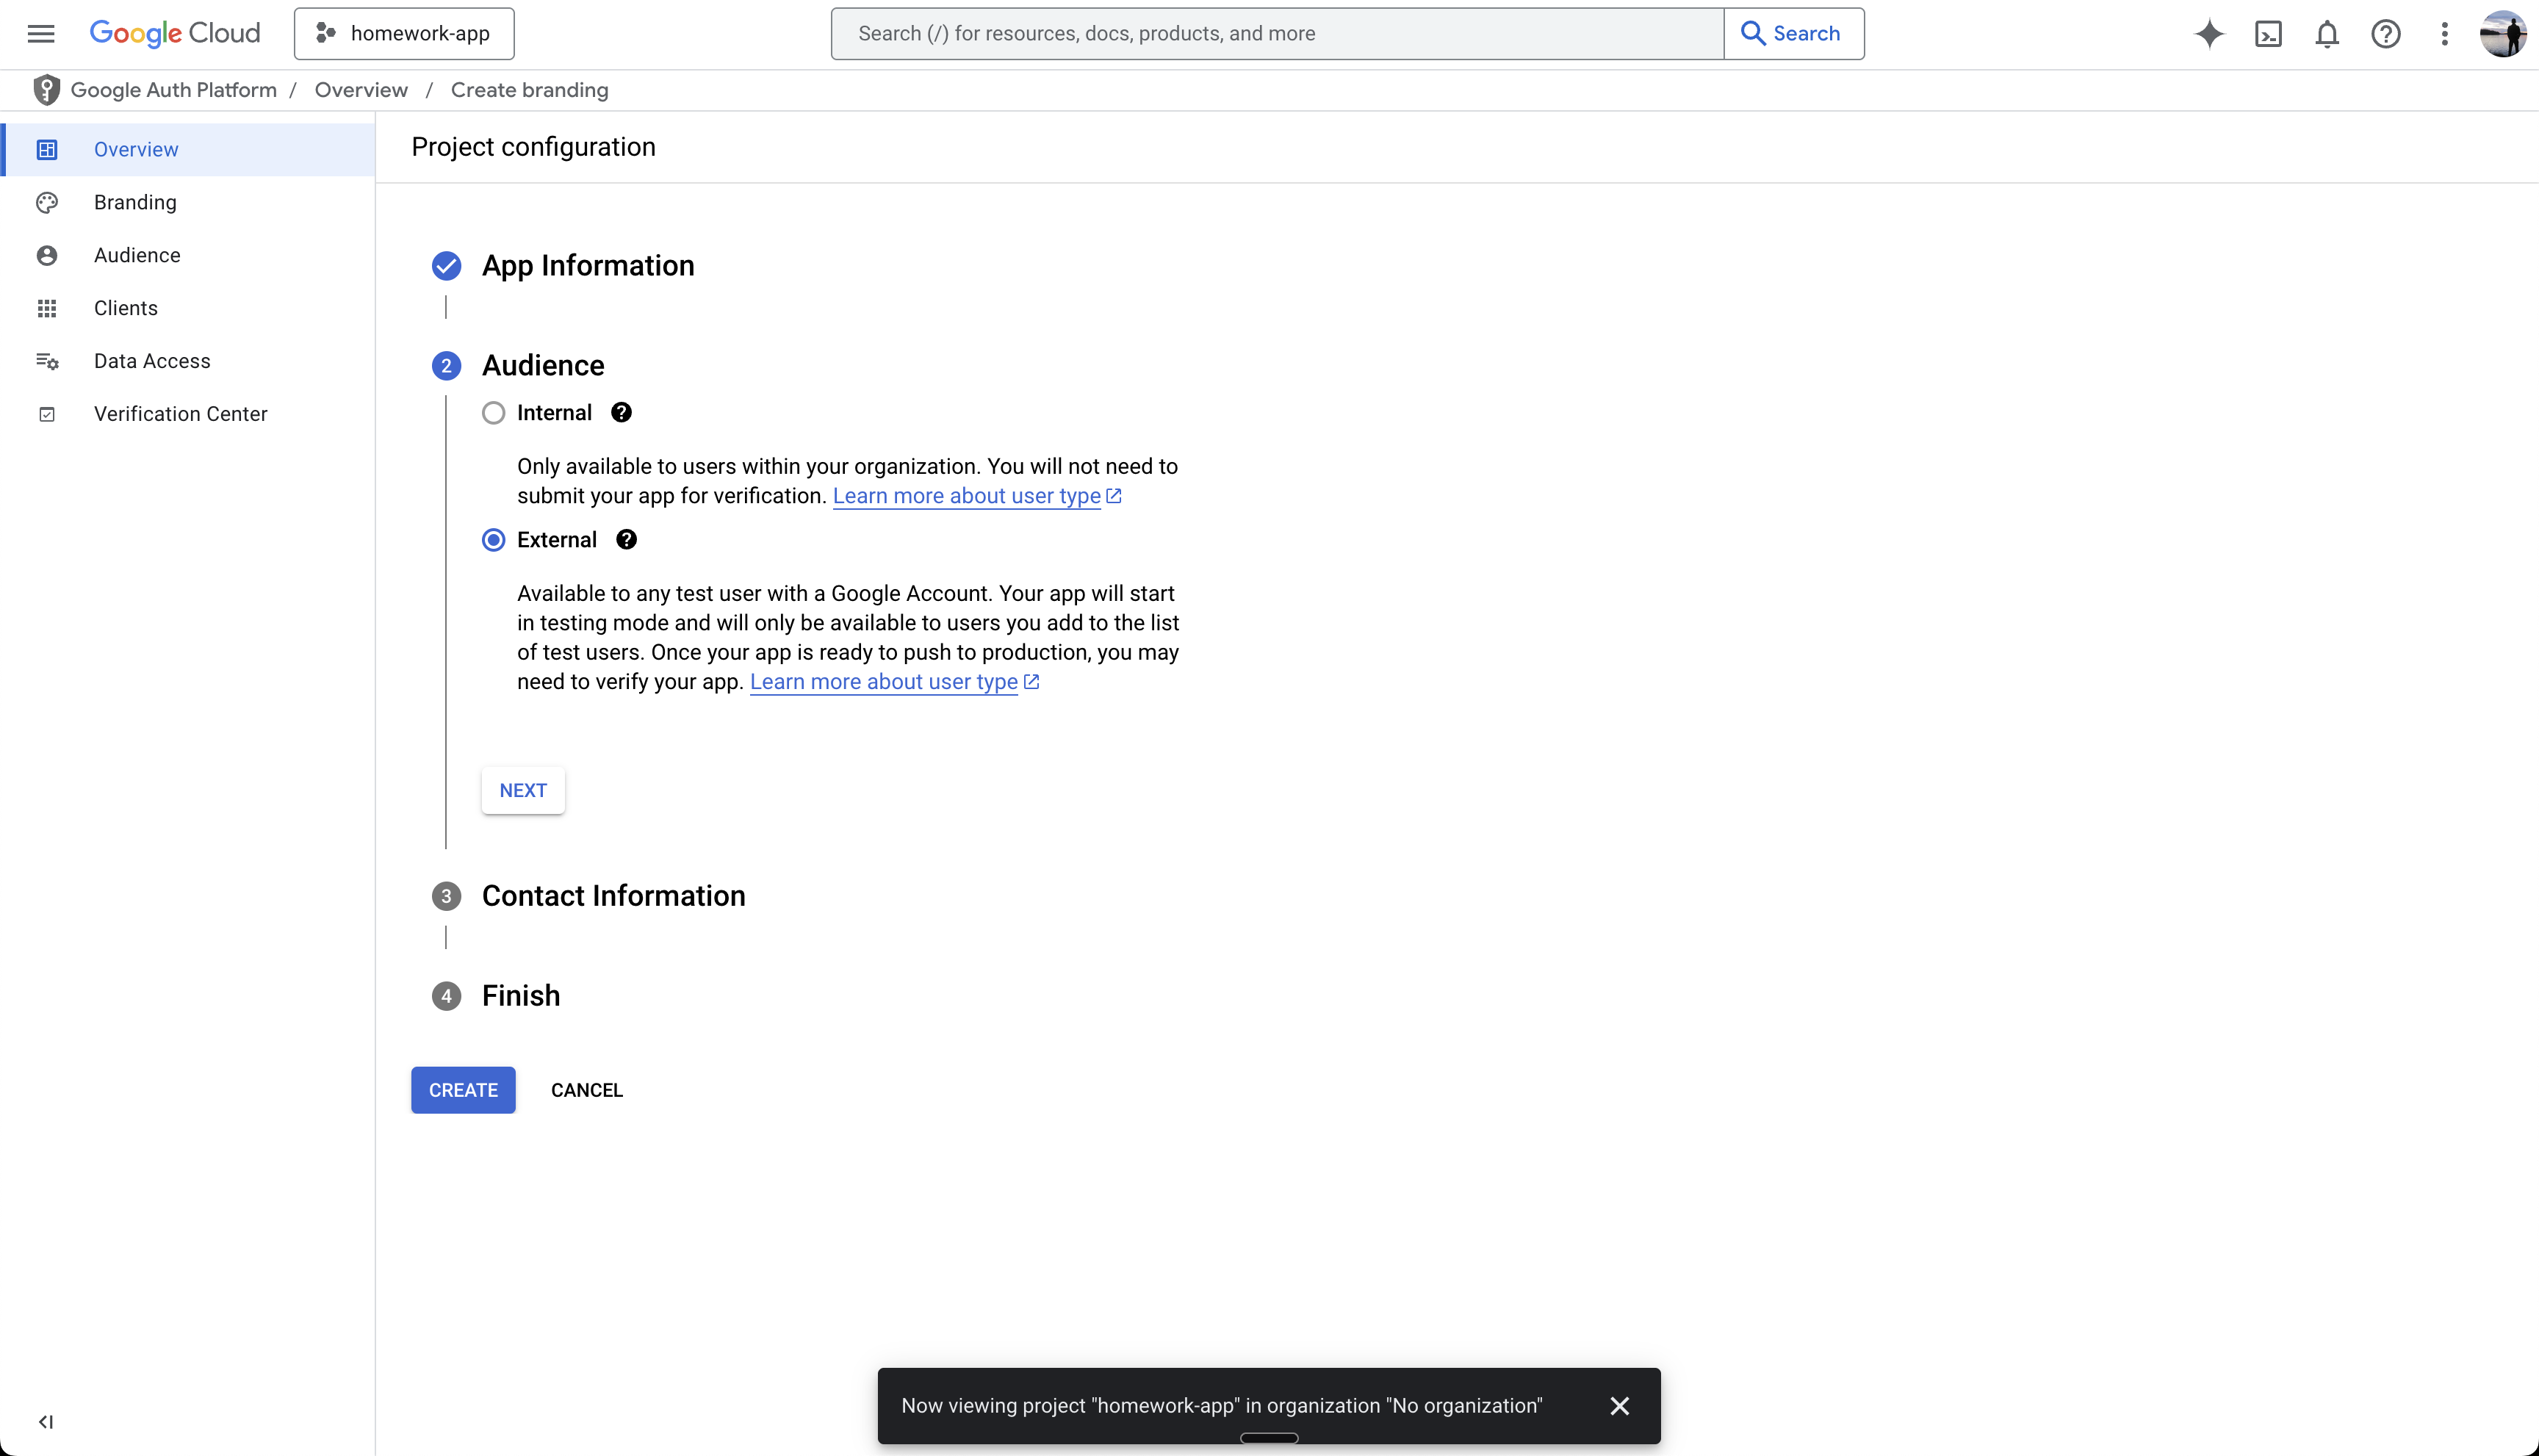
Select User Type
- Choose your app’s audience
- Select “External” unless this is an internal app for your Google Workspace organization
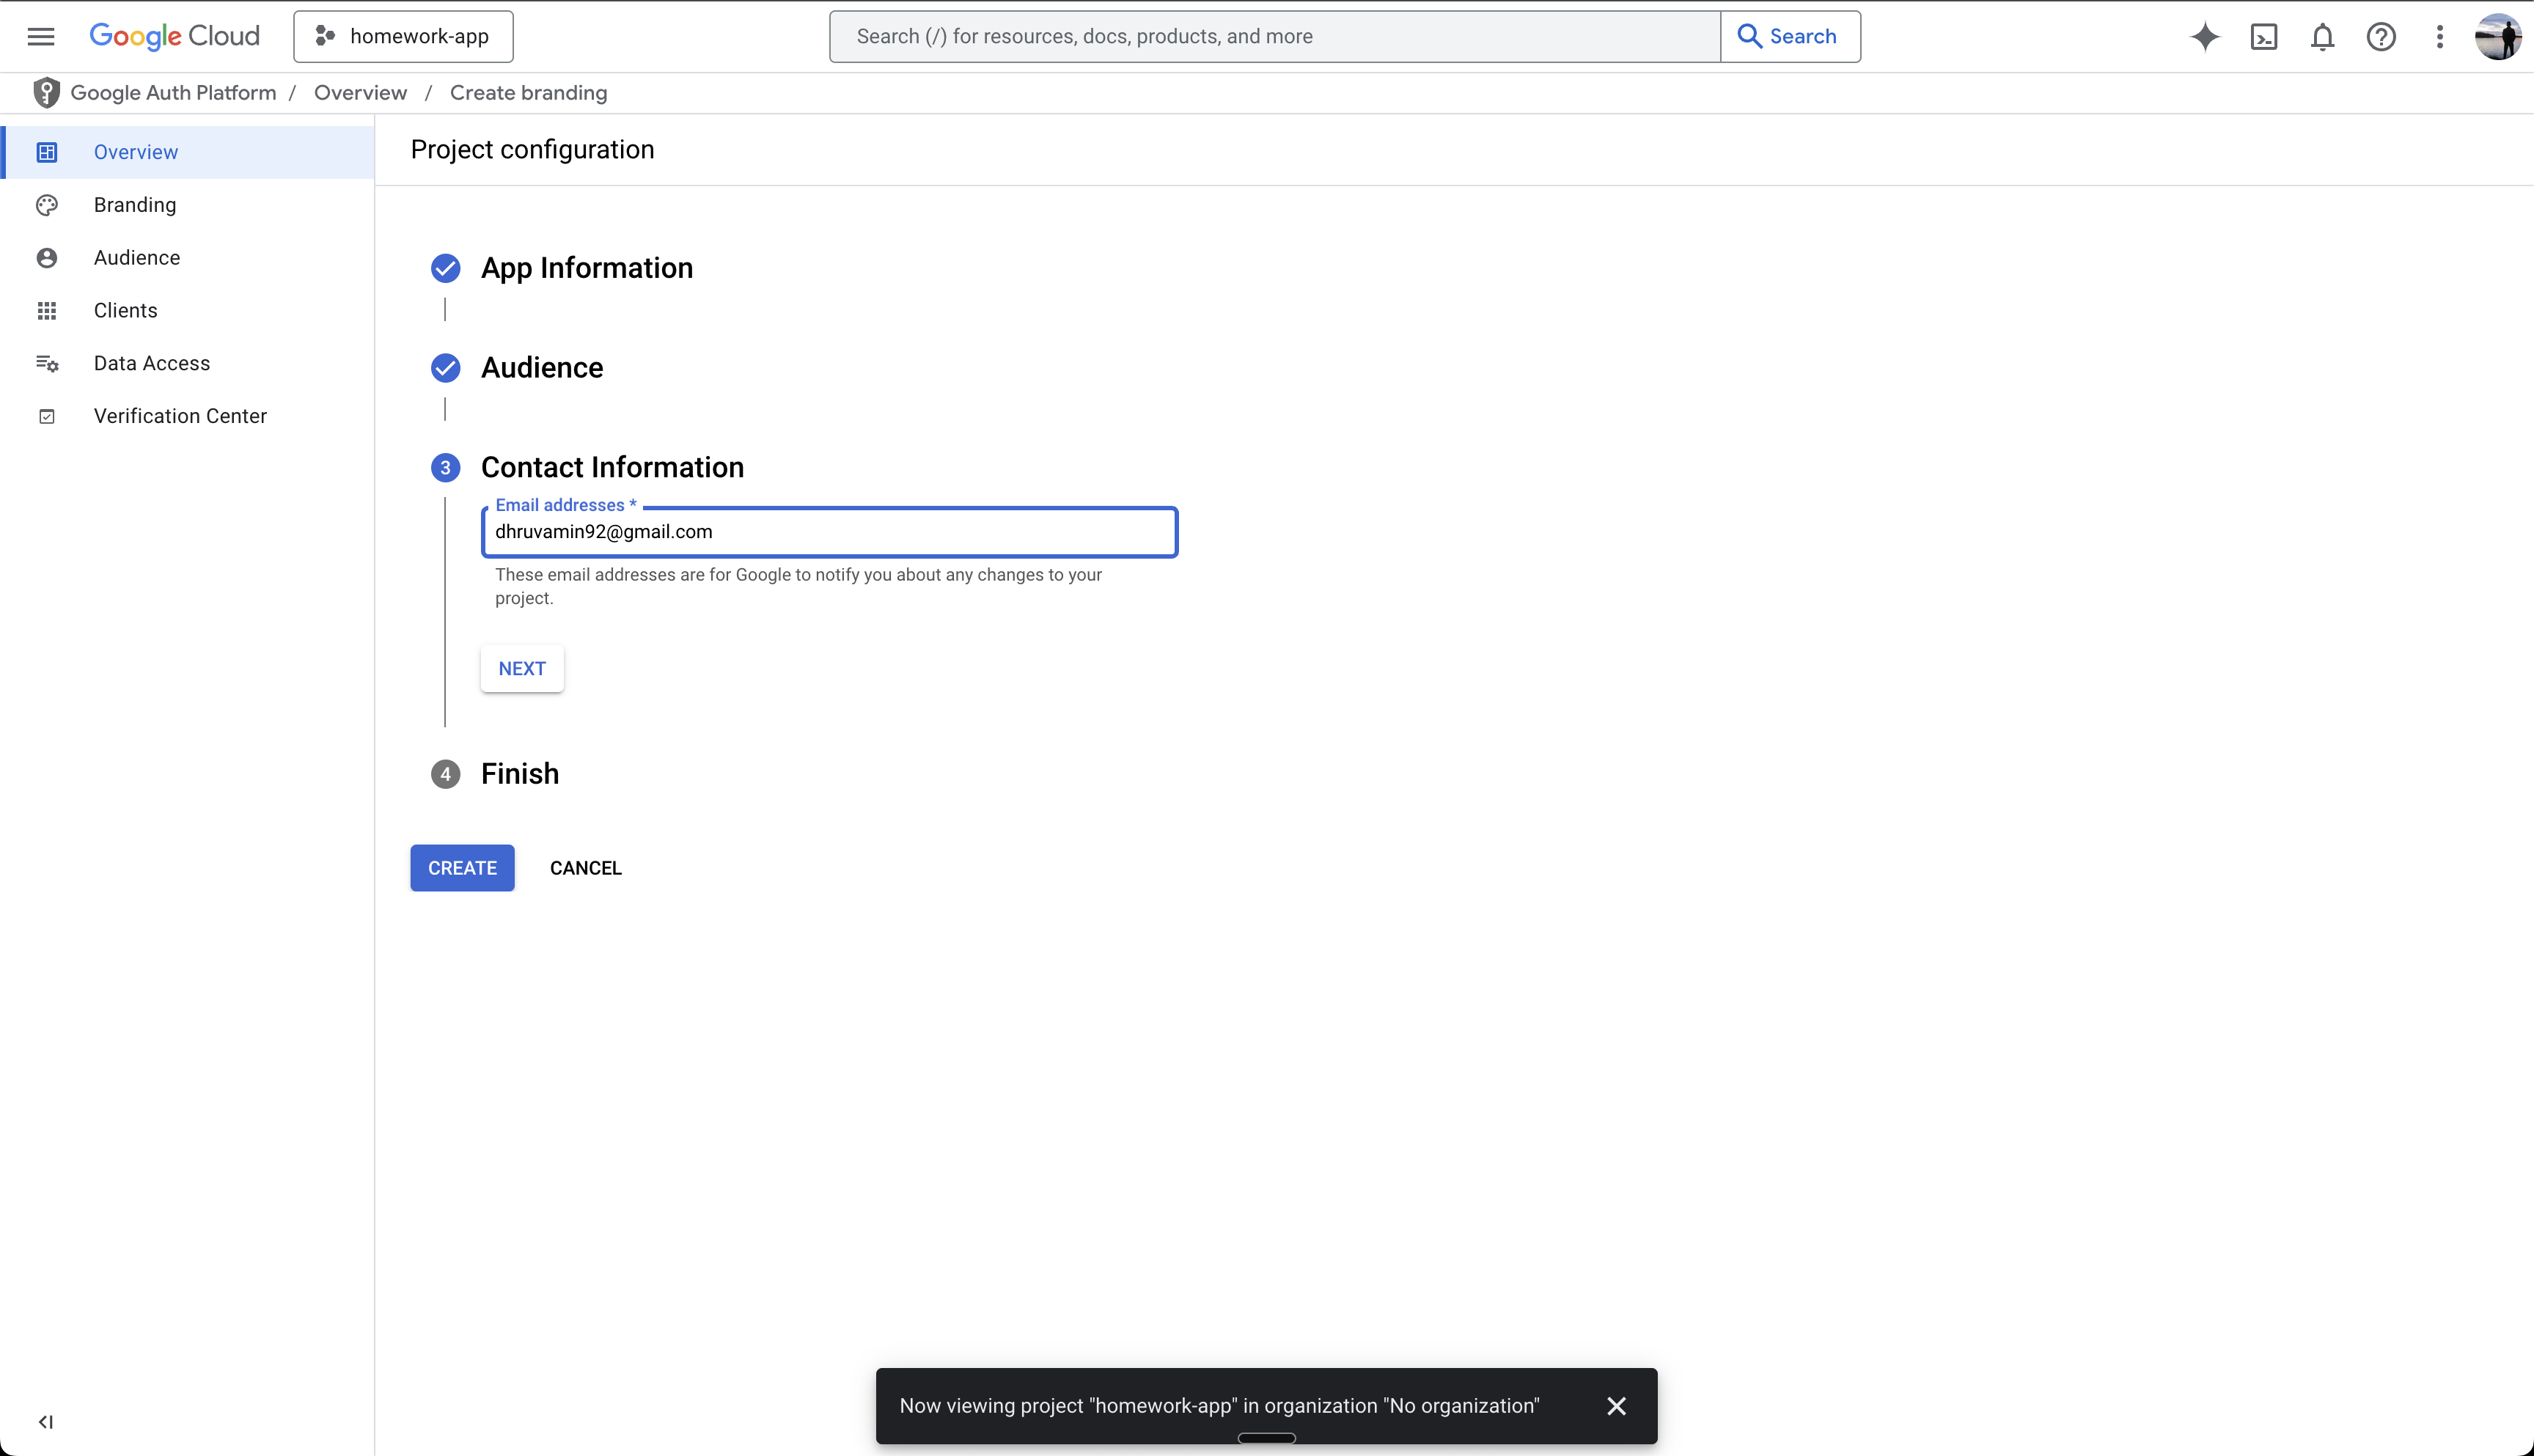
Add Contact Information
- Enter developer contact email address
- This will be used by Google to contact you about your application
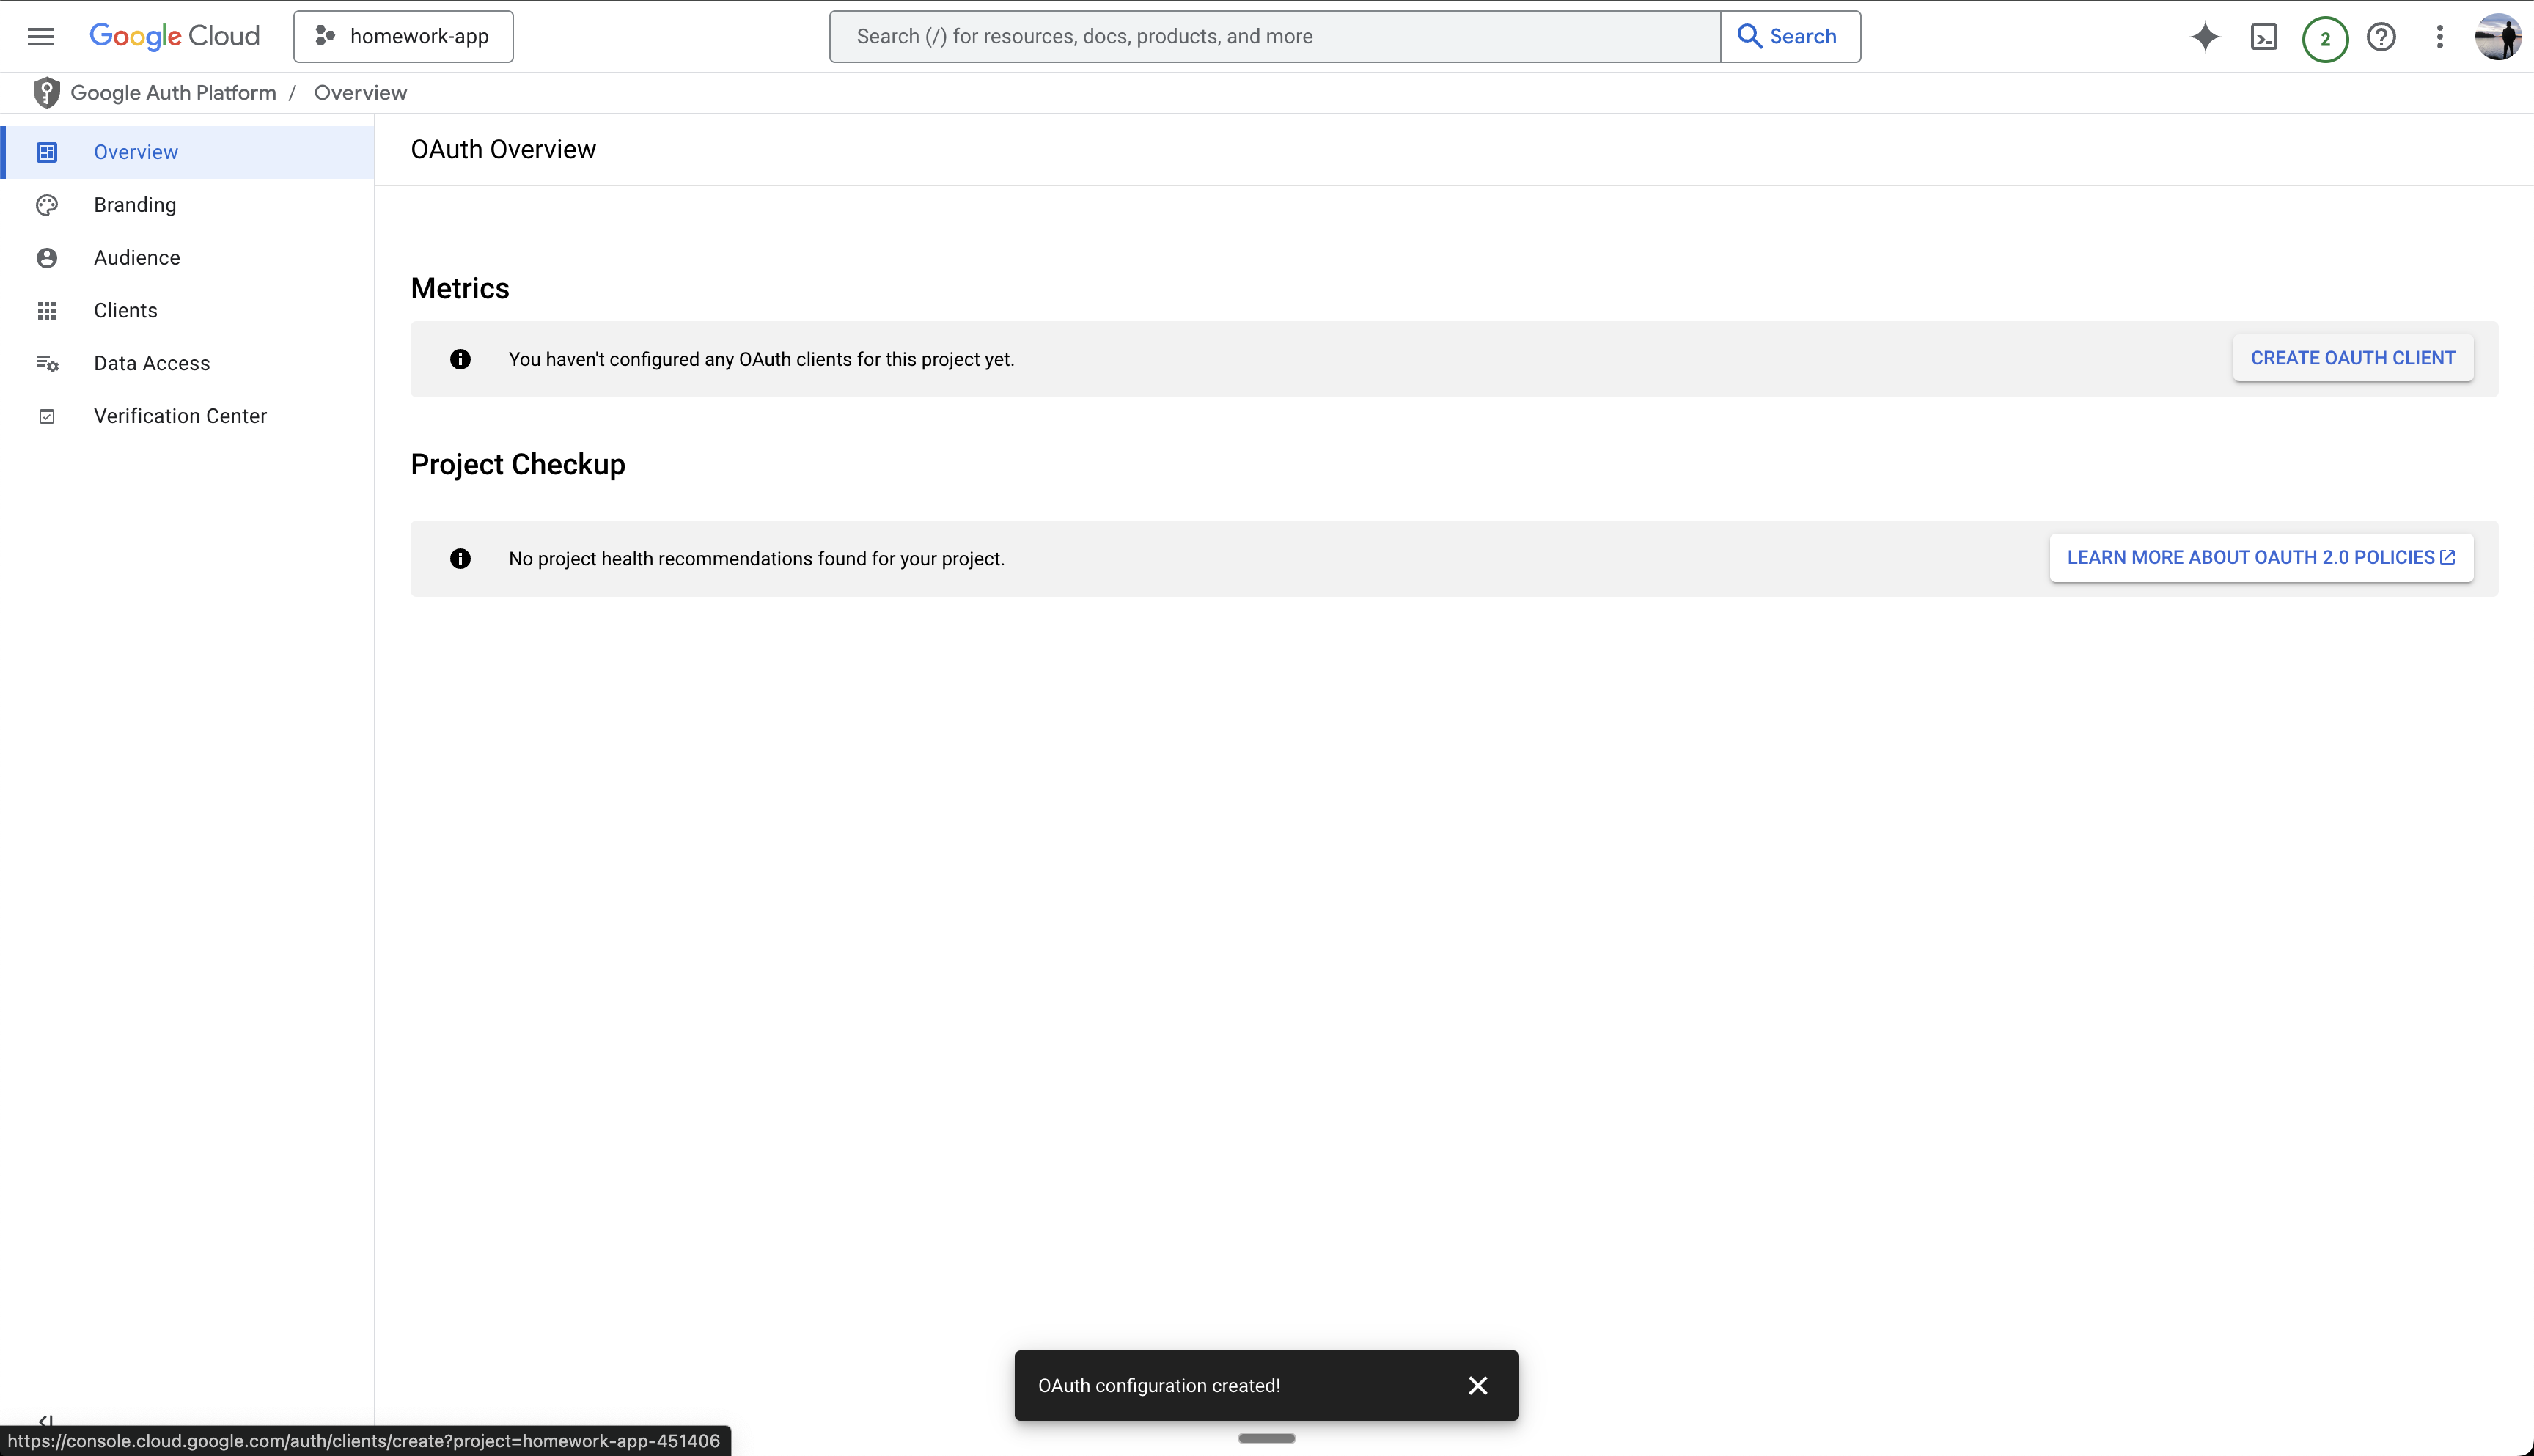
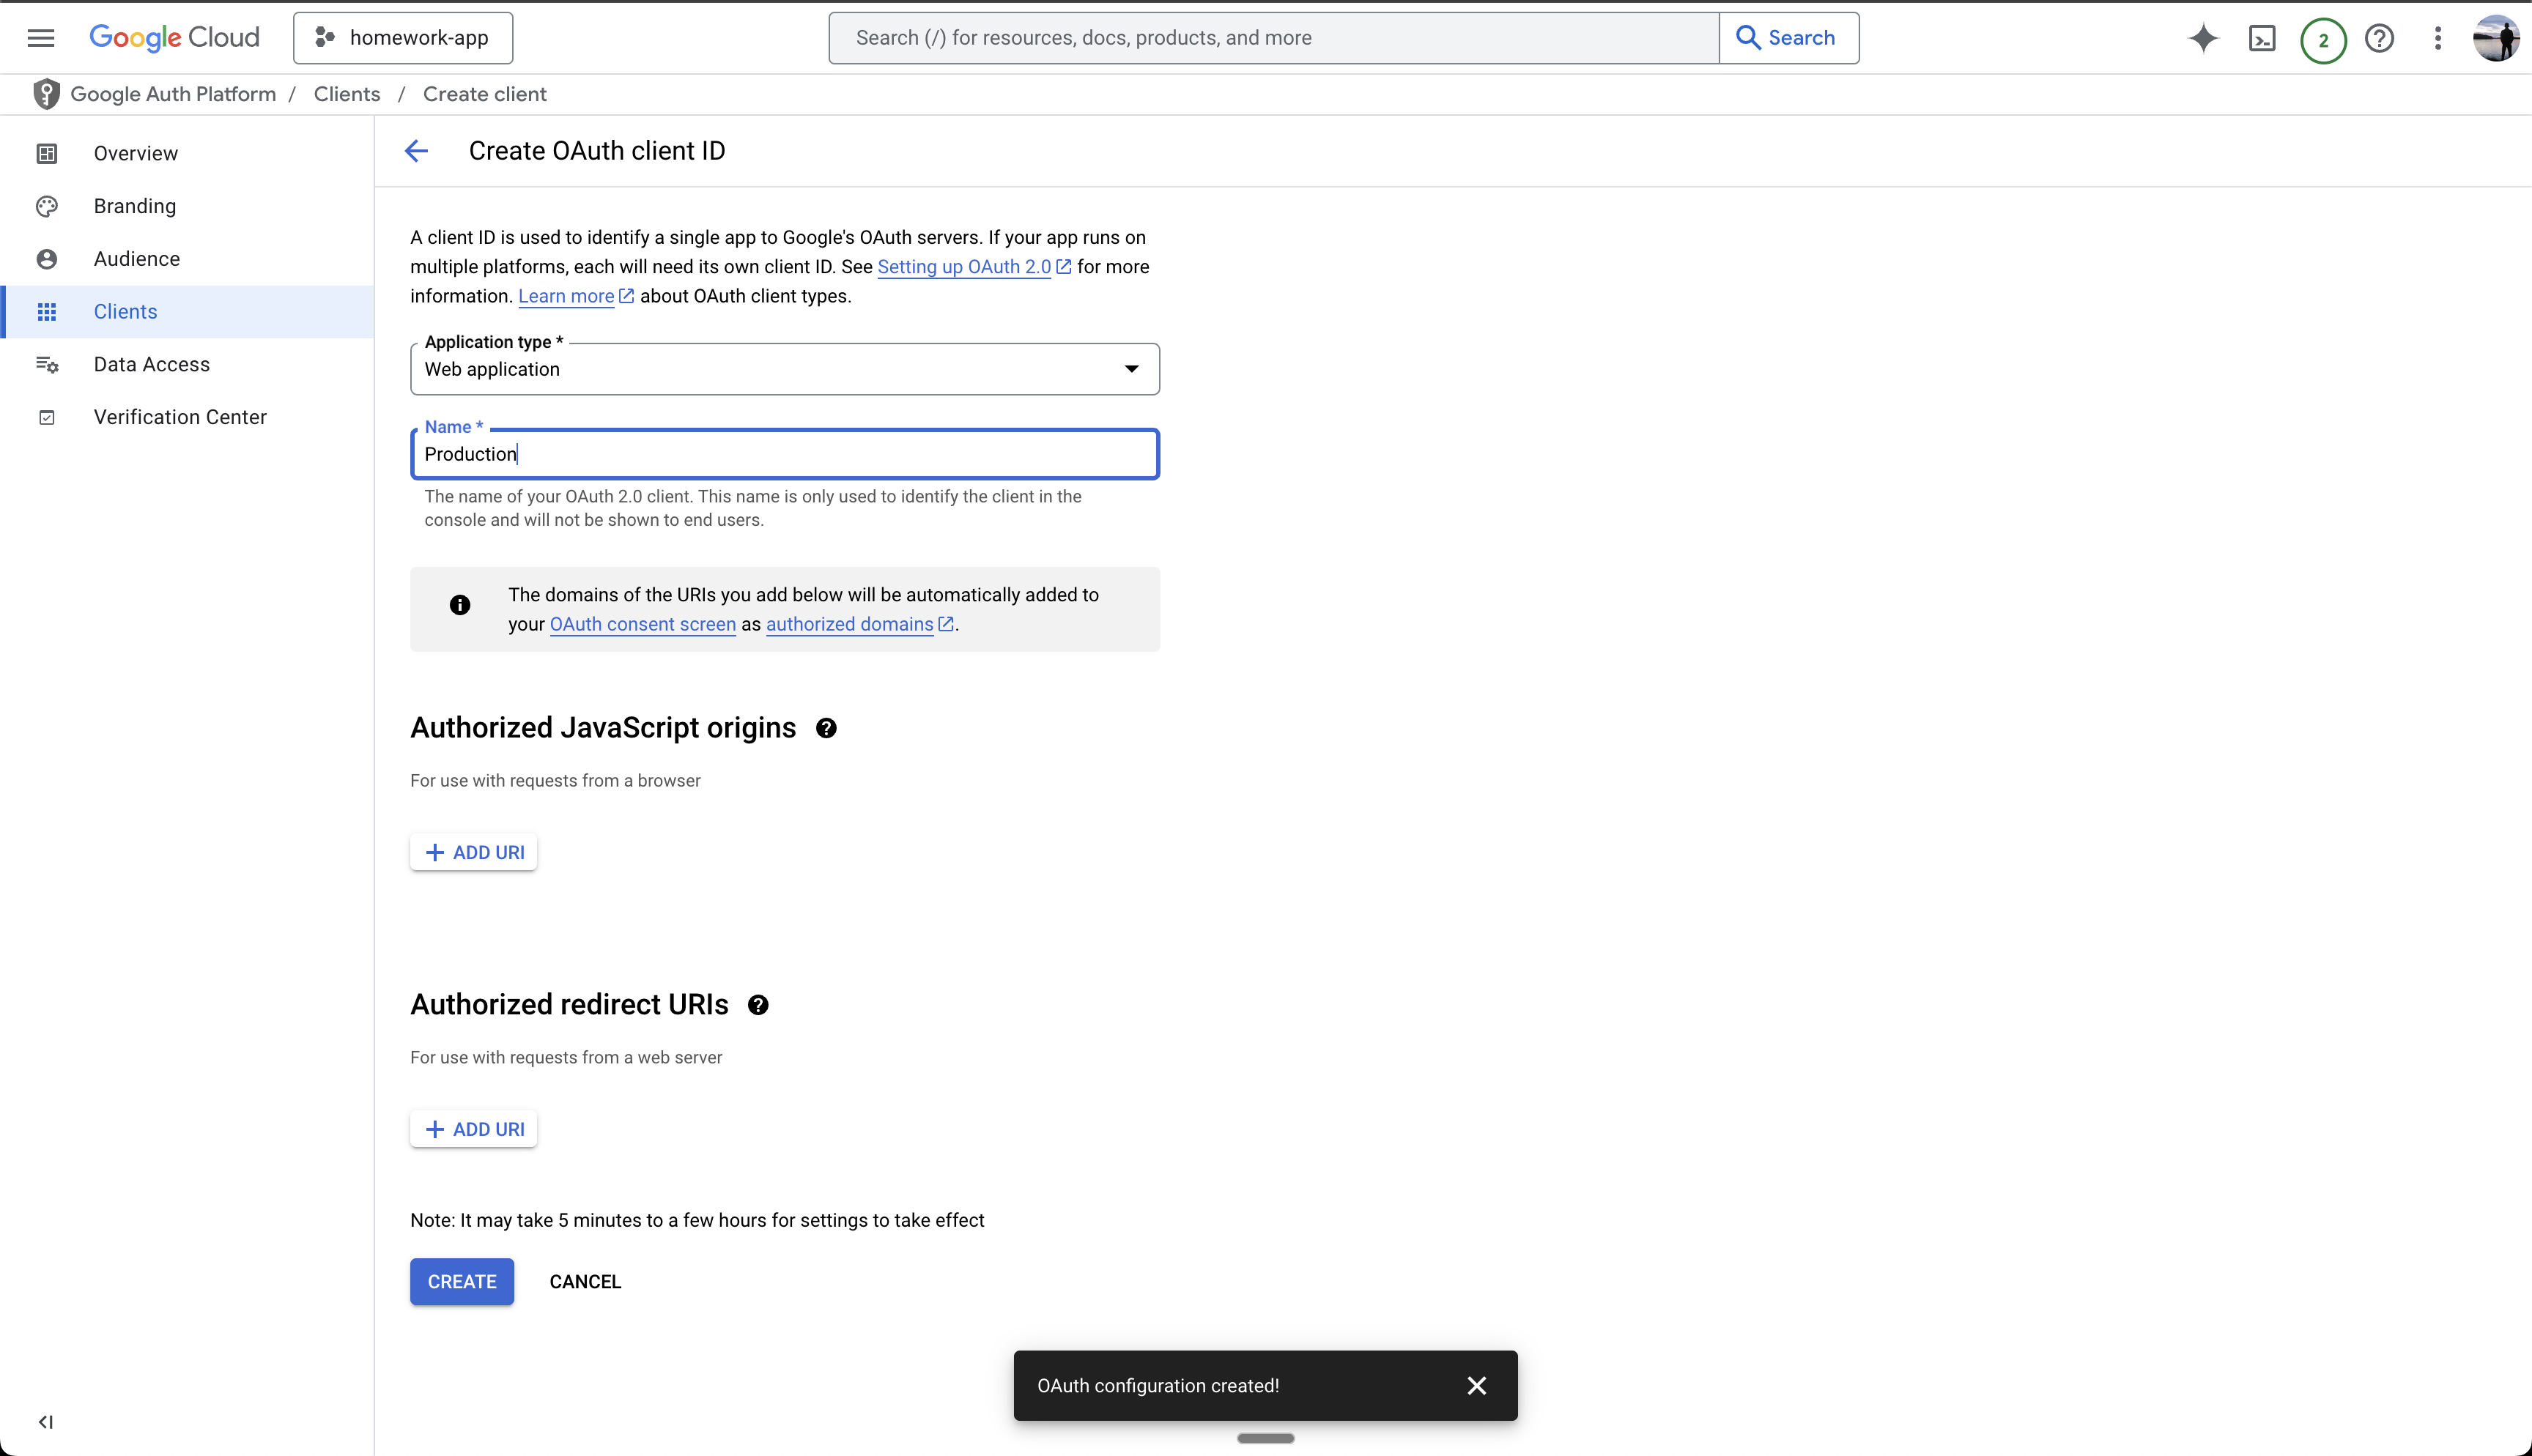
Configure OAuth Client
- Select “Web Application” as the application type
- Name your client (e.g., “Production”)
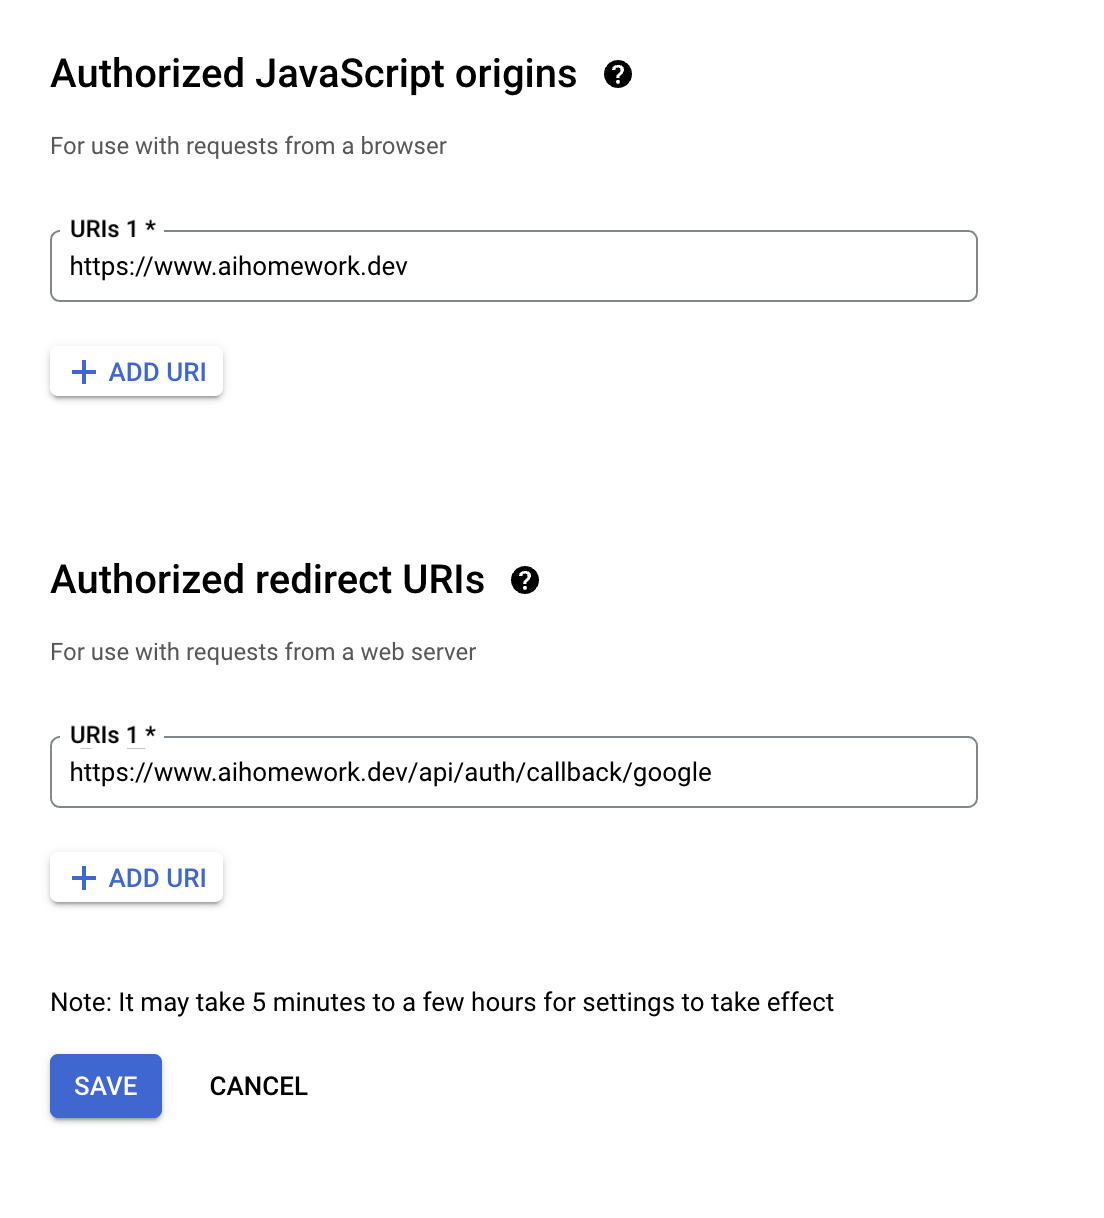
Configure Authorized Origin and Redirect URI
- Add
https://www.your-custom-domain.comas an Authorized JavaScript Origin (replace with your actual domain) - Add
https://www.your-custom-domain.com/api/auth/callback/googleas an Authorized redirect URI
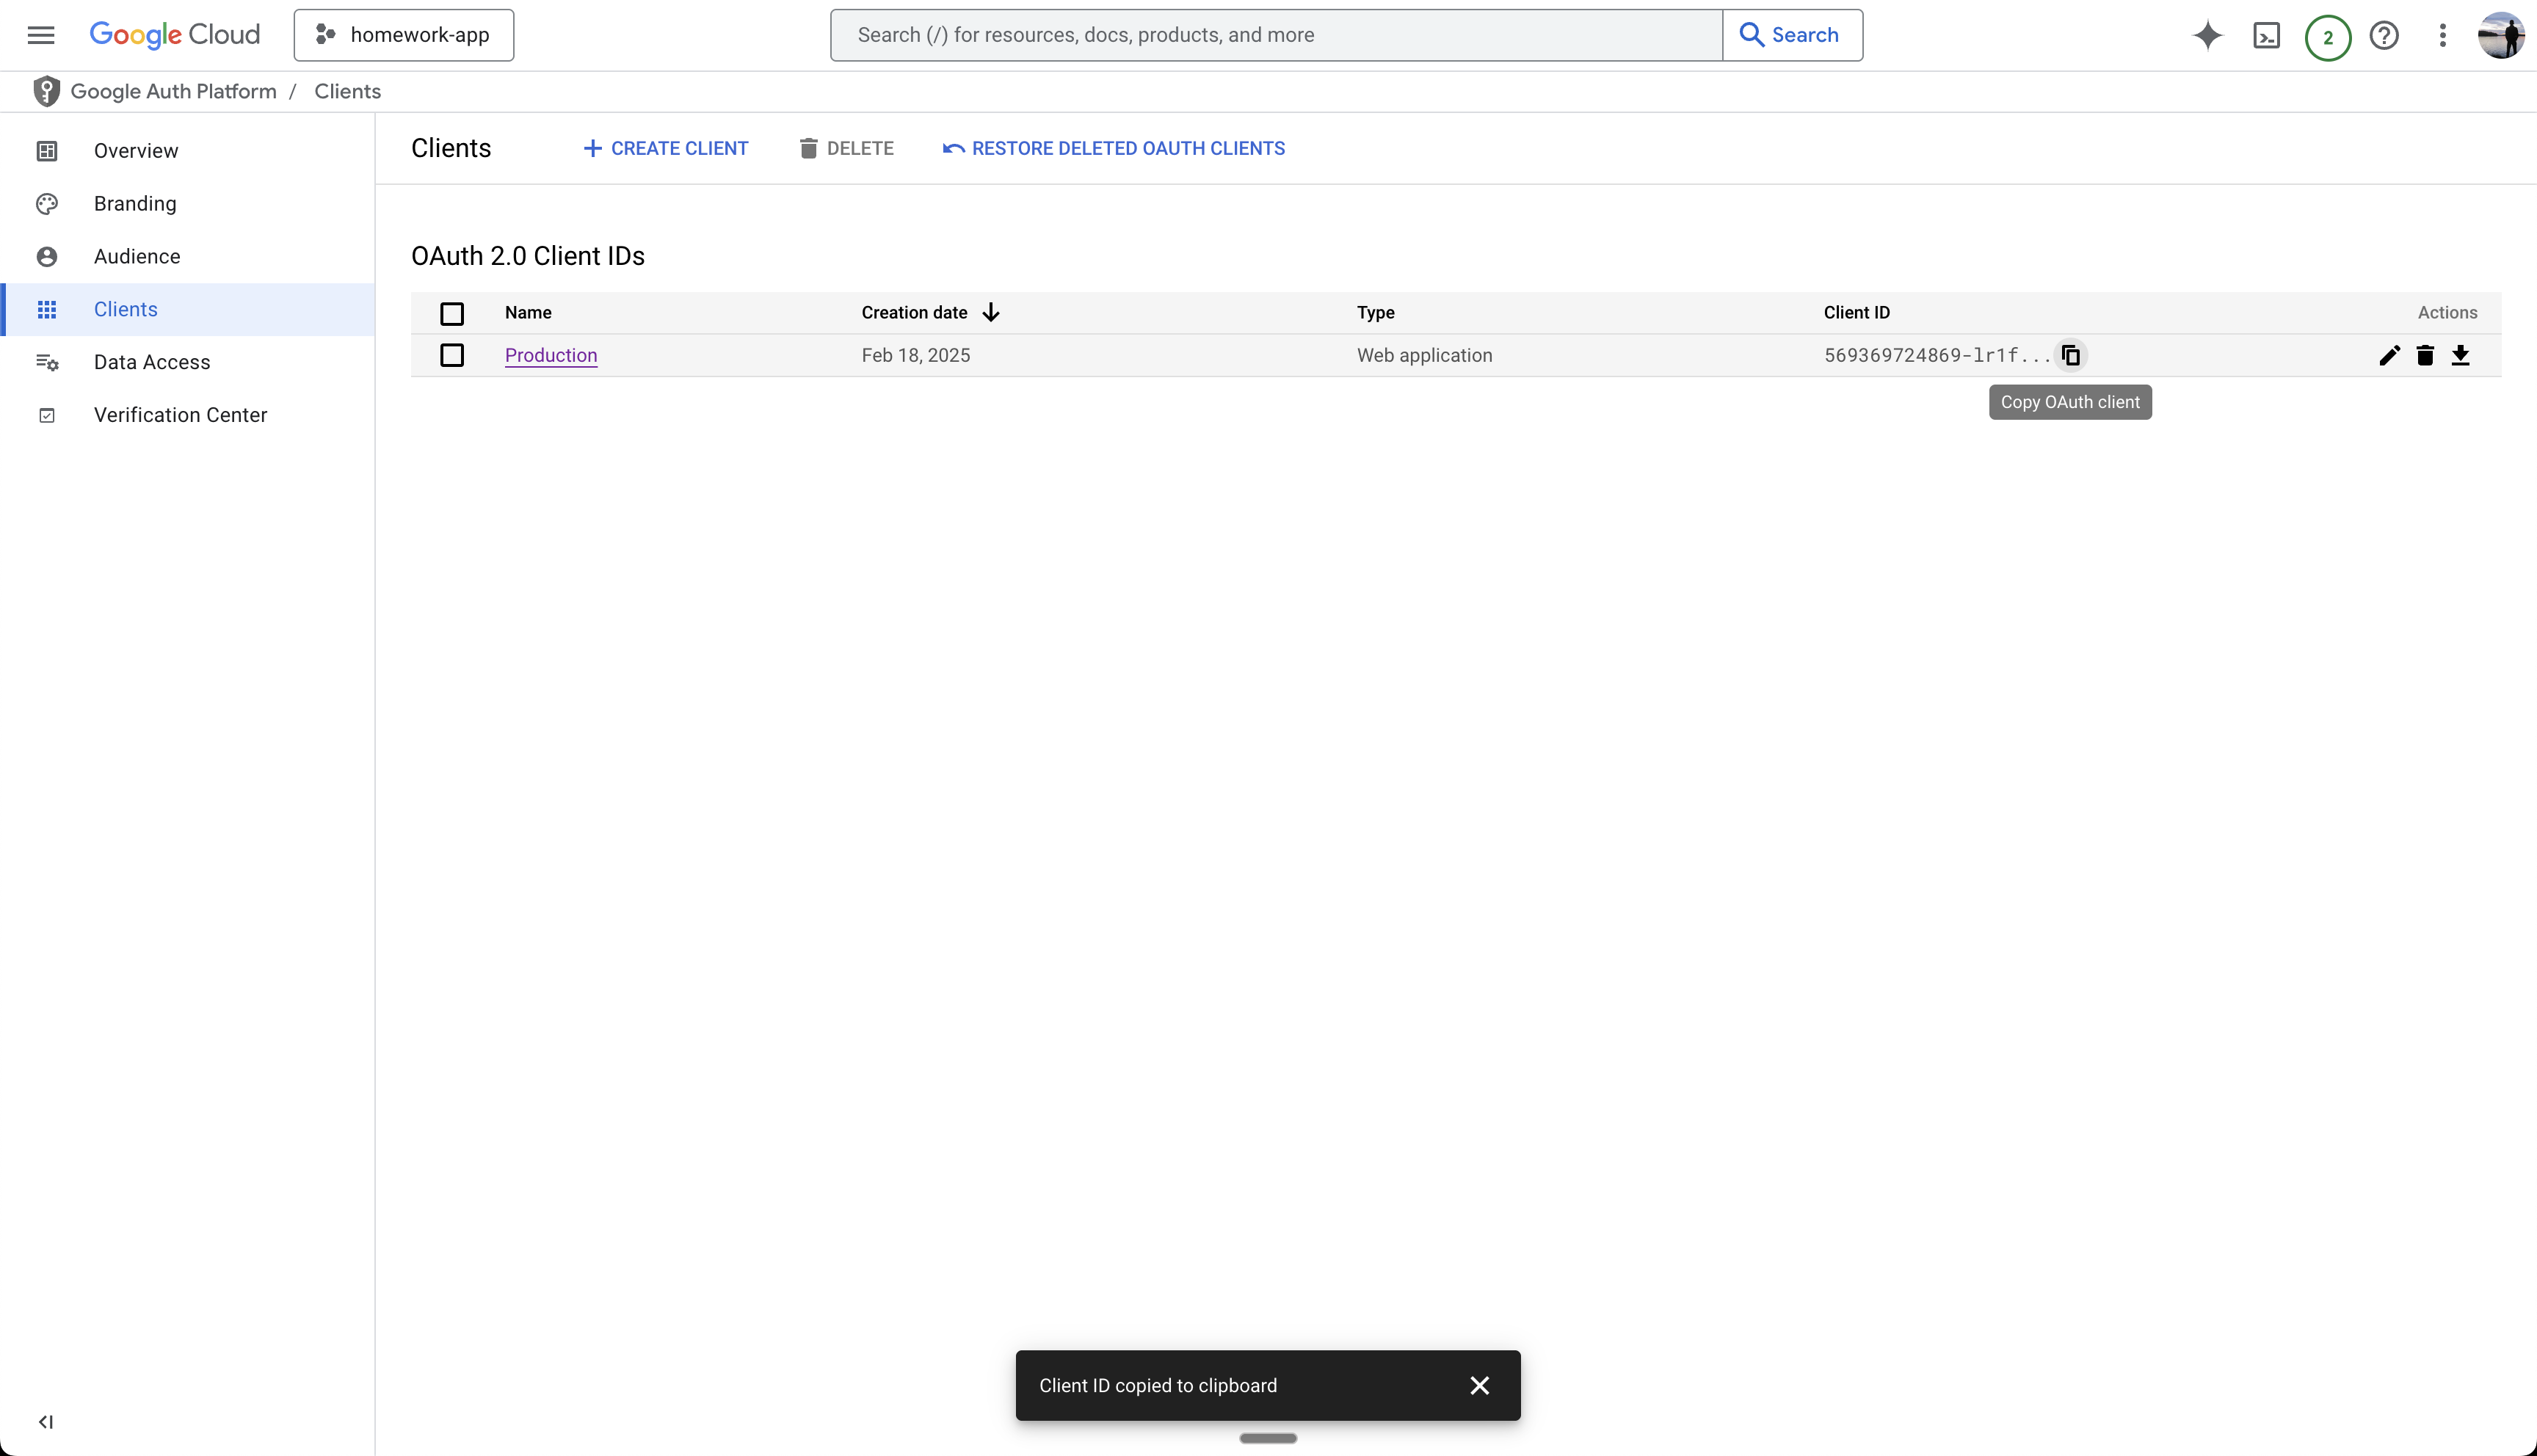
Copy Client ID
- Create the OAuth Client
- Copy the generated Client ID
- Save it for adding to your Anything project later
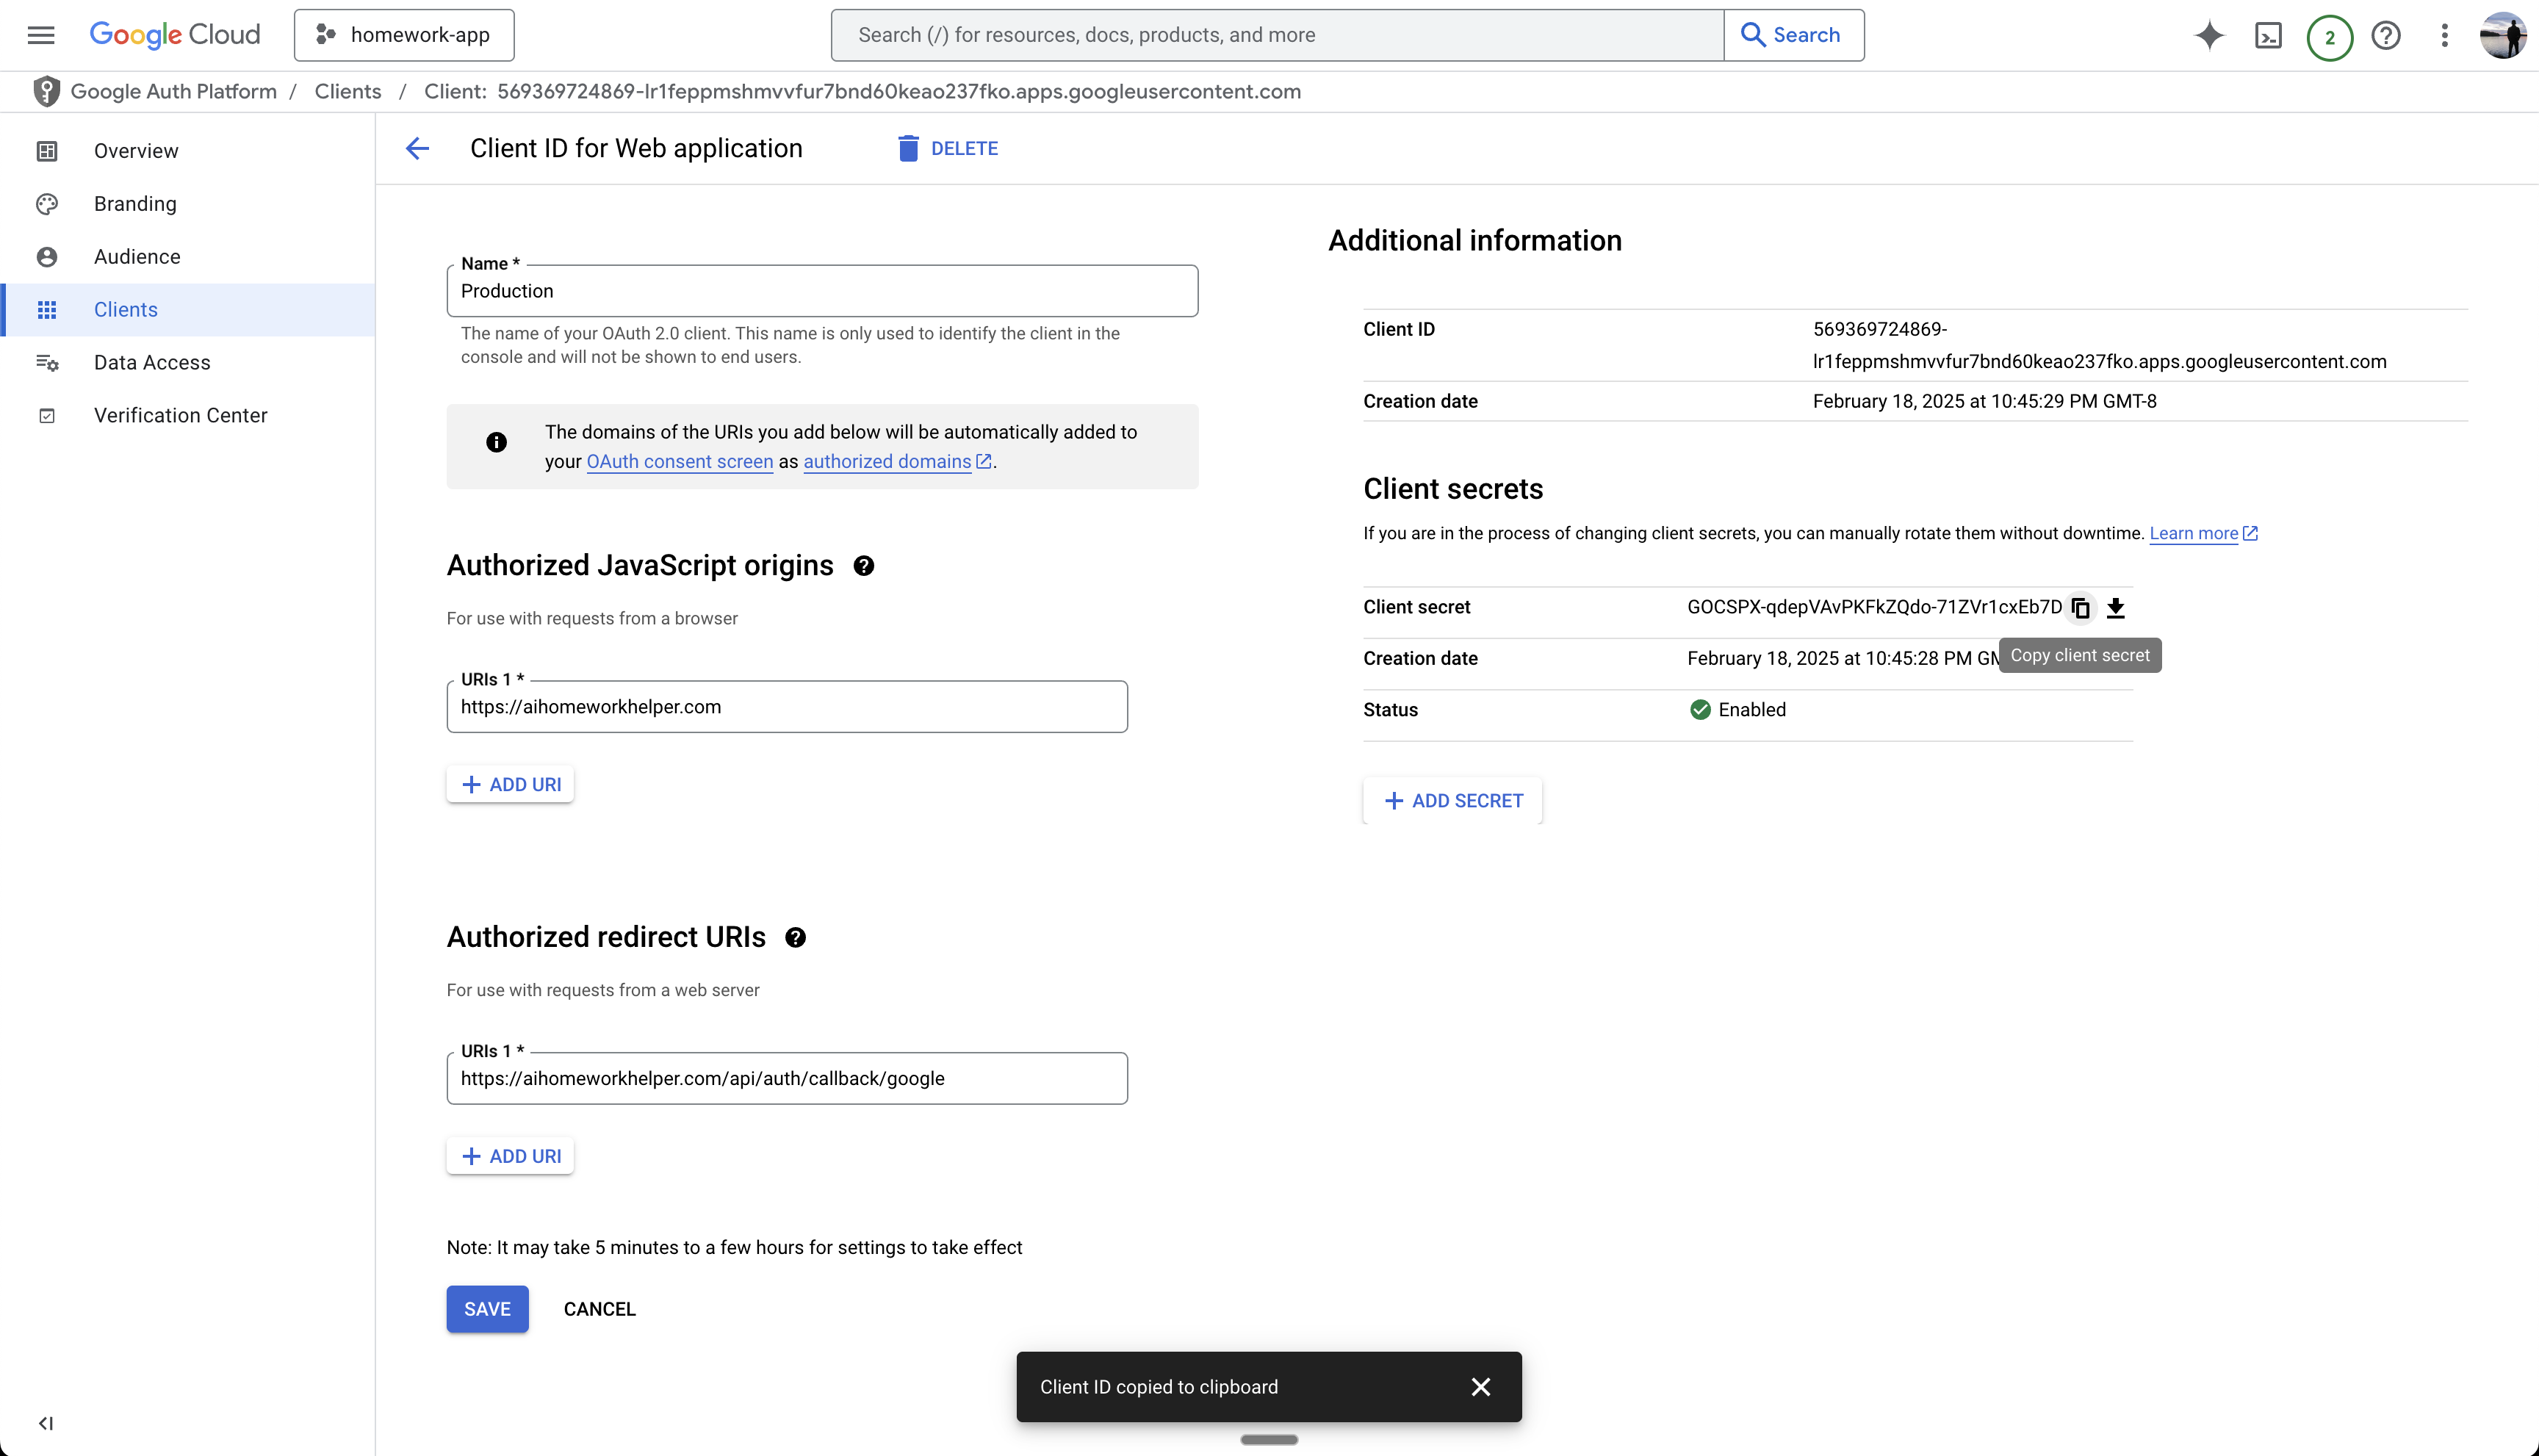
Copy Client Secret
- Click the Edit button
- Copy the Client Secret
- Save it for adding to your Anything project later
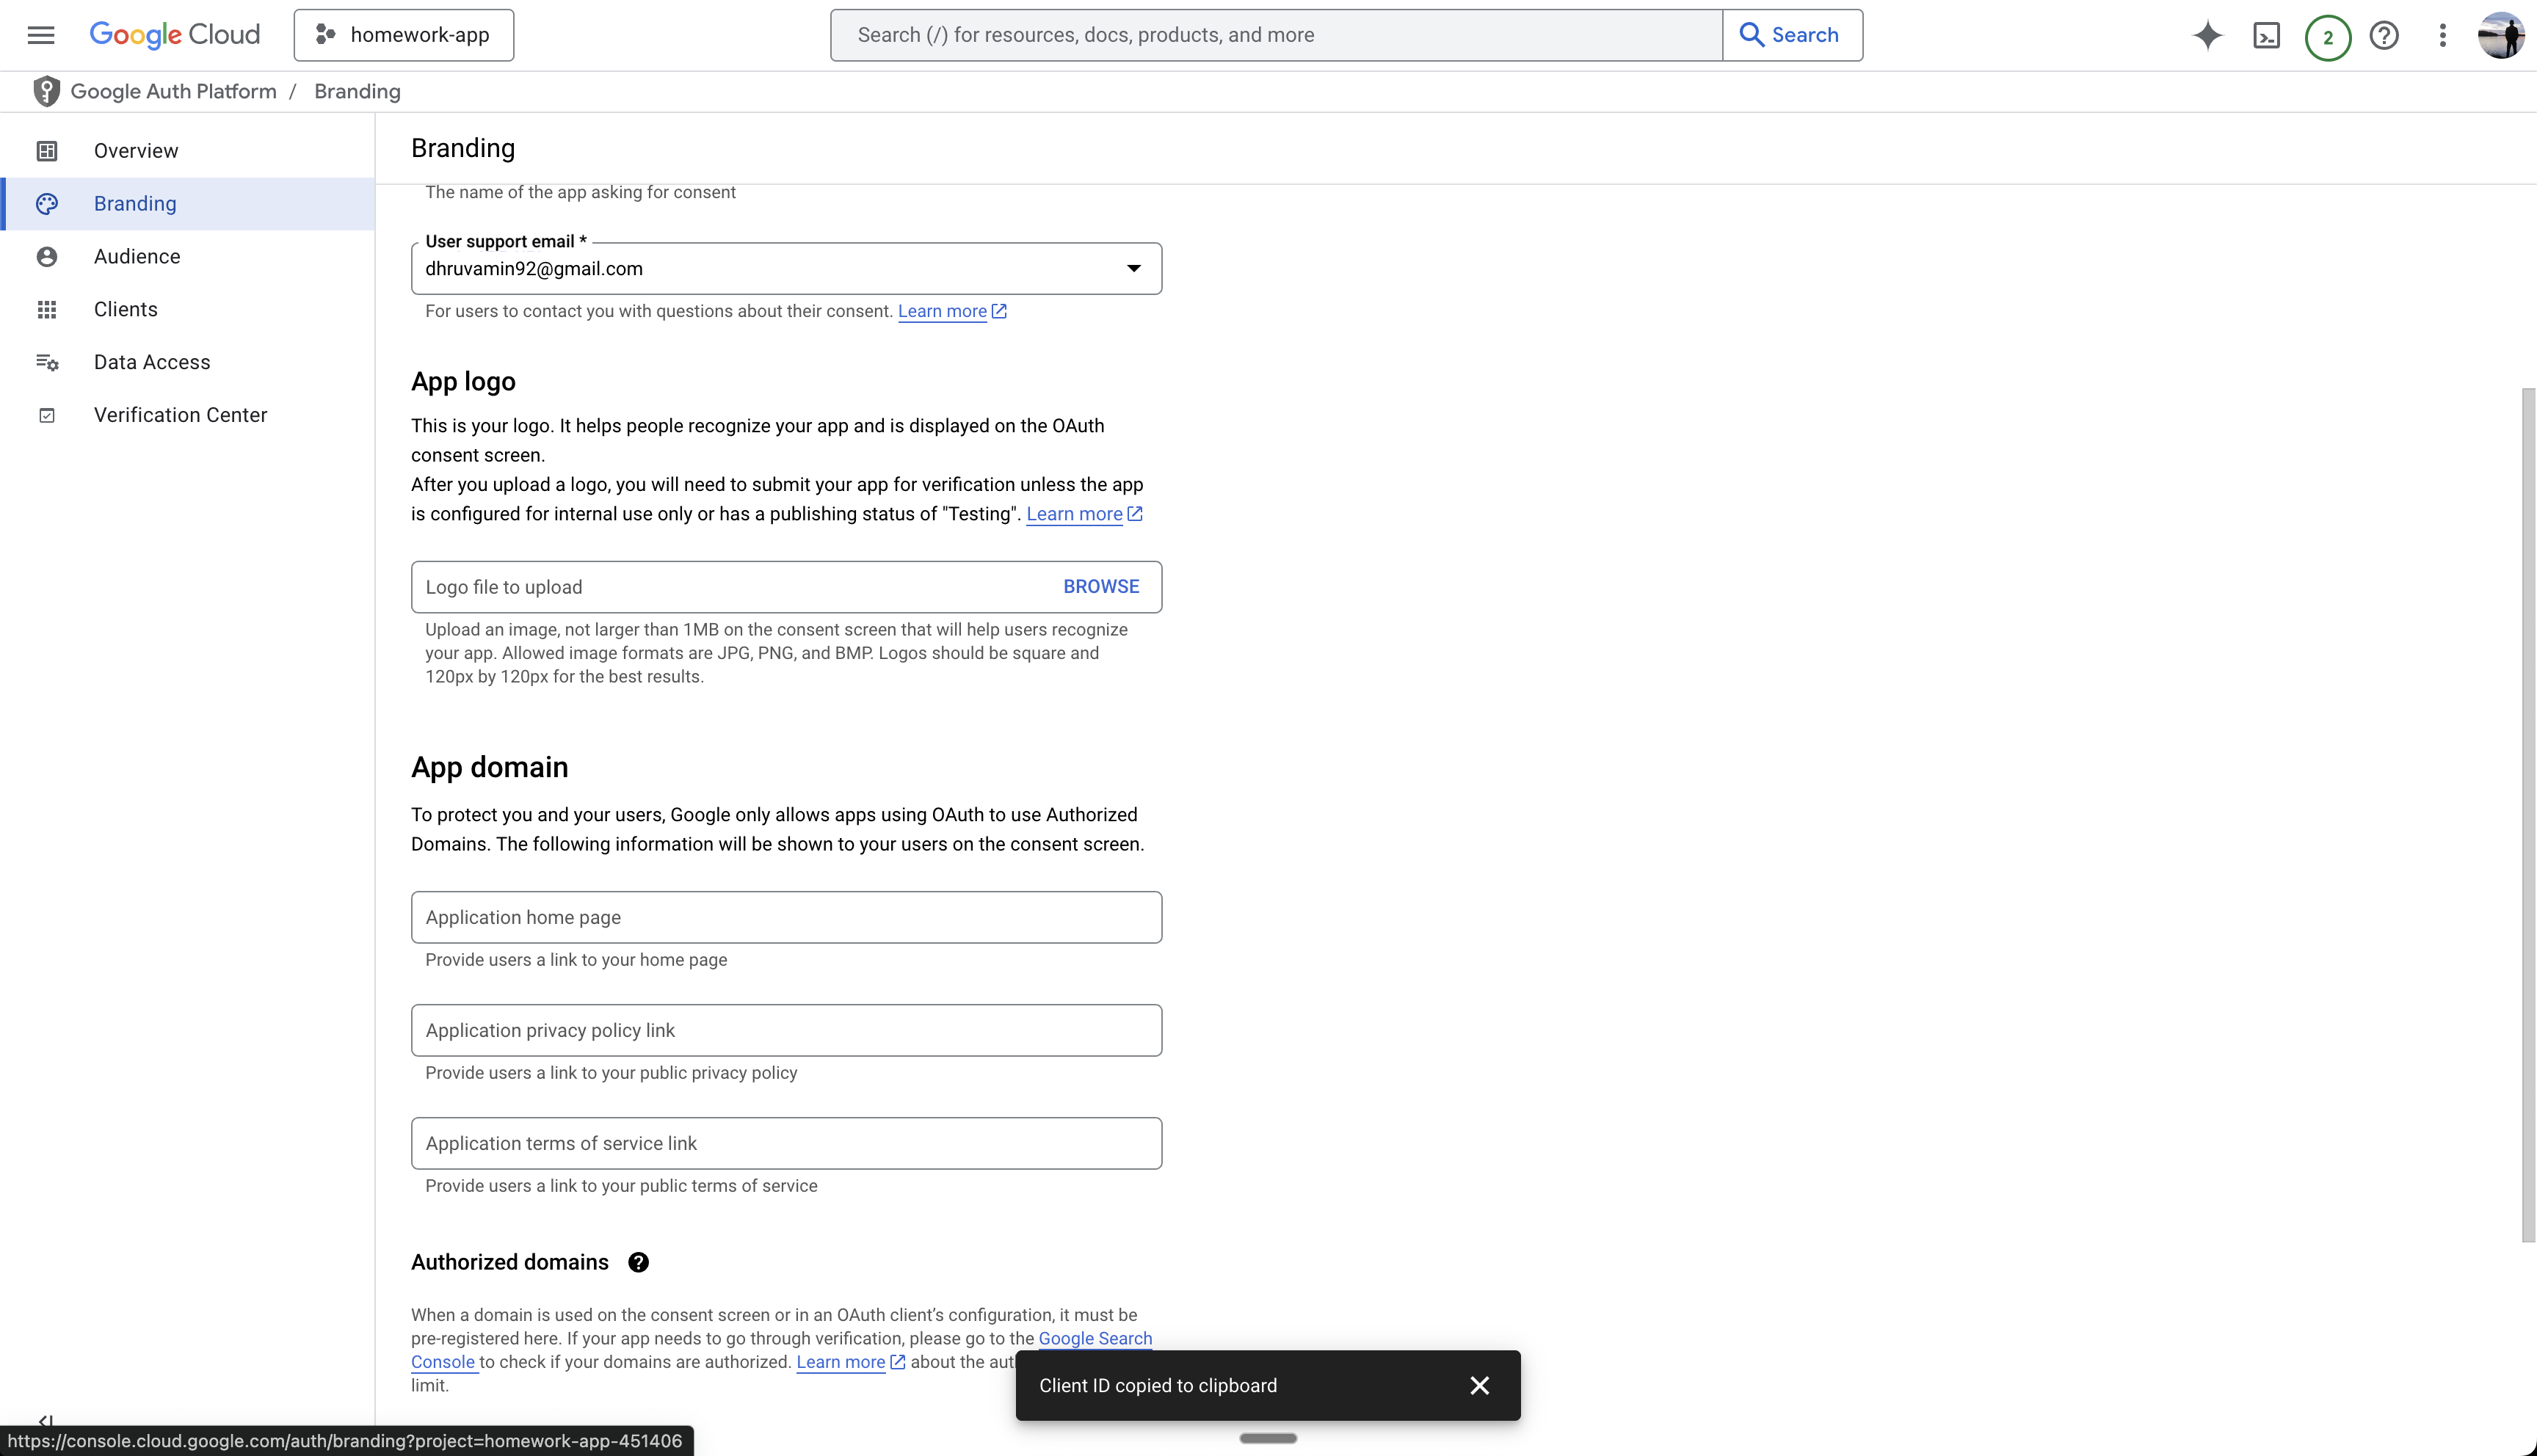
Customize Branding (Optional)
- Navigate to the Branding section
- Add your app domain, privacy policy, and terms
- These will appear on the Google Sign In page
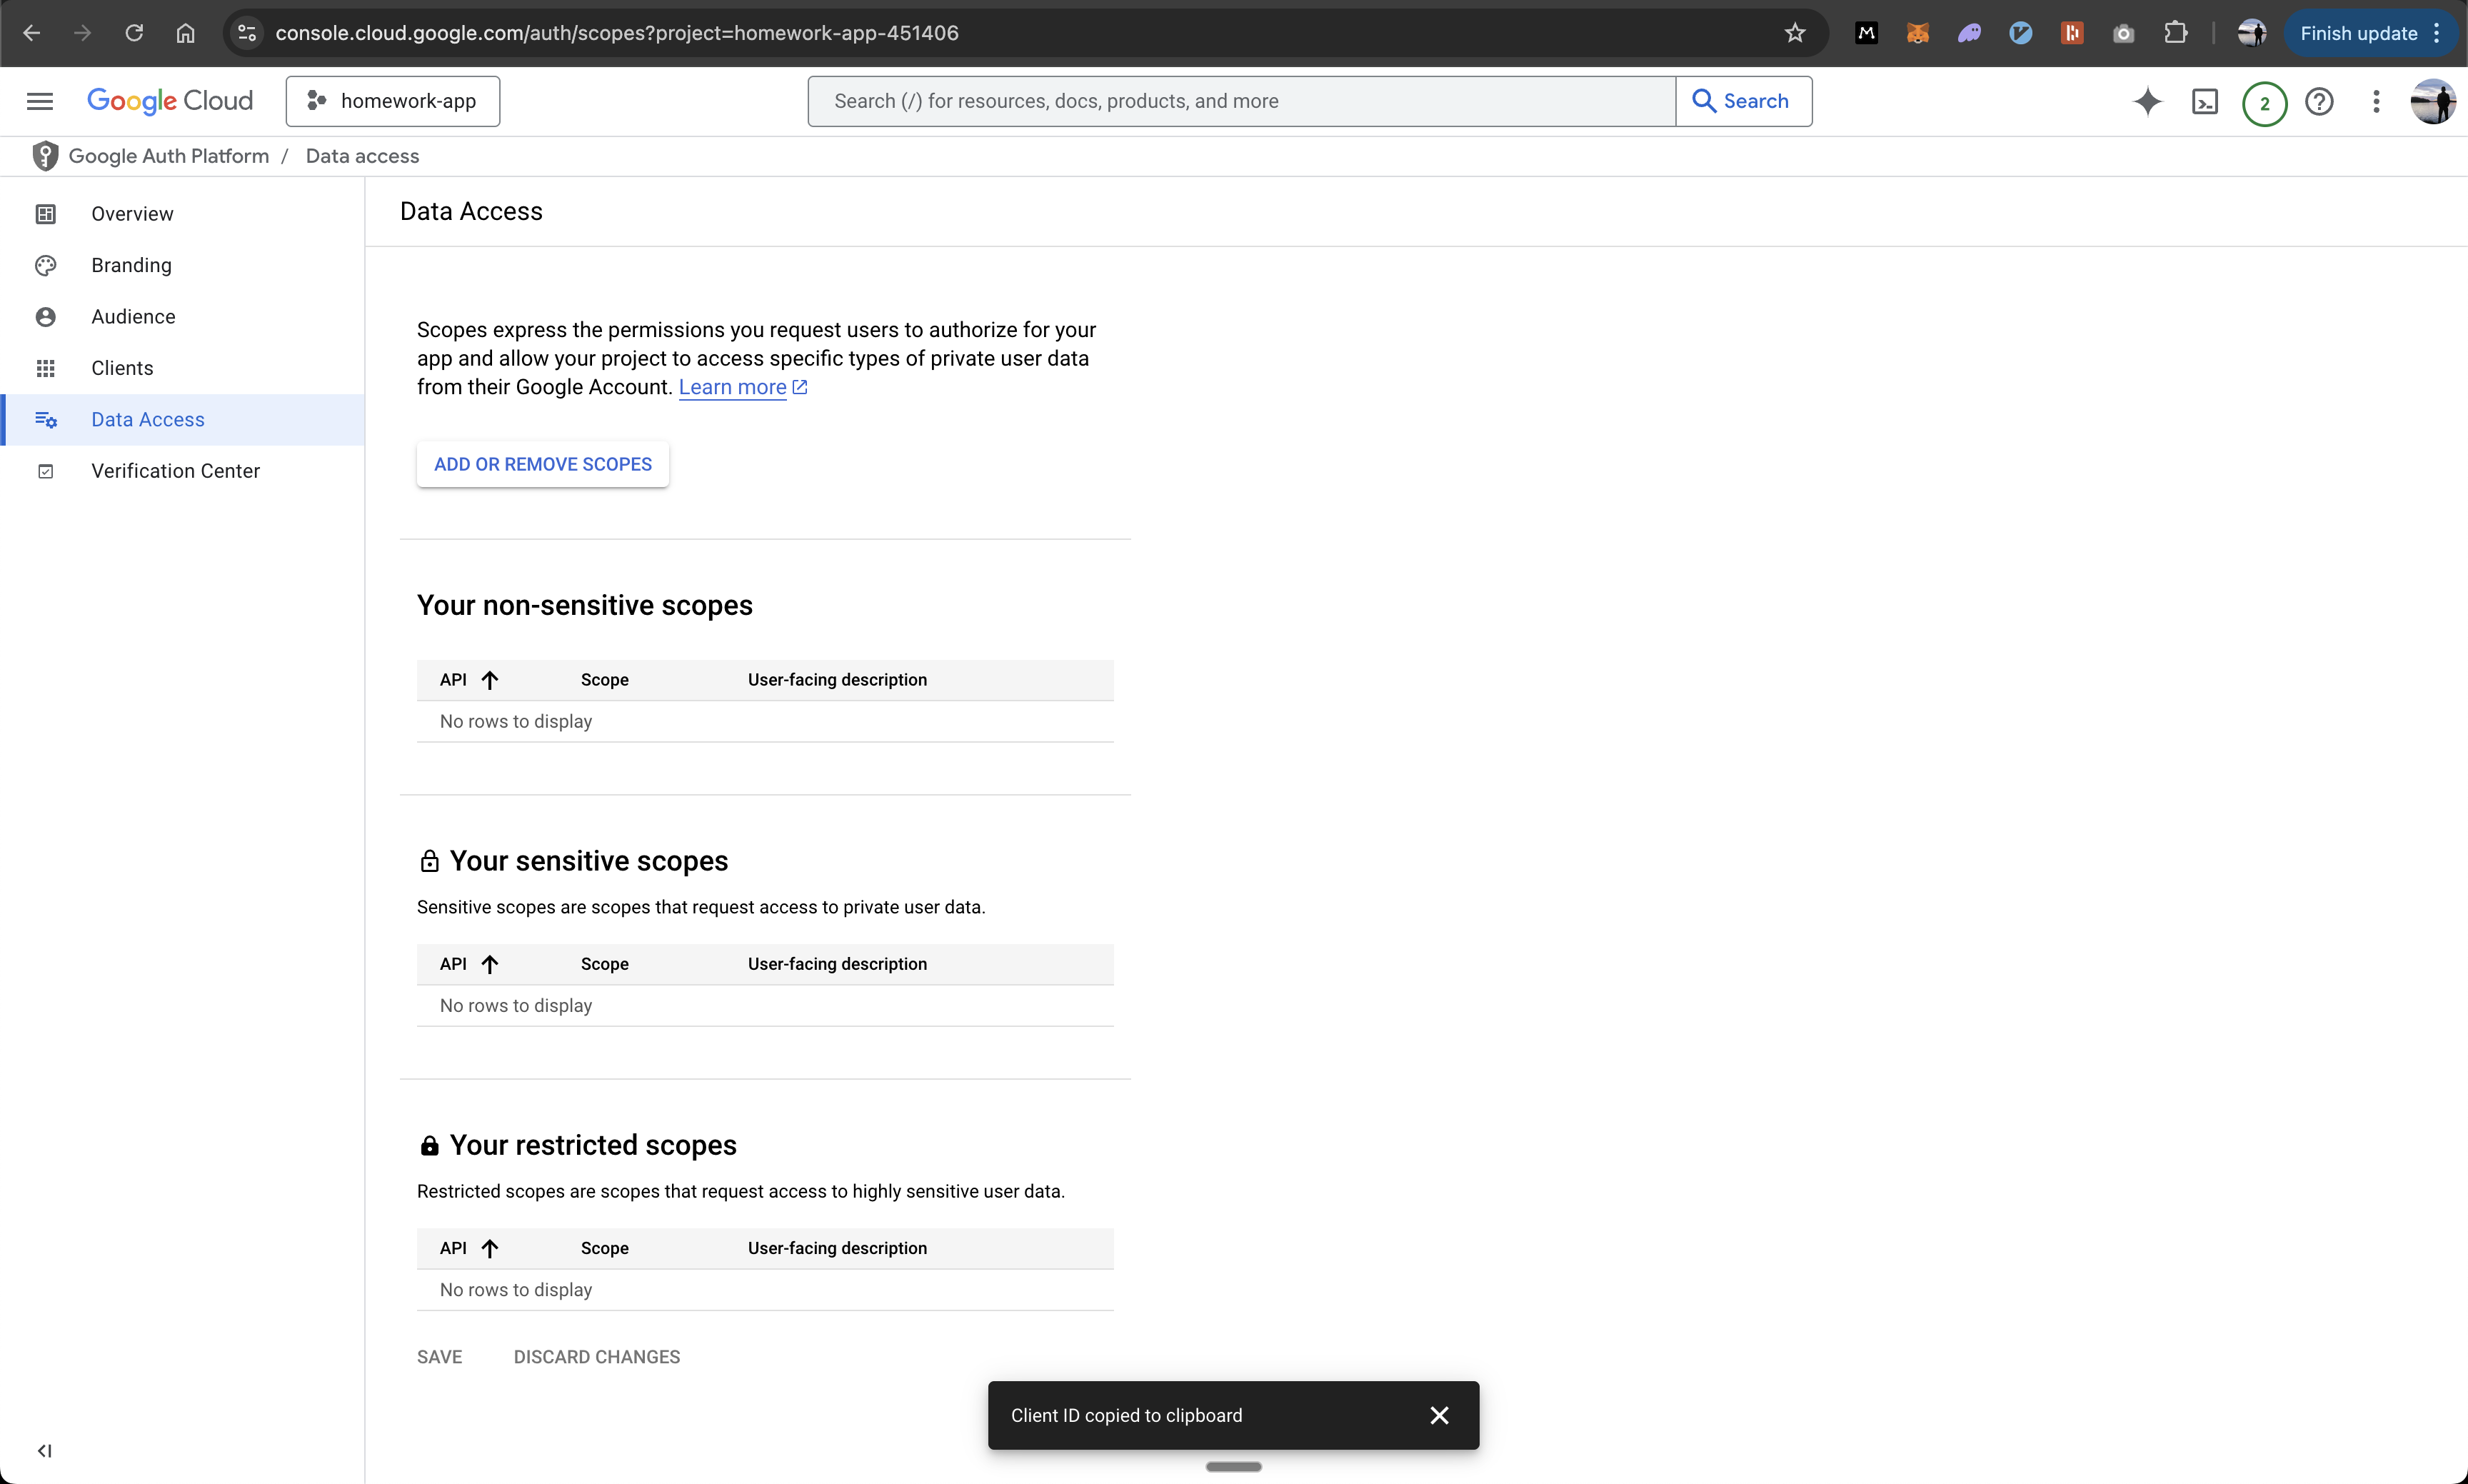
Configure Additional Scopes (Optional)
- If your app needs additional permissions
- Request additional scopes as needed
Add to Anything project
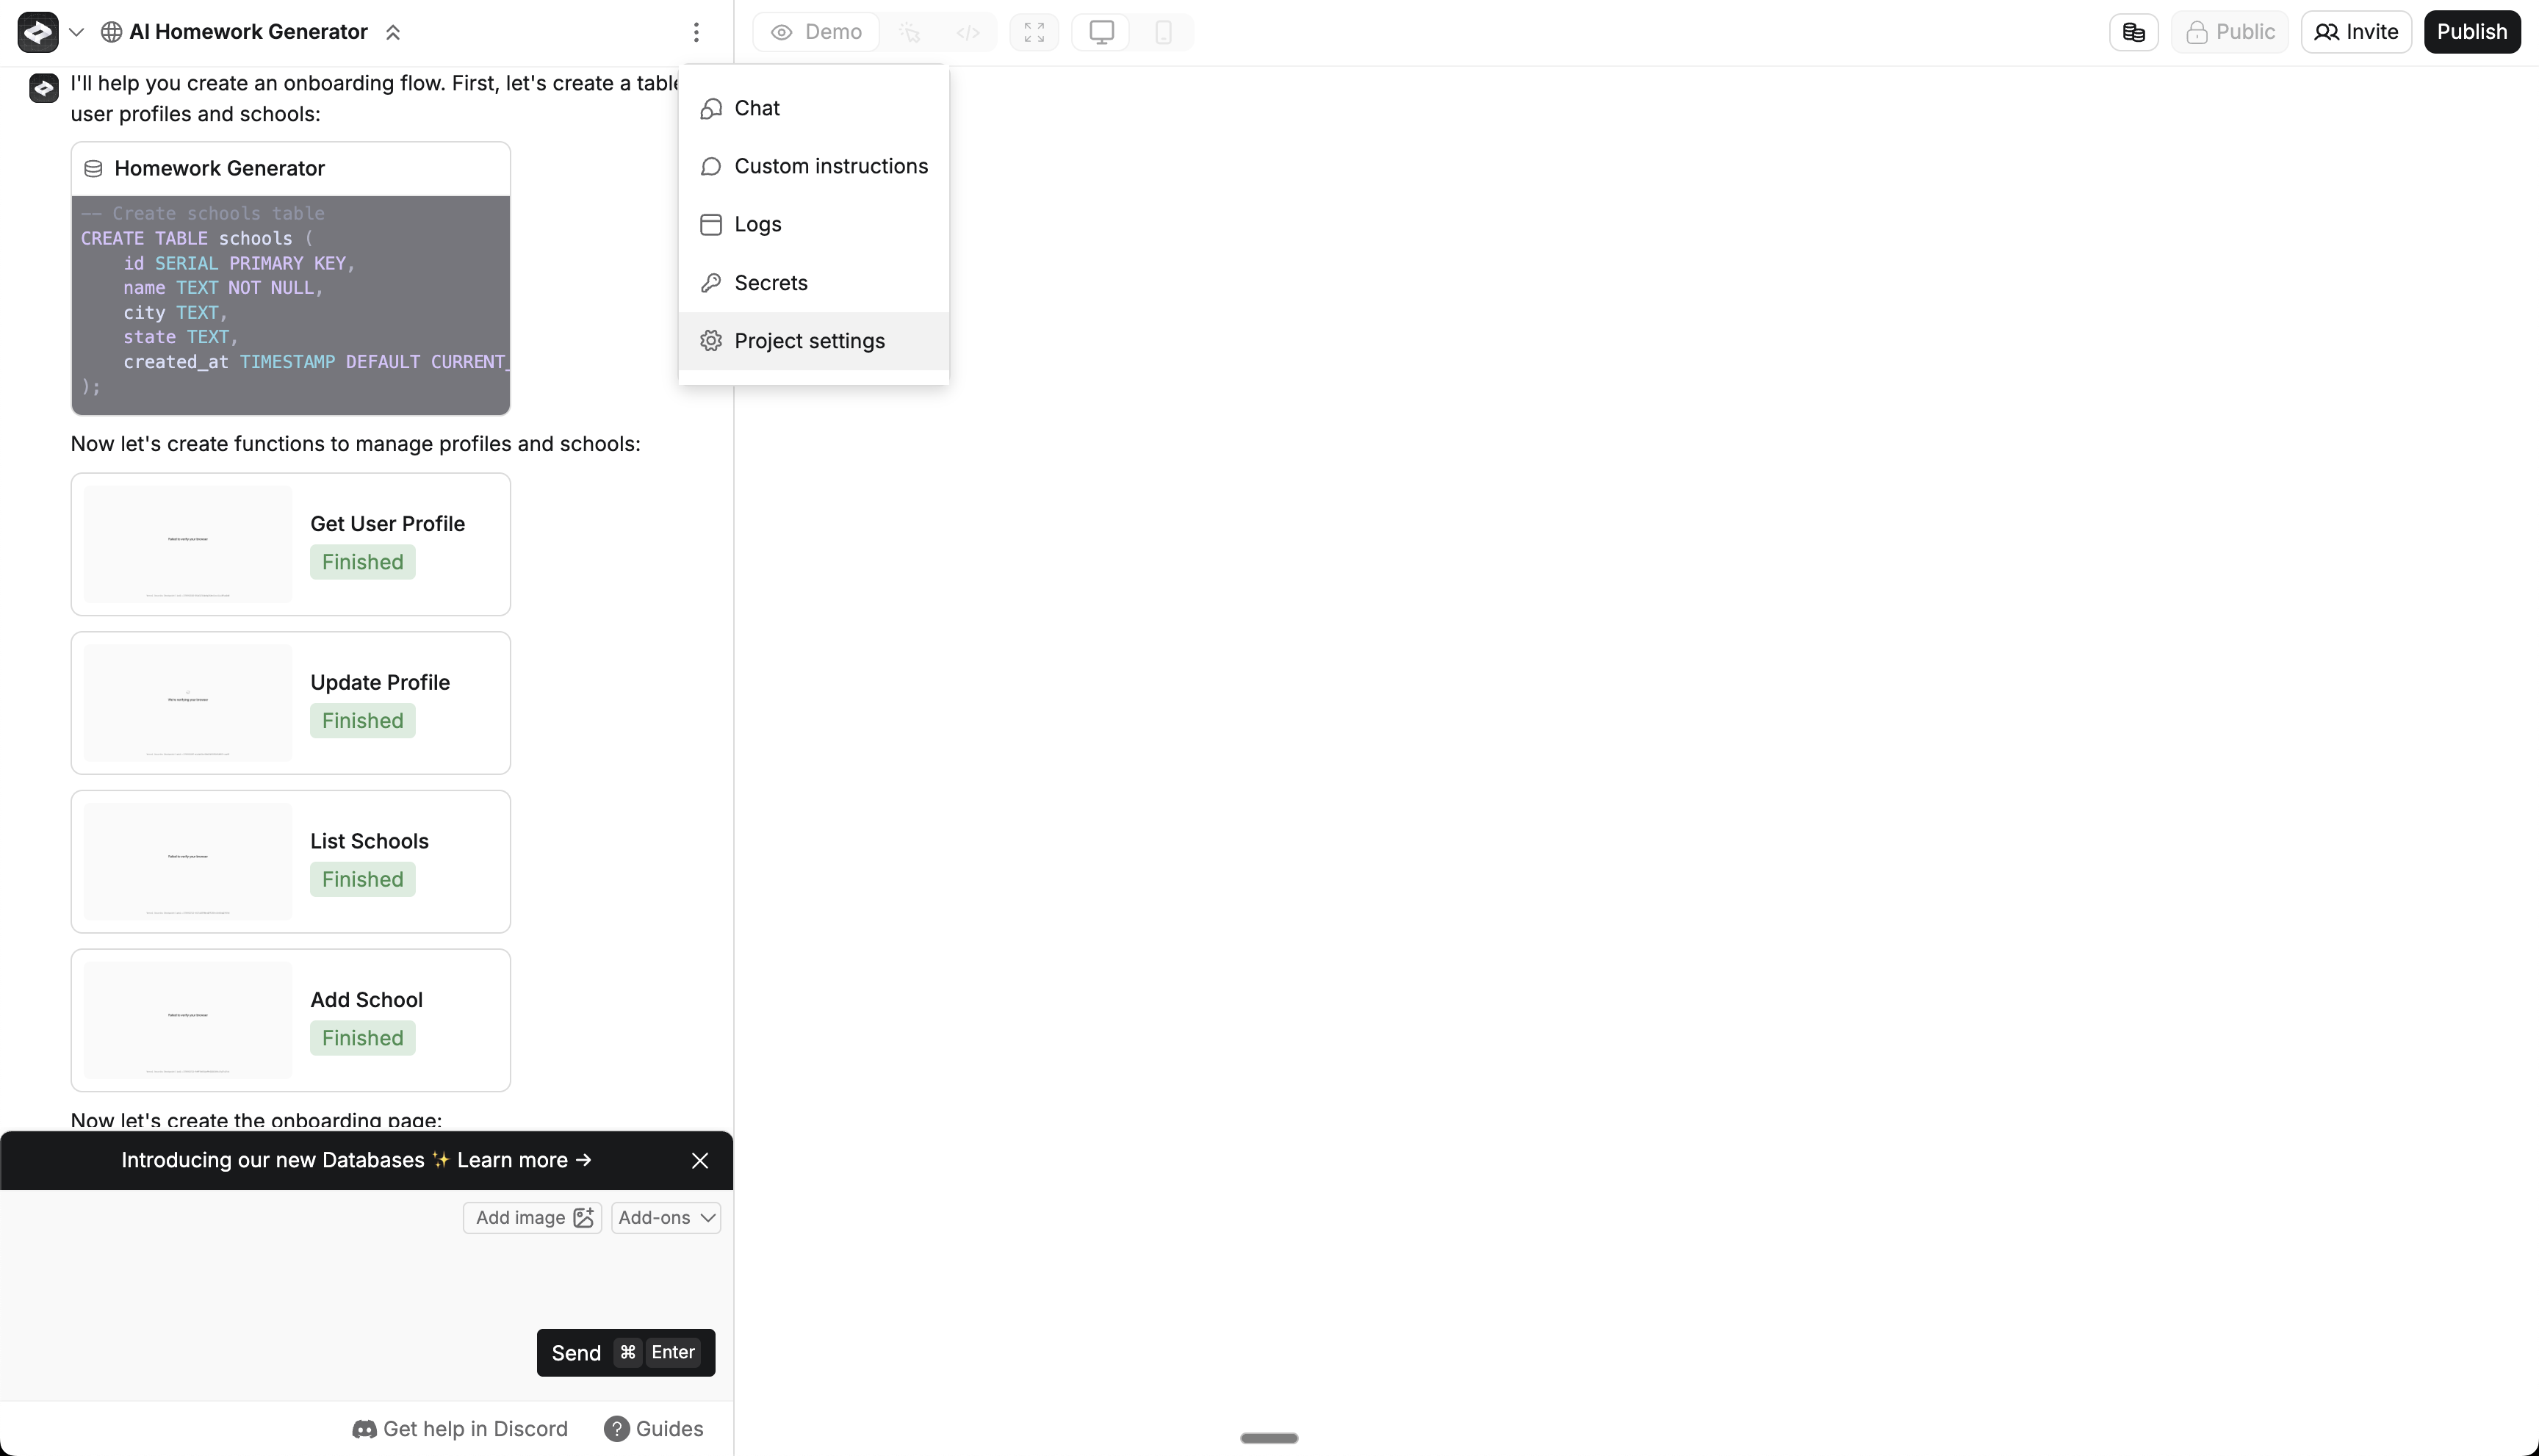
Enable User Accounts in your Anything project
- Prompt Anything with “Let users sign in”
- Enable User Accounts from the logo menu
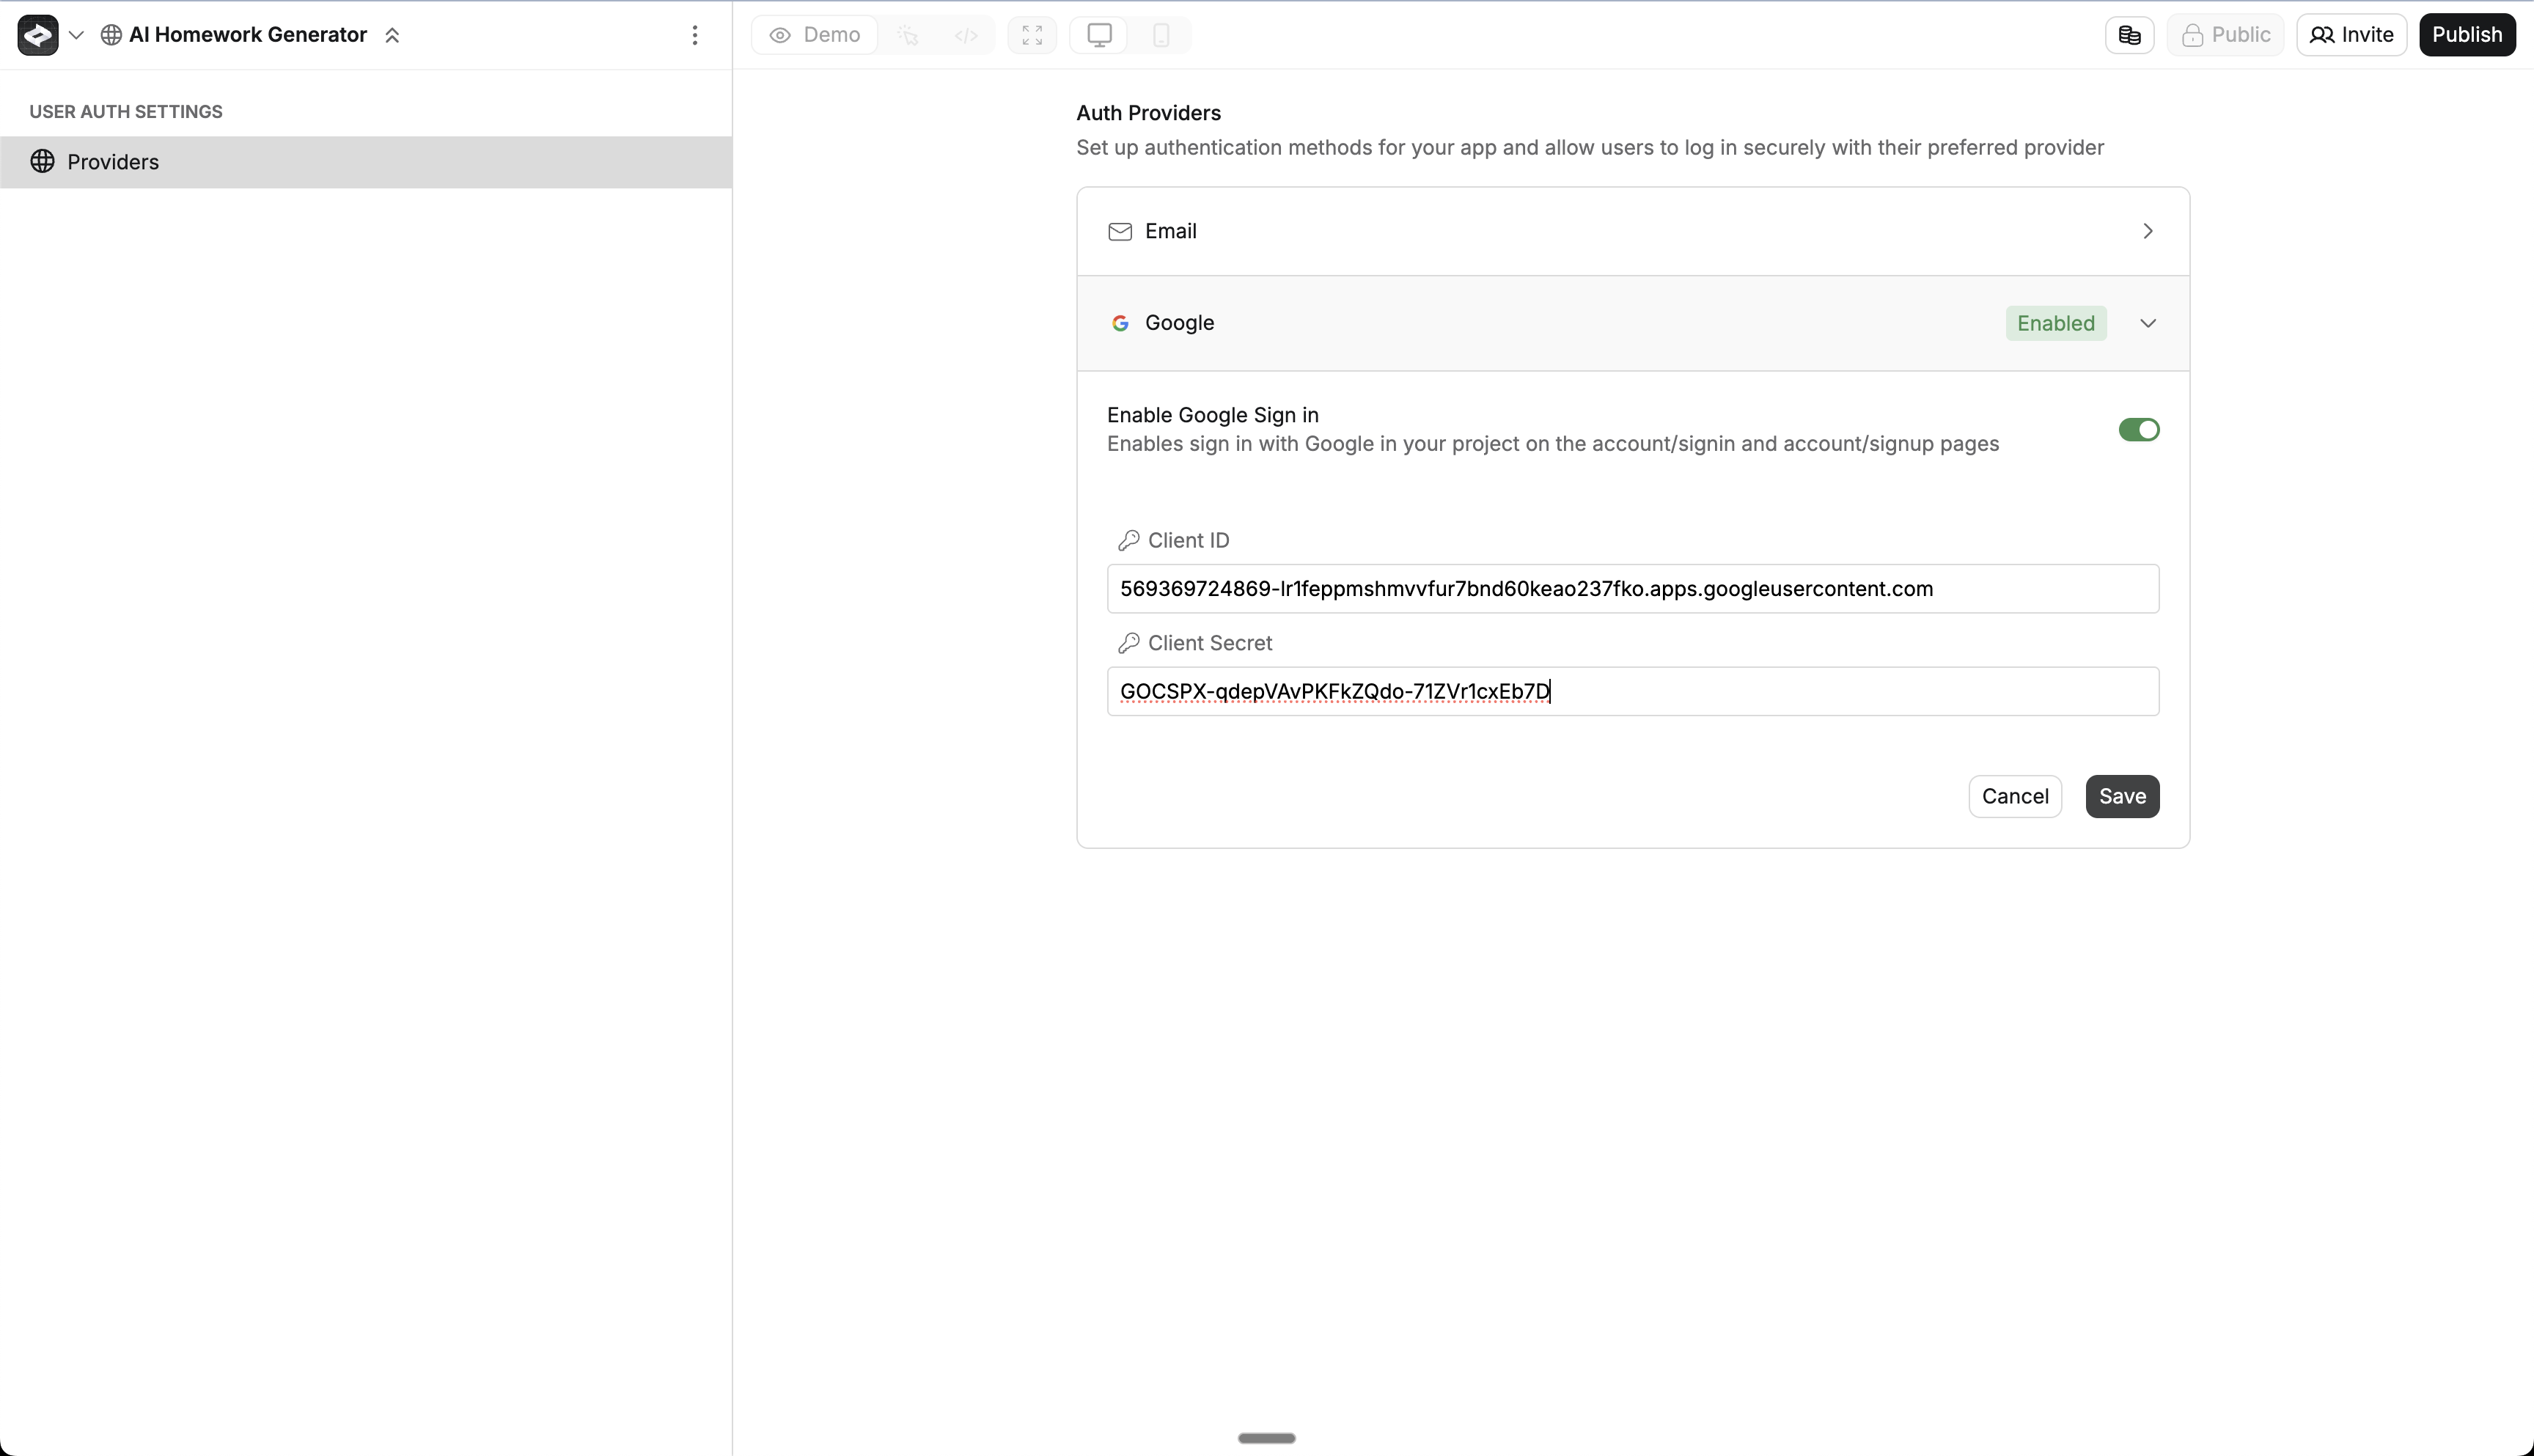
Enable Google Sign In
- Navigate to the Authentication section
- Find Google Sign In toggle
- Make sure it’s turned on
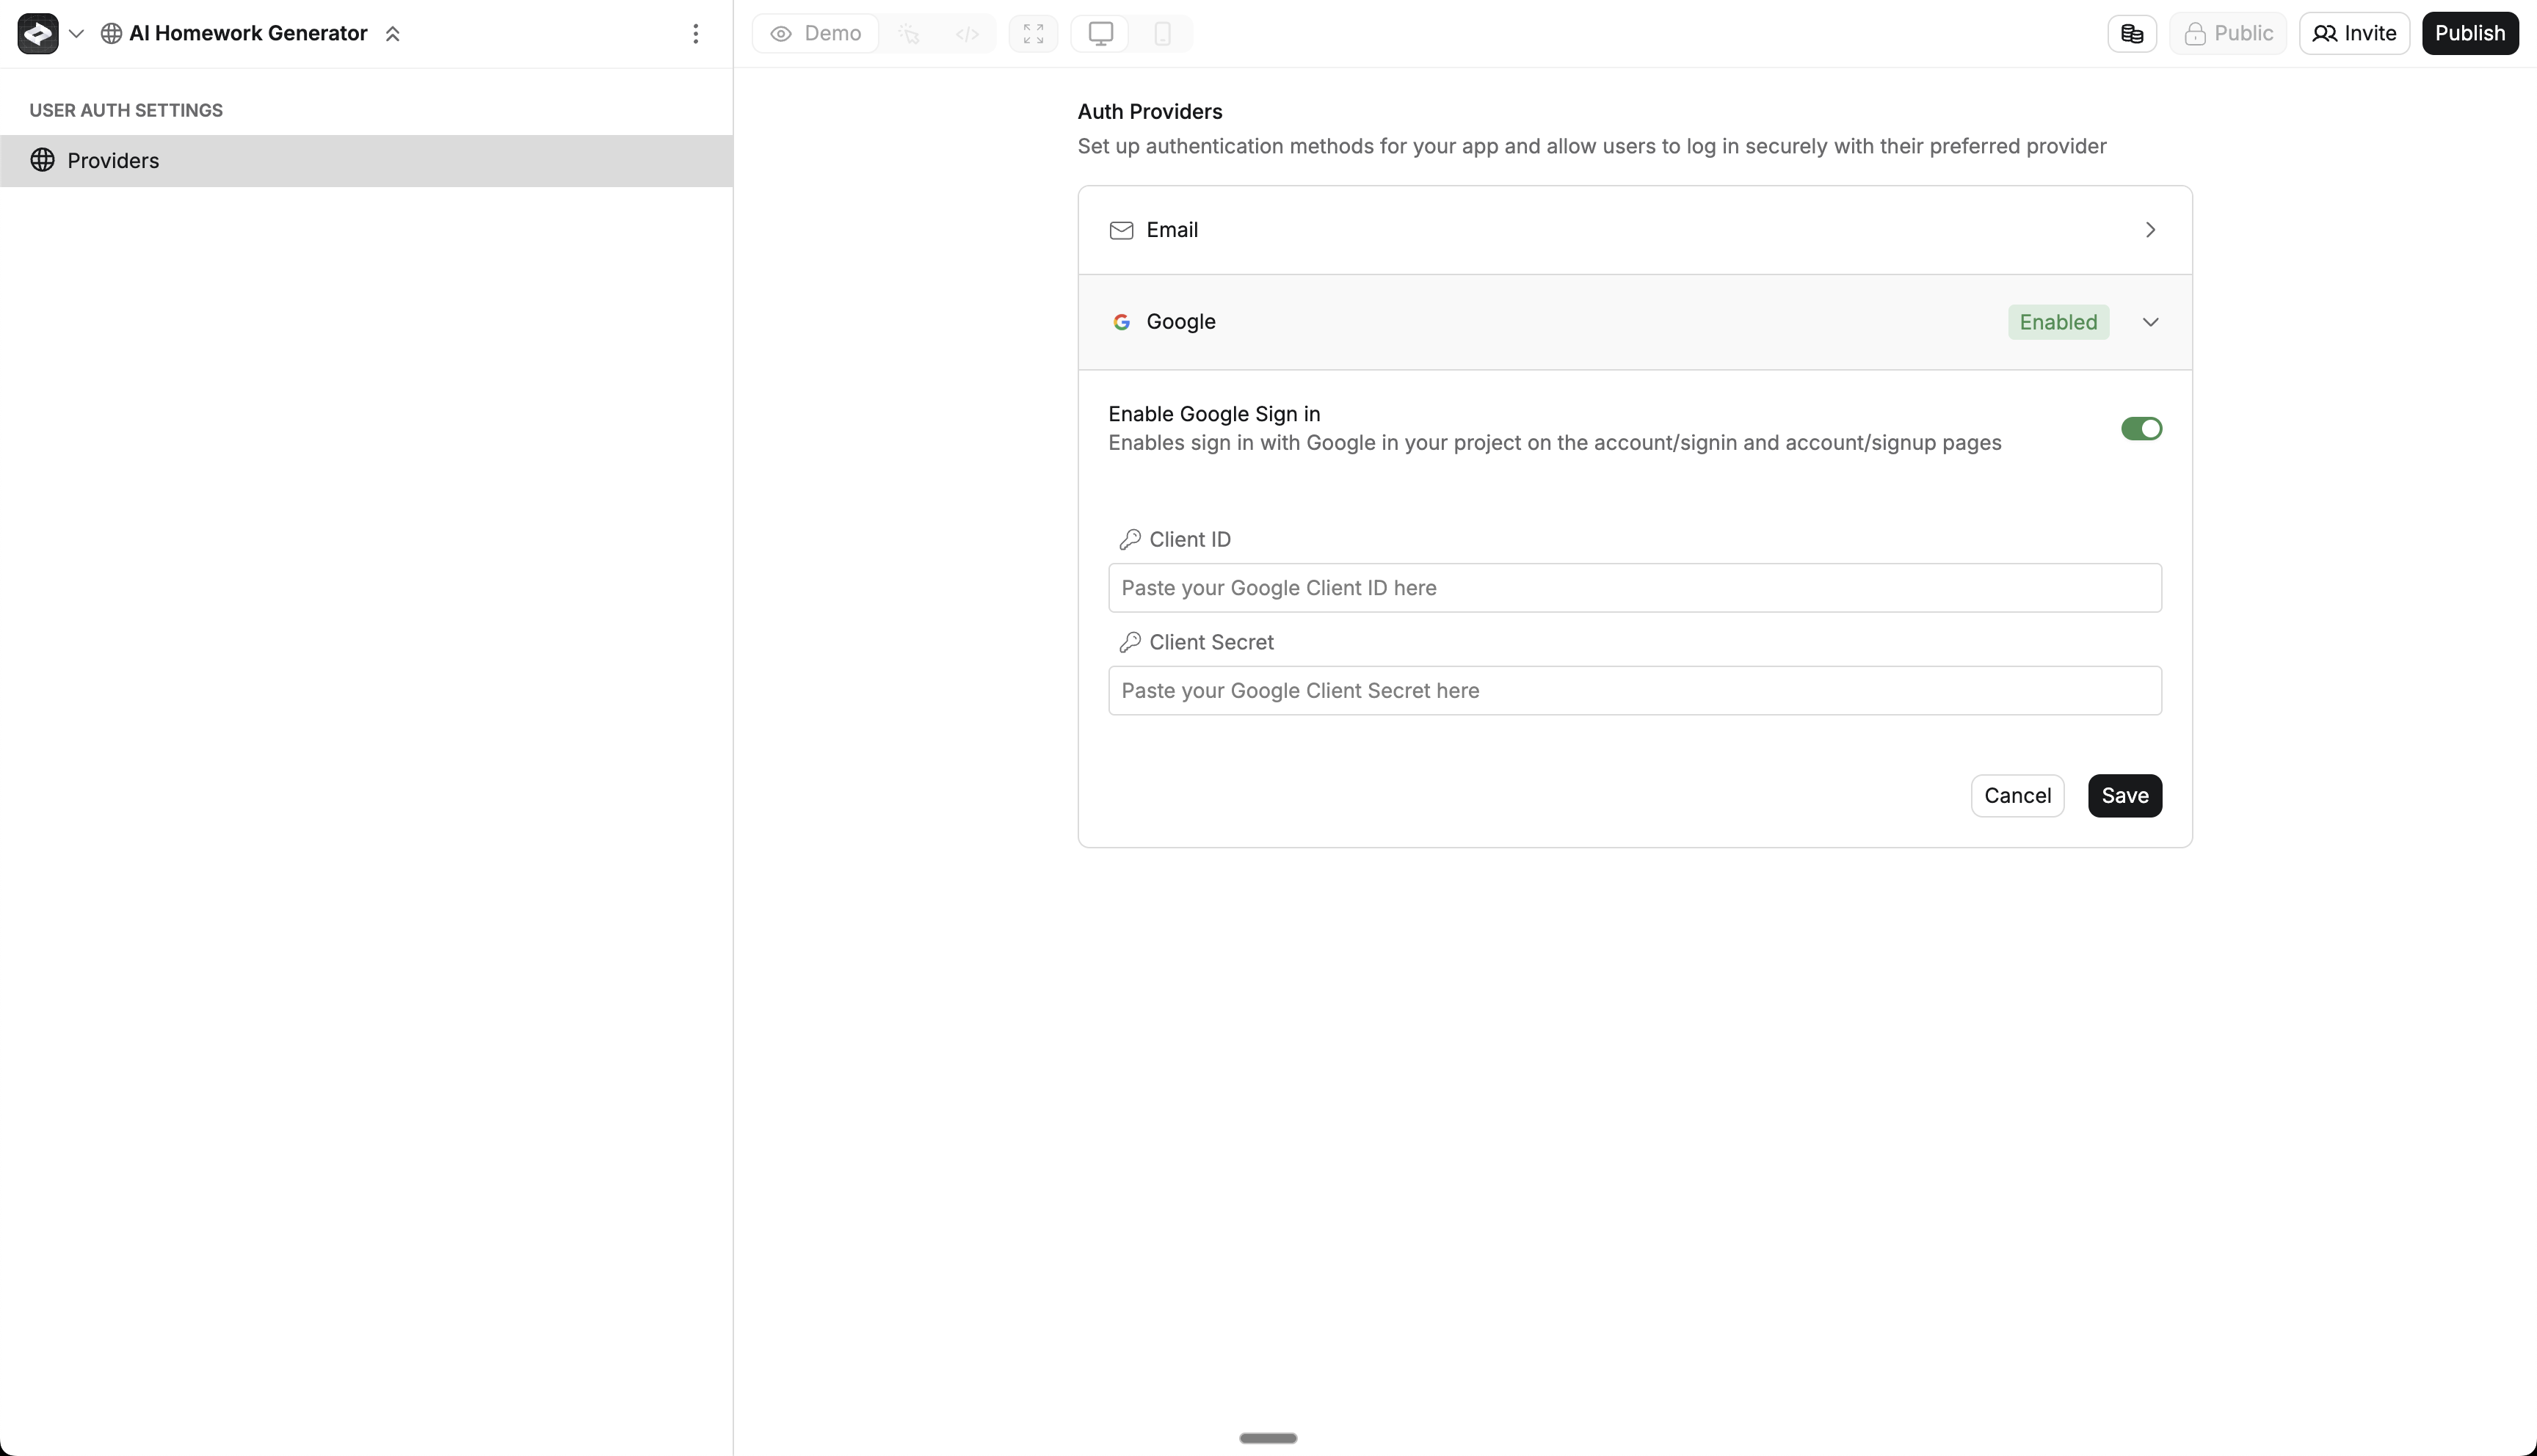
Add Google Credentials
- Paste in your Client ID from the previous section
- Paste in your Client Secret from the previous section
- Click Save to store your credentials
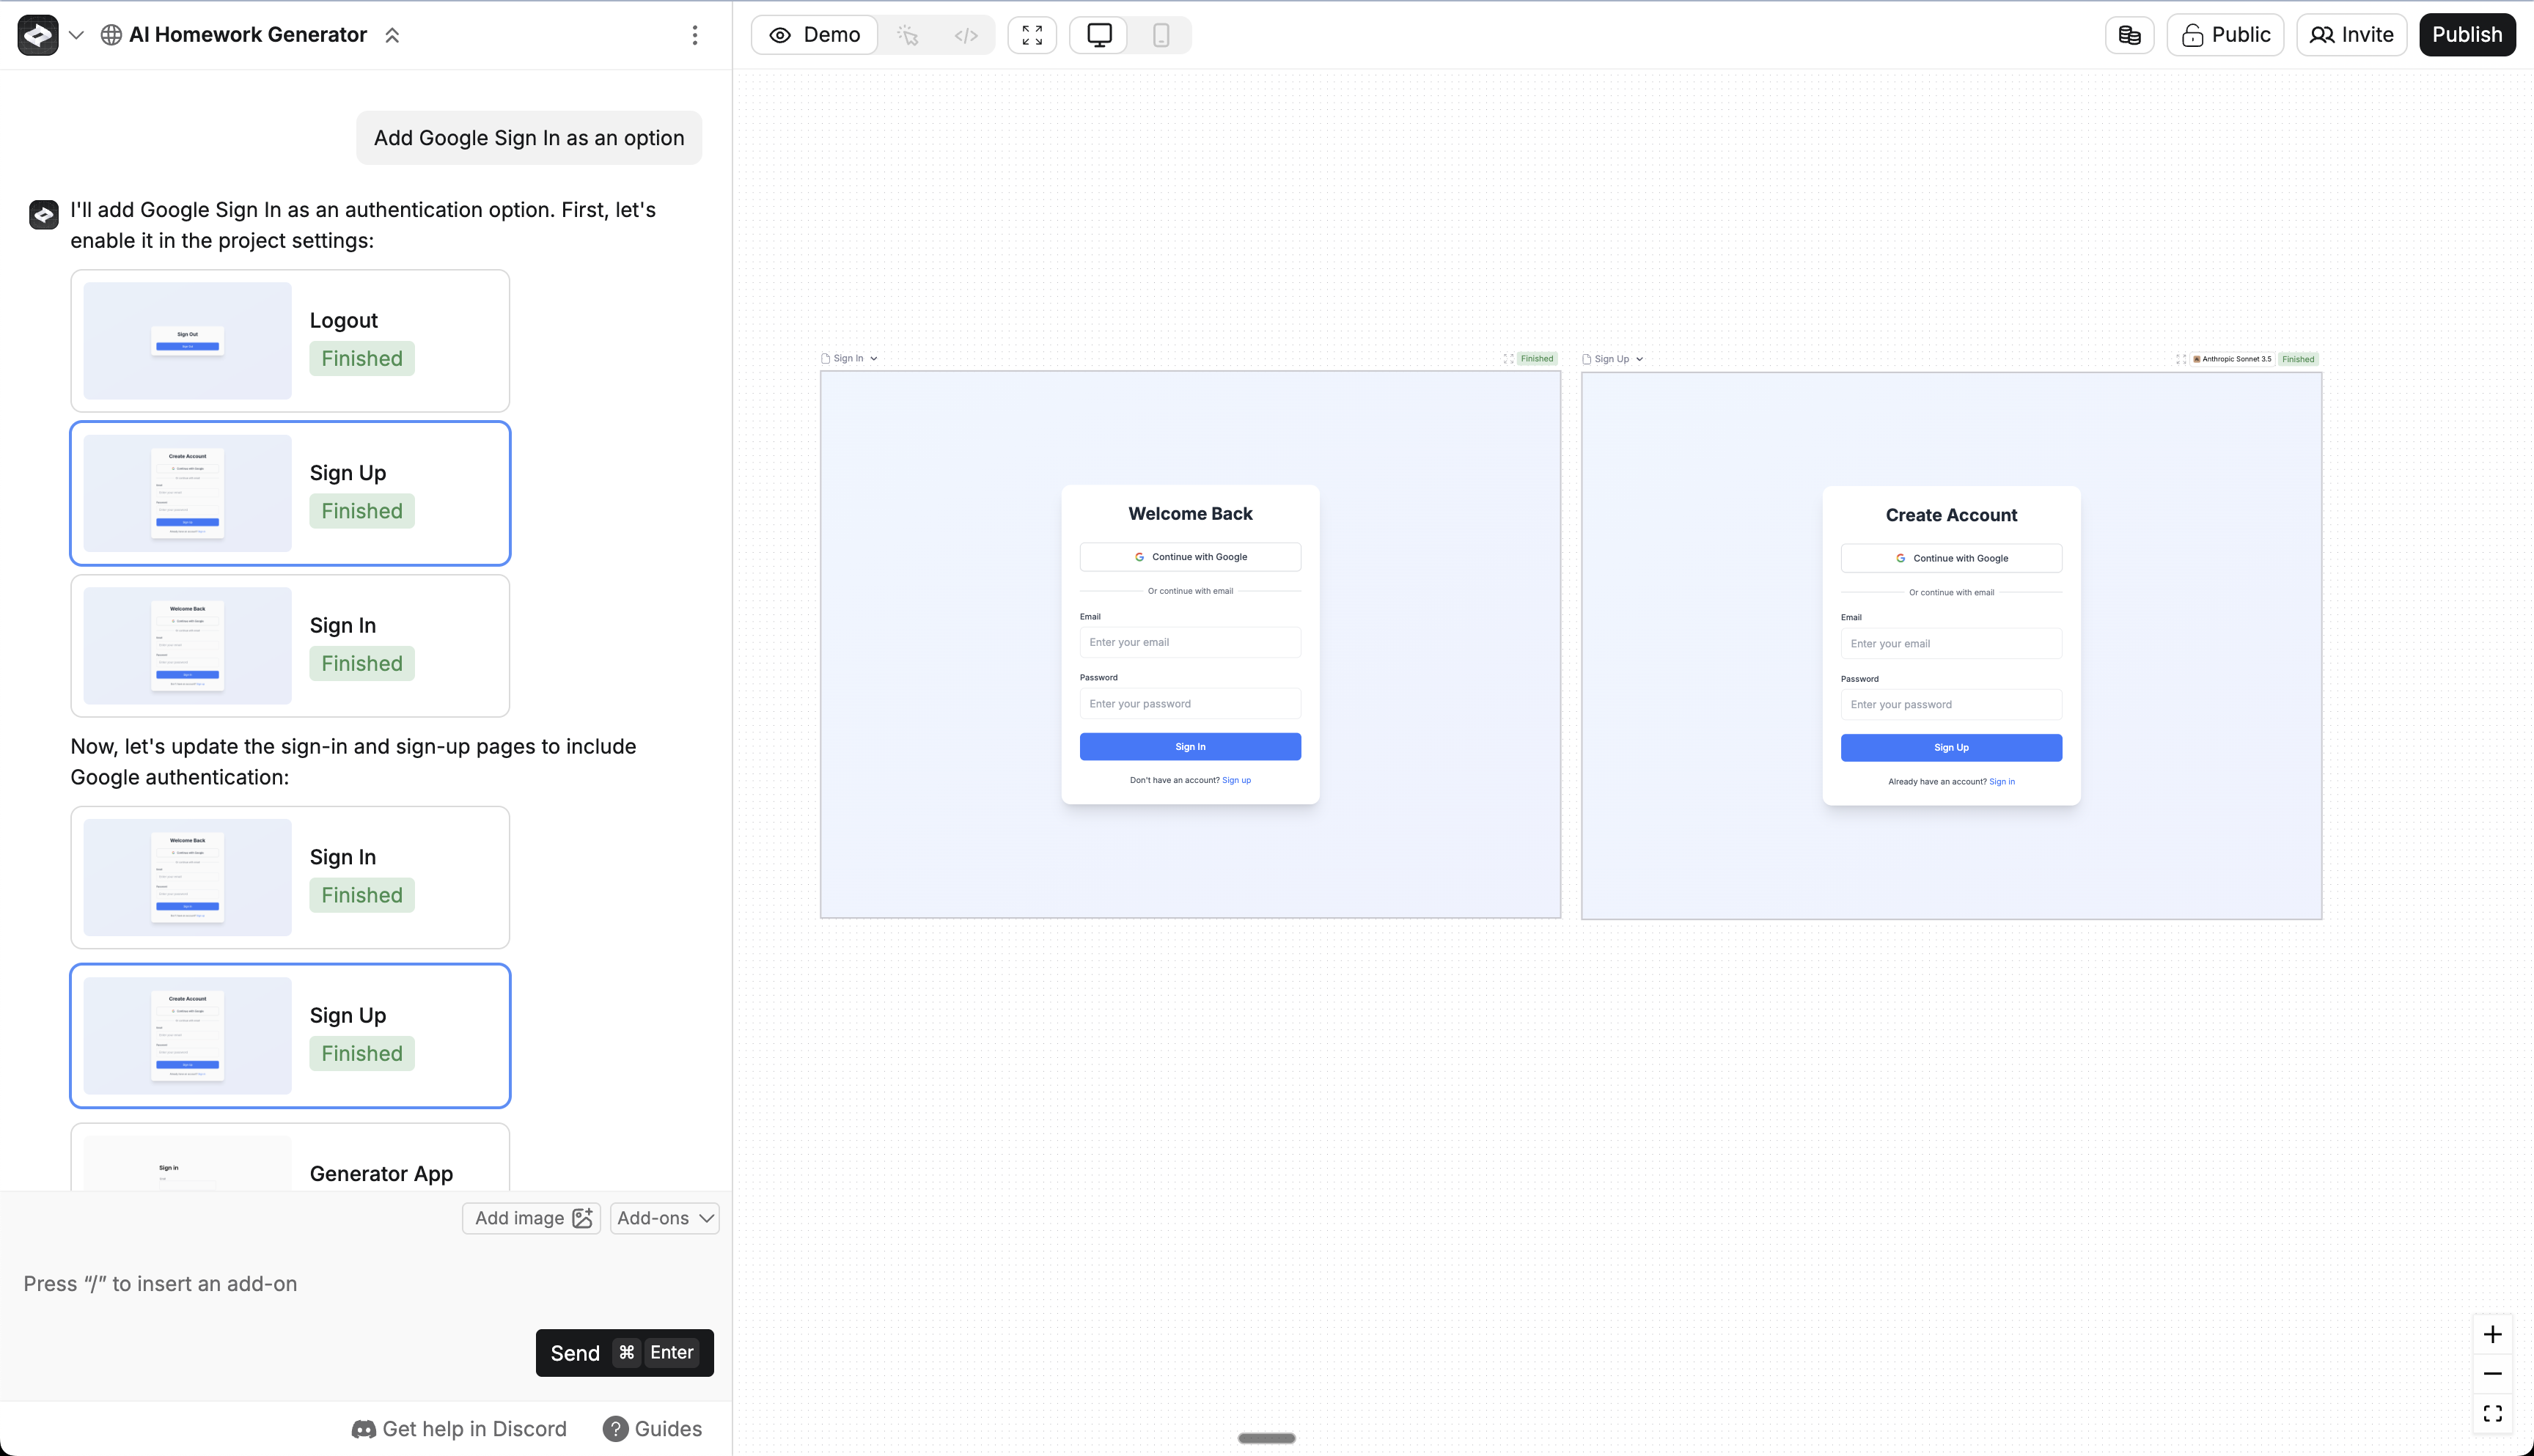
Add Sign In UI
- Return to the chat
- Prompt Anything with something like “Add Google Sign In as an option”
- Anything will automatically update your sign-in pages with Google Sign In
- You can customize the UI further if you’d like.
Publish Your App
- Click the Publish button
- Review your changes
- Publish to make the Google Sign In feature live
Test the Flow
- Open your published app in an incognito window
- Navigate to the sign-in page
- Click the Google Sign In button
- Complete the Google authentication flow
- Verify you’re successfully logged in to your app
- Check the user is logged in by looking at the auth_users table in your database
Testing
- Publish your changes
- Open your app in a new incognito window
- Go to the sign in page
- Try signing in with Google
- Check the auth_users table to see your new user
Troubleshooting
Can't see the Google button
Can't see the Google button
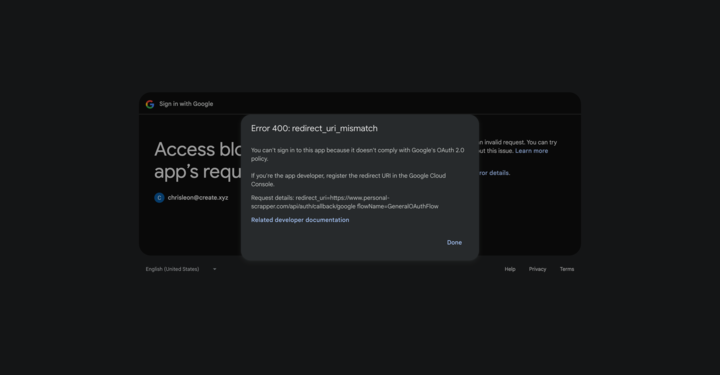
Getting 'Access Blocked: This app's request is not valid'
Getting 'Access Blocked: This app's request is not valid'
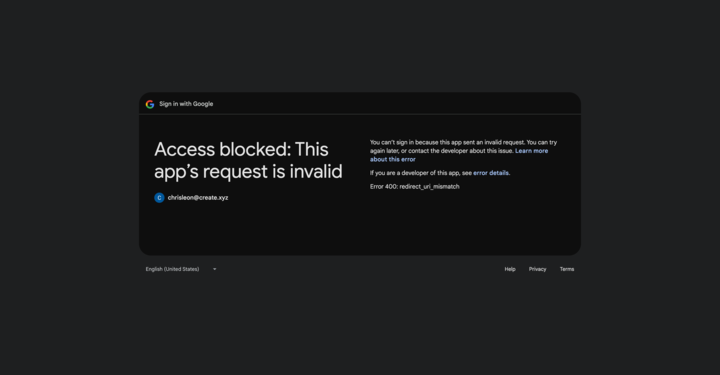
- Check that your Client ID and Client Secret are correctly pasted in Anything
- Ensure your domain is added as an Authorized JavaScript Origin in Google Cloud
- Verify your app is published and accessible at your custom domain
Login not working
Login not working
- Double check your domain is exactly the same in Anything and Google Cloud
- Make sure your callback URL is right:
https://www.[your-domain].com/api/auth/callback/google - Check if your Client ID and Secret are pasted correctly
- Make sure your domain is set up in Google Cloud
- Make sure your app is live at your custom domain
Seeing 'App not verified by Google'
Seeing 'App not verified by Google'
- This is normal during testing
- You can test with up to 100 users
- For a live app, you’ll need Google to verify it
- Fill out all the info Google asks for
Users can't sign in after domain change
Users can't sign in after domain change
- Update the Authorized JavaScript Origins in Google Cloud
- Update the Authorized redirect URIs in Google Cloud
- Update your domain in the OAuth consent screen
- Re-publish your app on the new domain
FAQ
Can I use created.app domains?
Can I use created.app domains?
- A domain you own
- Anything Pro subscription
- Properly configured DNS records
What user info do I get?
What user info do I get?
- Email address
- Name
- Profile picture (if they have one)
Can I change how the login button looks?
Can I change how the login button looks?
Do I need Google to verify my app?
Do I need Google to verify my app?
- For testing (up to 100 users): No
- For a live app: Yes
- Internal Google Workspace apps: No
How do I add more permissions/scopes?
How do I add more permissions/scopes?
- Go to Google Cloud Console OAuth consent screen
- Add additional scopes in the “Scopes” section
- Provide justification for each scope
- Note: Additional scopes may require Google verification
Can I use Google Auth for internal tools and permissioning?
Can I use Google Auth for internal tools and permissioning?
- Skip verification - No Google app review required
- Automatic user sync - Users managed through your Google Workspace
- Built-in permissions - Use Google Workspace groups and roles
- Enterprise SSO - Seamless sign-in with existing credentials