Overview
Create Account
Sign up for an Airtable account
Get API Key
Generate your Airtable API key
Copy into Create
Add your API key to Create’s secrets
Account Creation
1
Visit Airtable Website
Go to airtable.com and click “Sign up” in the top right corner

2
Choose Signup Method
- Sign up with email/password
- Or continue with Google, Apple, or other authentication options

Generate API Key
1
Access Account Settings
Go to airtable.com/create/token.
2
Create Personal Access Token
- Navigate to the “Personal Access Token” section
- Click “Create new token”
- Name your key (e.g., “Create Integration”)
- Add read and write data scopes
- Add your workspace table

3
Copy Your PAT Token
- Copy the generated PAT Token
- Store it securely.

Keep your PAT Token secure - it grants access to your Airtable data
Get Base and Table ID
1
Open Your Airtable Base
- Navigate to the Airtable base you want to connect to
- Look at the URL in your browser

2
Extract Base and Table ID
- The Base and Table ID is in the URL after “airtable.com/” and typically starts with “app”
- Copy this ID - you’ll need it when connecting to your base
The Base and Table ID format looks like: app12345abcdef/tb12345abcdef
Add to Create Project
1
Add the integration
- In your Create project, type
/
in the chat - Select “Airtable” from the menu
2
Add your API key
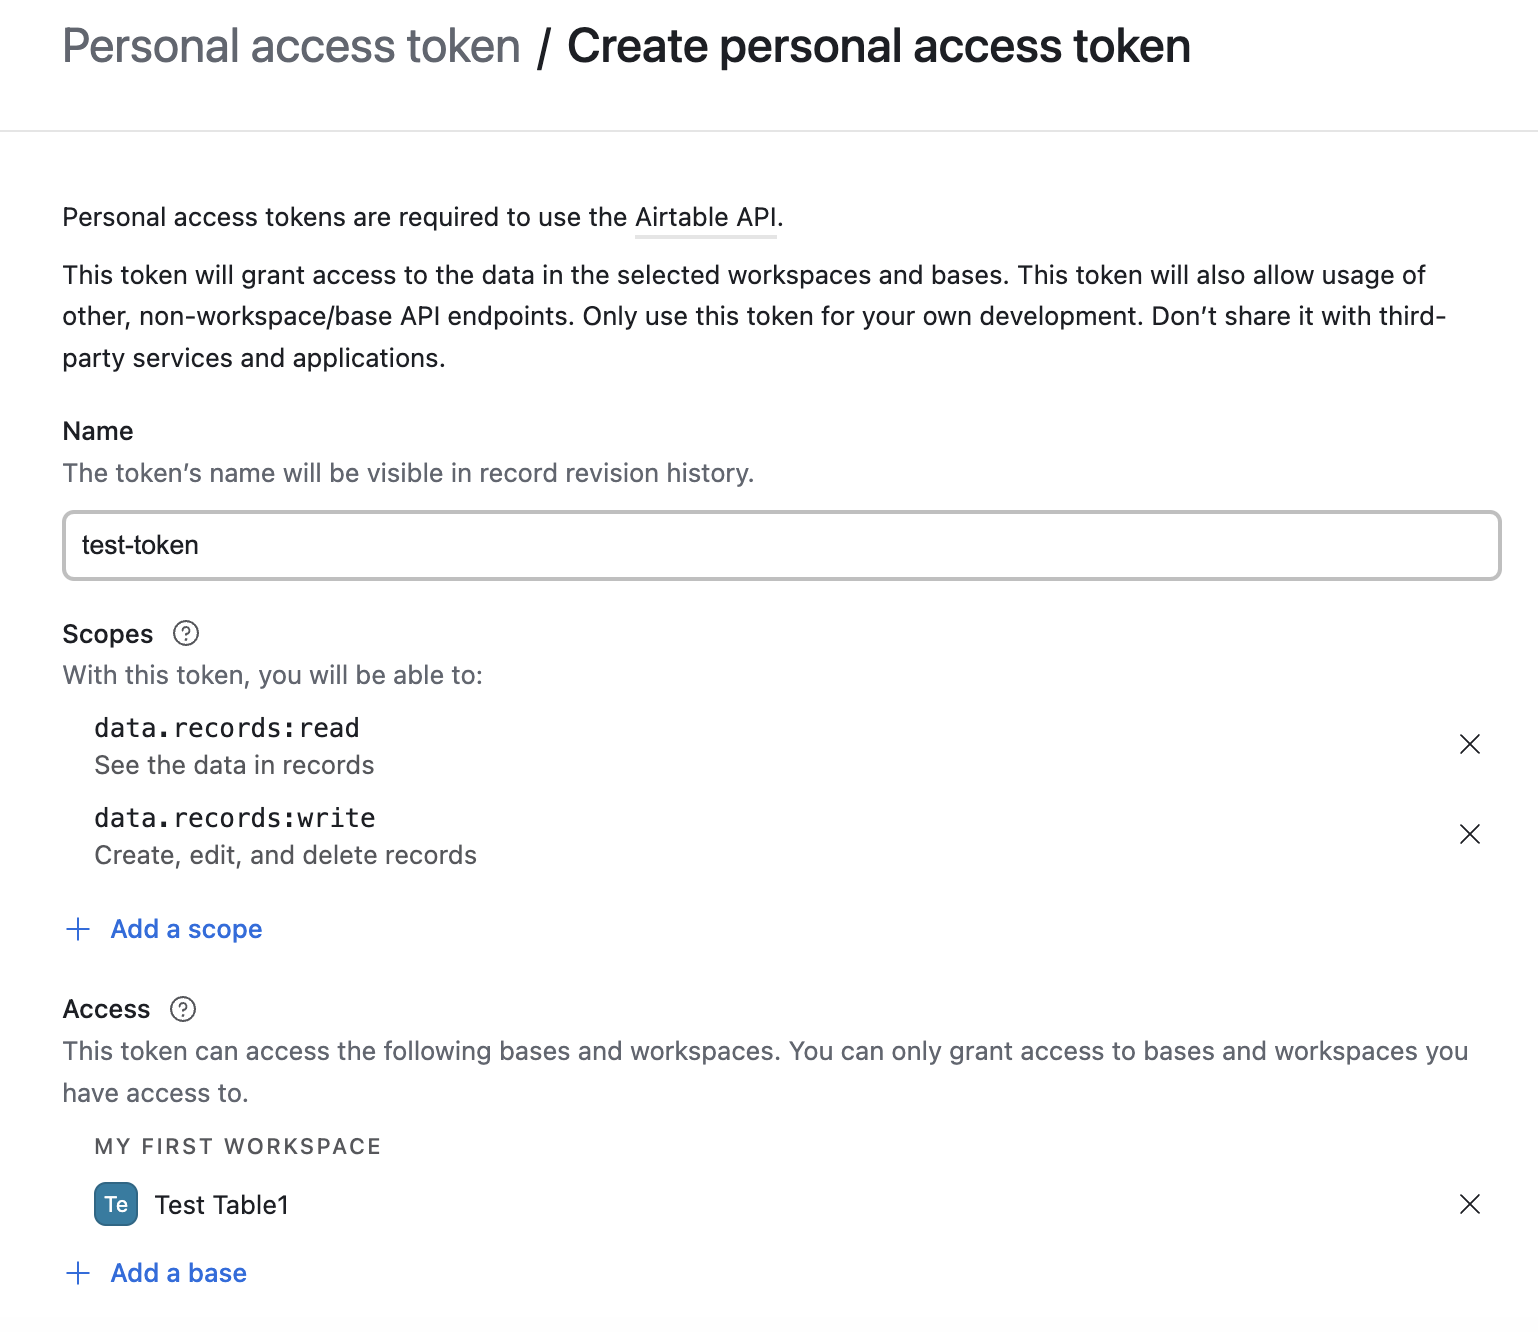
- Paste your Airtable API key into the “AIRTABLE_TOKEN” field
- Add your Base ID to the “AIRTABLE_BASE_ID” field
- Add your Table ID to the “AIRTABLE_TABLE_ID” field
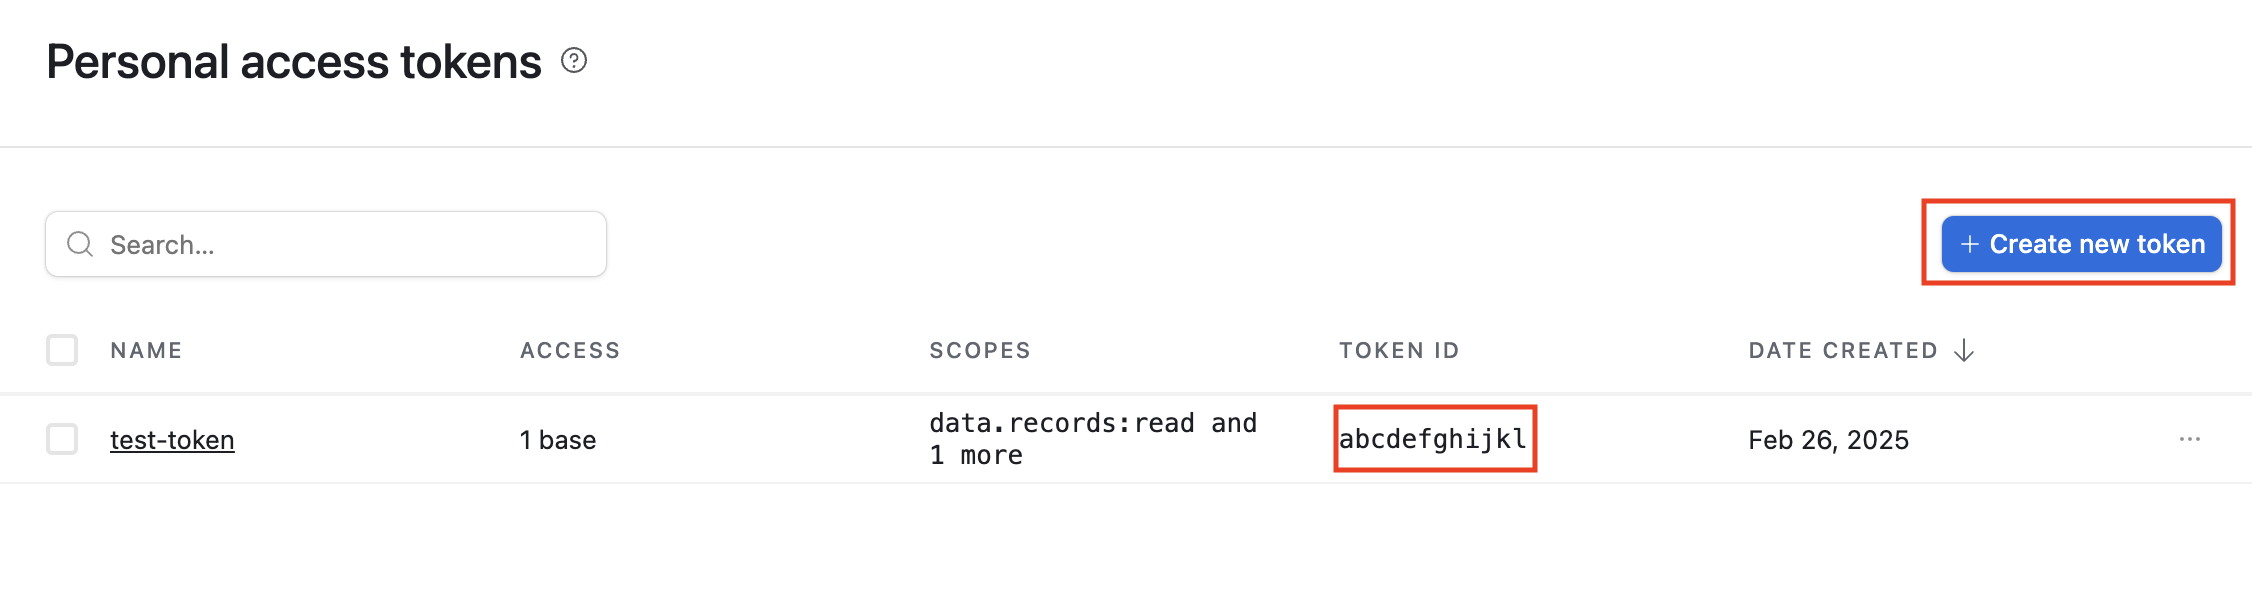
Need a new token? Generate one in your Airtable account settings.
3
Use it
You can now use prompts with the integration to manage your Airtable data.Some examples:Example prompt for optimization:
Create a new record in my Airtable base with /Airtable
Fetch data from my Products table using /Airtable
Update customer information with /Airtable
Airtable has API rate limits - implement caching for frequently accessed data.
Your Airtable integration is now ready! Use the
/Airtable
command in chat to manage your data.